59
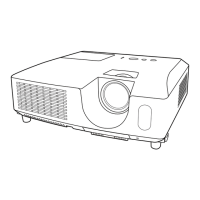
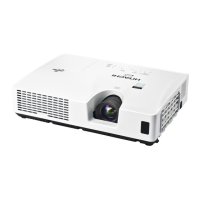
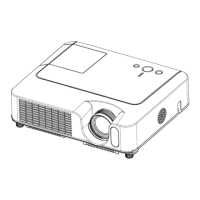
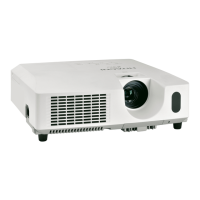
CP-X2511N(C15I-25N2) / CP-X3011N(C15I-30N2) / CP-X4011N(C15I-40N2) / CP-X2011N(C15-20N2) / ED-X45N(C15-20N2)
■ Panel duct.
Follow the procedure below to detach panel duct.
Detaching the panel duct.
When you detach the panel duct from the bottom case, unlock the 6 hooks shown in the diagram.
At this point, the rib near the
hook makes the work hard.
Therefore, use a tool like a
screwdriver to unhook it.
Panel duct
Rib
Attaching the panel duct.
Before attaching the panel duct to the bottom case, style the cable of the PWB assembly
SENSOR as shown in the picture in order not to pinch the wires of the cable.
(1) Insert the cable leading from the PWB assembly SENSOR attached to the panel duct to the
end of the slit.
(2) Secure the cable to the lib temporally.
(1)
(2)
PWB assembly
SENSOR