66
CP-X2511N(C15I-25N2) / CP-X3011N(C15I-30N2) / CP-X4011N(C15I-40N2) / CP-X2011N(C15-20N2) / ED-X45N(C15-20N2)
RS-232C Communication (continued)
3. Response code / Error code
("h" shows hexadecimal)
(1) ACK reply : 06h
When the projector receives the Set, Increment, Decrement or Execute
command correctly, the projector changes the setting data for the specified
item by [Type], and it returns the code.
(2) NAK reply : 15h
When the projector cannot understand the received command, the projector
returns the error code.
In such a case, check the sending code and send the same command again.
(3) Error reply : 1Ch + 0000h
When the projector cannot execute the received command for any reasons,
the projector returns the error code.
In such a case, check the sending code and the setting status of the projector.
(4) Data reply : 1Dh + xxxxh
When the projector receives the GET command correctly, the projector returns
the responce code and 2 bytes of data.
NOTE •
For connecting the projector to your devices, please read the
manual for each devices, and connect them correctly with suitable cables.
• Operation cannot be guaranteed when the projector receives an undefined
command or data.
• Provide an interval of at least 40ms between the response code and any other
code.
• The projector outputs test data when the power supply is switched ON, and
when the lamp is lit. Ignore this data.
• Commands are not accepted during warm-up.
•
When the data length is greater than indicated by the data length code, the
projector ignore the excess data code. Conversely when the data length is
shorter than indicated by the data length code, the projector returns the error
code to the computer.
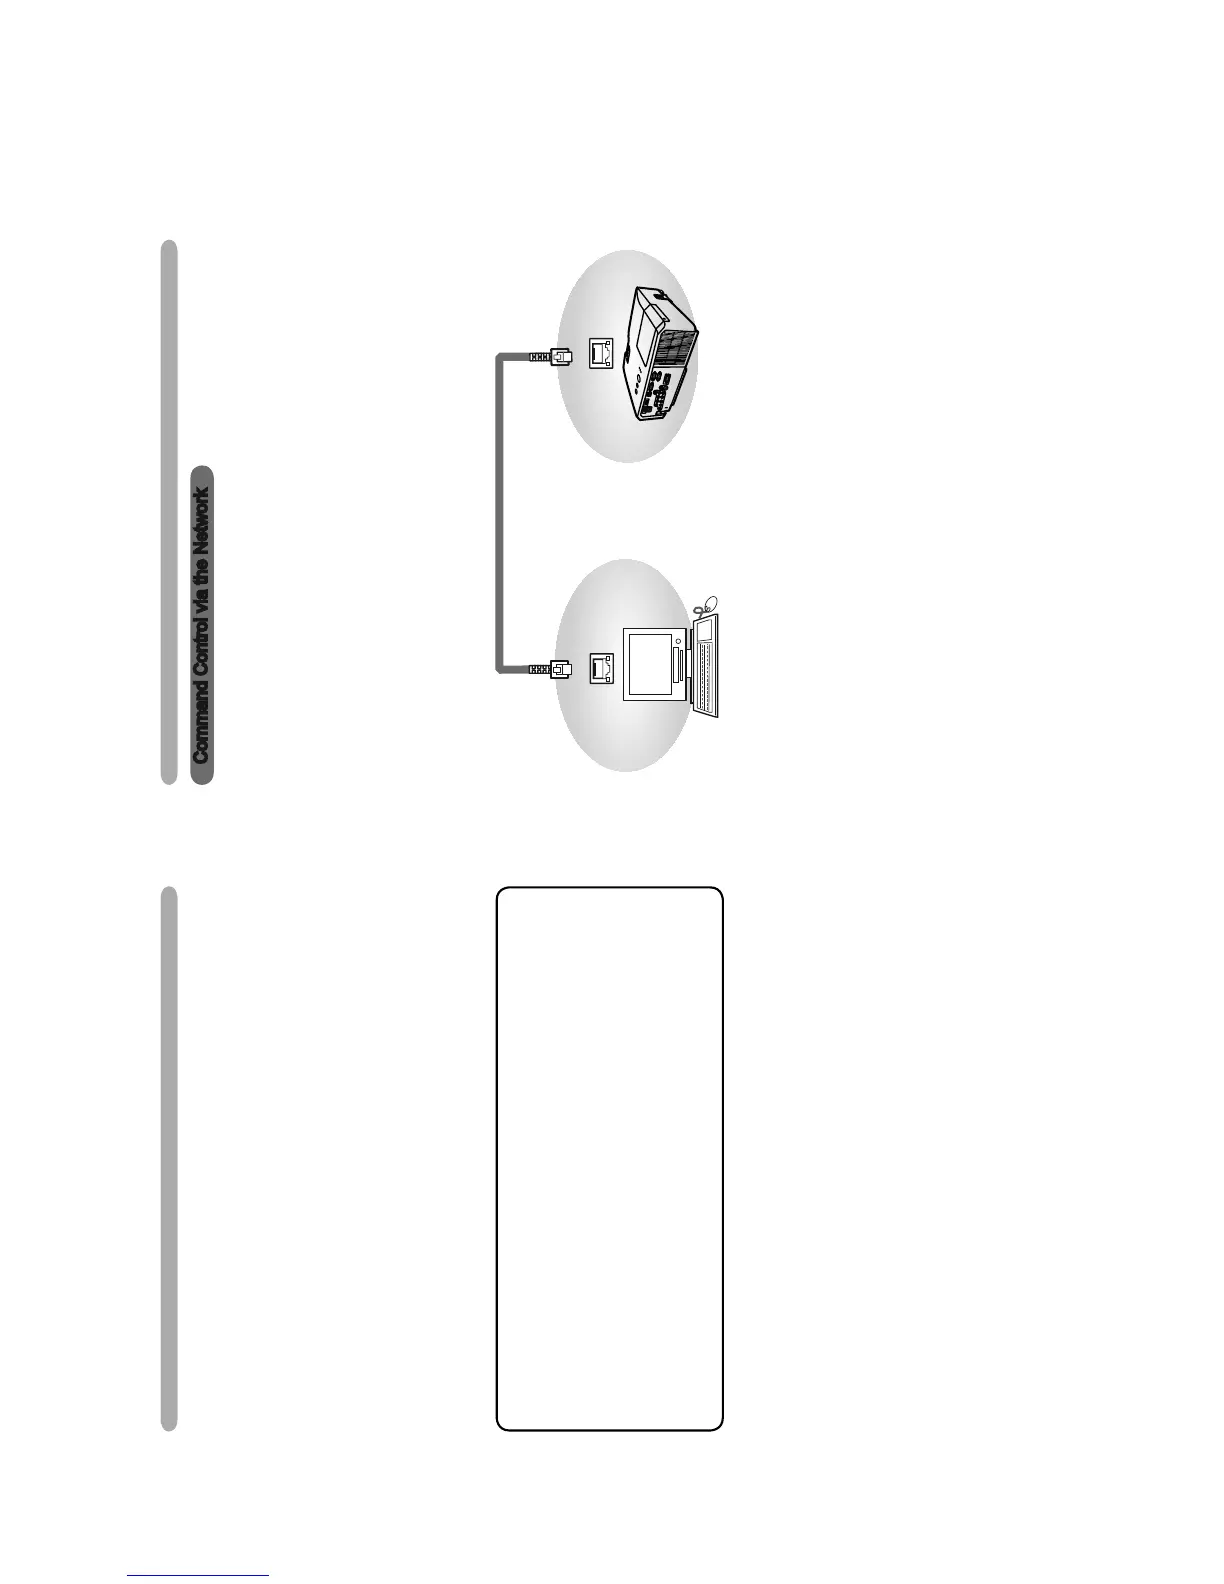
Command Control via the Network
When the projector connects network, the projector can be controlled with RS-
232C commands from the computer with web browser.
For details of RS-232C commands, refer to RS-232C Communication / Network
command table
.
Connection
1.
Turn off the projector and the computer.
2.
Connect the projector's LAN port and the computer's LAN port with a LAN
cable. Use the cable that fulfills the specification shown in figure (Use CAT-5
or greater LAN Cable when LAN ports are used )
3.
Turn the computer on, and after the computer has started up turn the
projector on.
Command Control via the Network
LAN
LAN
LAN cable (CAT-5 or greater)
 Loading...