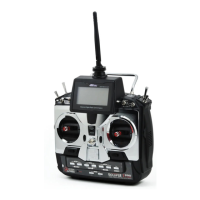
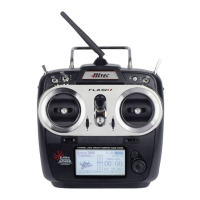
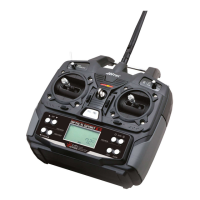
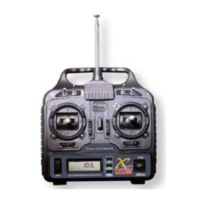
F) Steering Dual Rate
- Adjusts the overall travel of the steering servo.
- Turn the dial to the right in the direction of the arrow to increase steering (Maximum 125%).
- Turn the dial to the left to reduce the travel (Minimum 60%).
- Use this to fine tune your vehicles handling for the surface conditions.
- Use more steering travel for high traction surfaces and less for low traction surfaces.
G) ATL Switch
- Adjusts the brake servo or ESC (Electronic Speed Control) travel end point.
- Push the switch back to increase braking (Maximum 125%).
- Pull it forward to reduce the braking power (Minimum 0%).
- Note: Be aware that at 0% you will have no brakes.
H) Steering and Throttle Trims
- The trims are used to fine-tune the point where the servo returns to center.
- Adjust the ST-TRIM so your vehicle travels perfectly straight when the
steering wheel is centered.
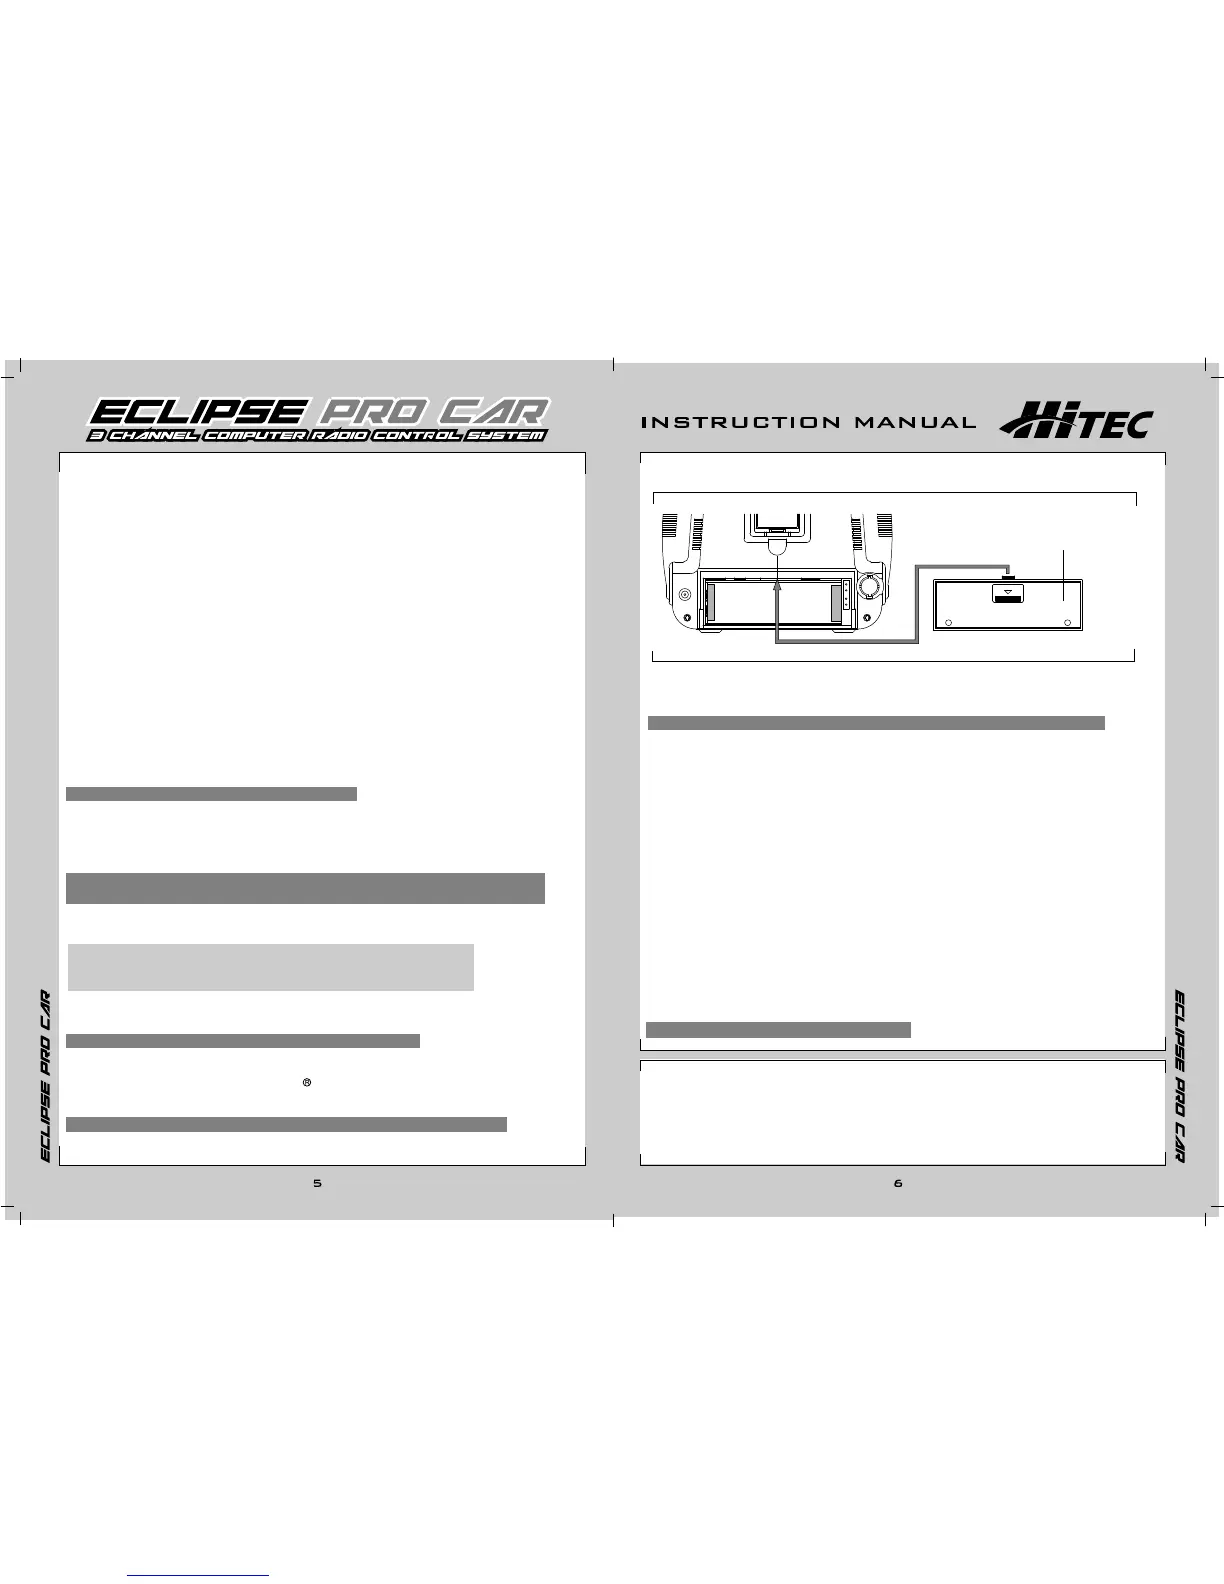
3. Transmitter Battery installation
- Press down on the battery cover and slide in the direction illustrated.
- Remove the cover and install the batteries as shown.
- If you are using the optional dry battery holder, part number 54410 be careful and
pay close attention to the polarity of each cell or you could damage the transmitter.
- Replace the cover; making sure it is closed securely.
I) Third Channel Linear Adjust
- Used to adjust the AUX servo to any position.
- Note: This feature is typically used for a mixture control in nitro boats.
J) Third Channel (Shift) Switch
- Used to shift gears in vehicles like the T-Maxx and others.
- Pulling the switch will move the AUX channel servo from one end of
its travel to the other (-100% to +100%).
- Note: You can adjust the overall travel with the AUX EPA (End Point Adjustment)
- Tip#1: Do not mount the horn on the servo until you turn on the radio and
center the trims and sub-trims.
- Tip#2: Always check your trims before you run or race.
- Use the THR-TRIM to adjust the "Drag Brake" or "Coast Brake"; this is the amount of
braking that occurs when the trigger is at neutral.
- Note: If you move the trim to its maximum and the vehicle does not go straight,
move the servo horn on the servo output spline or adjust the sub-trim to fix the problem.
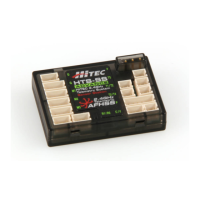
M) Charging Jack
- The charging jack, which is located at the back of the radio (bottom left), is used with the
Hitec CG-22A charger. The charger is included with your radio and can be used with the rechargeable
batteries.
- (See "recharging batteries" for more information about this feature.)
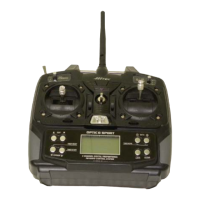
N) Steering Stick
- Used to control the steering of your vehicle.
O) Throttle Stick
- Used to control the throttle and braking of your vehicle.
- Push the stick forward for throttle, and pull it back for braking or reverse when using a
reversing electronic speed control.
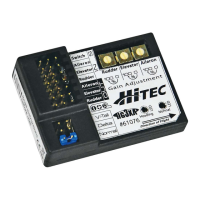
P) Module
- The replaceable module controls the frequency band and channel.
- Crystals may be interchanged if permitted.
- The Spectra synthesized module is available in certain versions or separately.
- The Spectra module will allow channel to be selected within the 40MHz band.
- To remove the module, press the tabs with your thumb and finger while pulling it outward.
- Note: Wiggle the module to help ease its removal.
Battery Cover
L) Antenna
- Always extend your antenna before turning on your transmitter.
- Your antenna may be removed by turning it counter clockwise.
- Warning: When collapsing your antenna, never push it from the top or it may bend!
K) Battery Cover
- Remove to change or remove the batteries.
C) Programming buttons
Function
Select
Data "+"
Data "-"
D) RF Indicator light
- This light will only be on, if the transmitter is sending a signal.
E) POWER Indicator light
- This light will only be on, if the power is on.
PUSH