MEASURING
Service +49(0)391 2514666 02/2017 Instruction Manual HMP LFGpro – en
Measuring Procedure
The base settings of the electronic settlement measuring instrument
comply with the ordered device type.
Individual adjustments can be carried out in the »Settings« menu
( page 16).
■
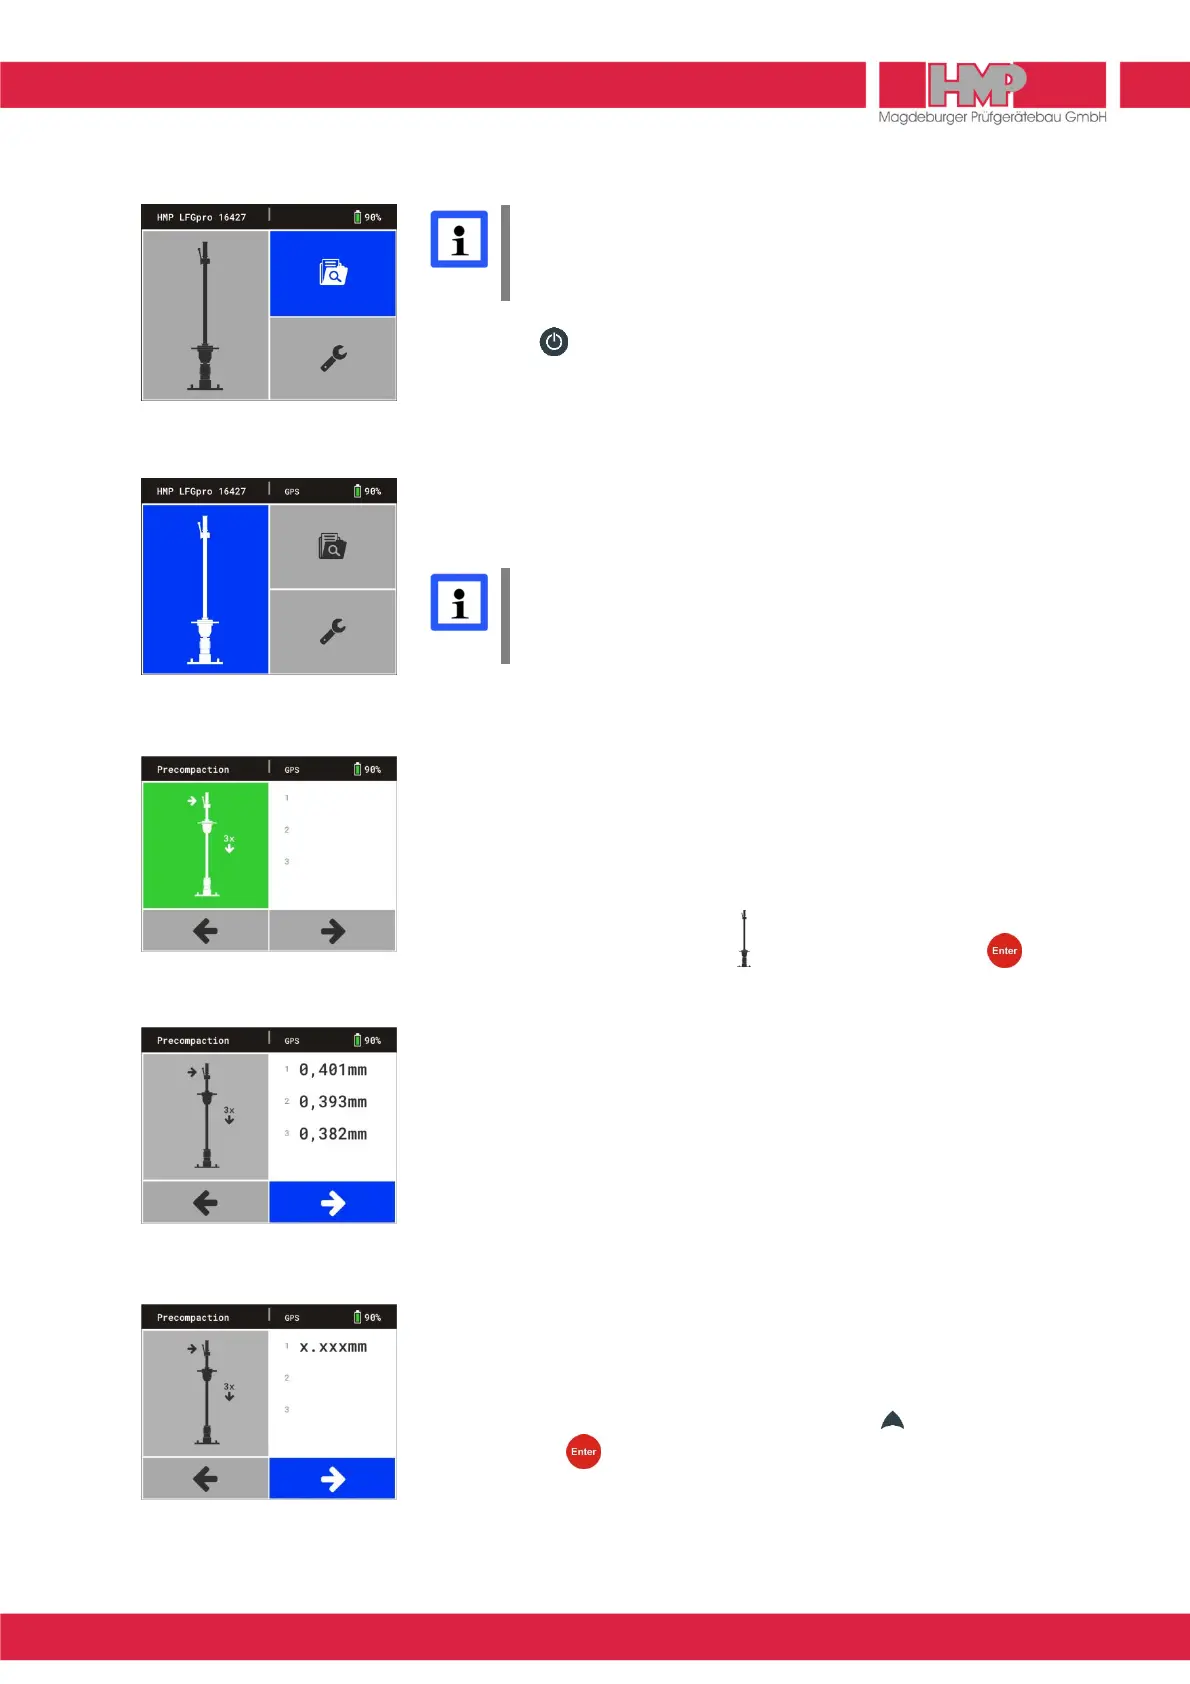
Press the key to switch on the settlement measuring instrument.
Device will be powered up and GPS starts.
The main menu (Figure 8) appears on the screen with type & number of
device (xxxxx) and state of charge of the measuring instrument in status line
as well as the several menu buttons in main area of display.
Button »Measured data« is active until GPS data are determined.
Then button »Measuring« will be activated (Figure 9) and »GPS« is
displayed in status line.
GPS data are only available and they will only be stored with the test
series, in case »GPS« is displayed in status line. In case of switching
to button »Measuring« manually, before GPS data were determined,
the measurement takes place without capturing the GPS data!
In case that measurement shall be carried out without recording the GPS
data, then in the menu settings/device »Off« has to be chosen for GPS
( page 17). Immediately after starting device the button »Measuring« is
active and the measuring process can begin.
Precompacting the test area
To achieve an optimal position of the load plate on the base precompact the
test area under the load plate by three impacts.
■
Confirm the button »Measuring« (Figure 9) by pressing the key.
The menu »Precompaction« (Figure 10) is displayed on the screen and
an acoustic signal is emitted.
■
Move the drop-weight fully up on the guide tube and lock it in the release
mechanism.
■
Use the bubble level (3) to align the guide tube until it is in vertical position.
■
Release the lever, the drop-weight falls onto the resilient element package.
■
Catch the rebounding drop-weight by hand and lock it back in the release
mechanism.
■
Repeat this procedure twice each after acoustic signal each.
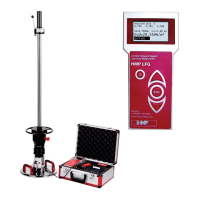
The button C will be activated automatically after precompaction (Figure 11)
and the measuring can then be started.
The button C is being activated after a short time (abt. 6 sec.) even without
precompaction impacts (Figure 12). In case that soil was already
precompacted, measurement can be started.
If precompaction shall be active again, proceed as follows.
■
Switch to button area/indicating area by pressing key.
■
Confirm with key.
An acoustic signal is emitted. Precompaction can be started or
continued.