2 of 25 AII 50024-50373 (1308) © 2013 American Honda Motor Co., Inc. – All Rights Reserved.
Quick Start Guide
TOOLS AND SUPPLIES REQUIRED
Phillips screwdriver
Diagonal cutters
Ratchet
8 mm, 10 mm, and 12 mm Sockets
10 mm Open end wrench
Isopropyl alcohol
Scissors
Shop towel
Ruler
Tape measure
HDS/MVCI
Electrical tape
Felt-tip pen
Tape
Masking tape
The following tools are available through the Honda Tool
an
d Equipment Program. On the iN, click on: Service >
Service Bay > Tool and Equipment Program, then enter
the number under “Search”. Or, call 888-424-6857.
• Trim Tool Set (T/N SOJATP2014)
• Plastic Trim Tool (T/N SILTRIMTL10)
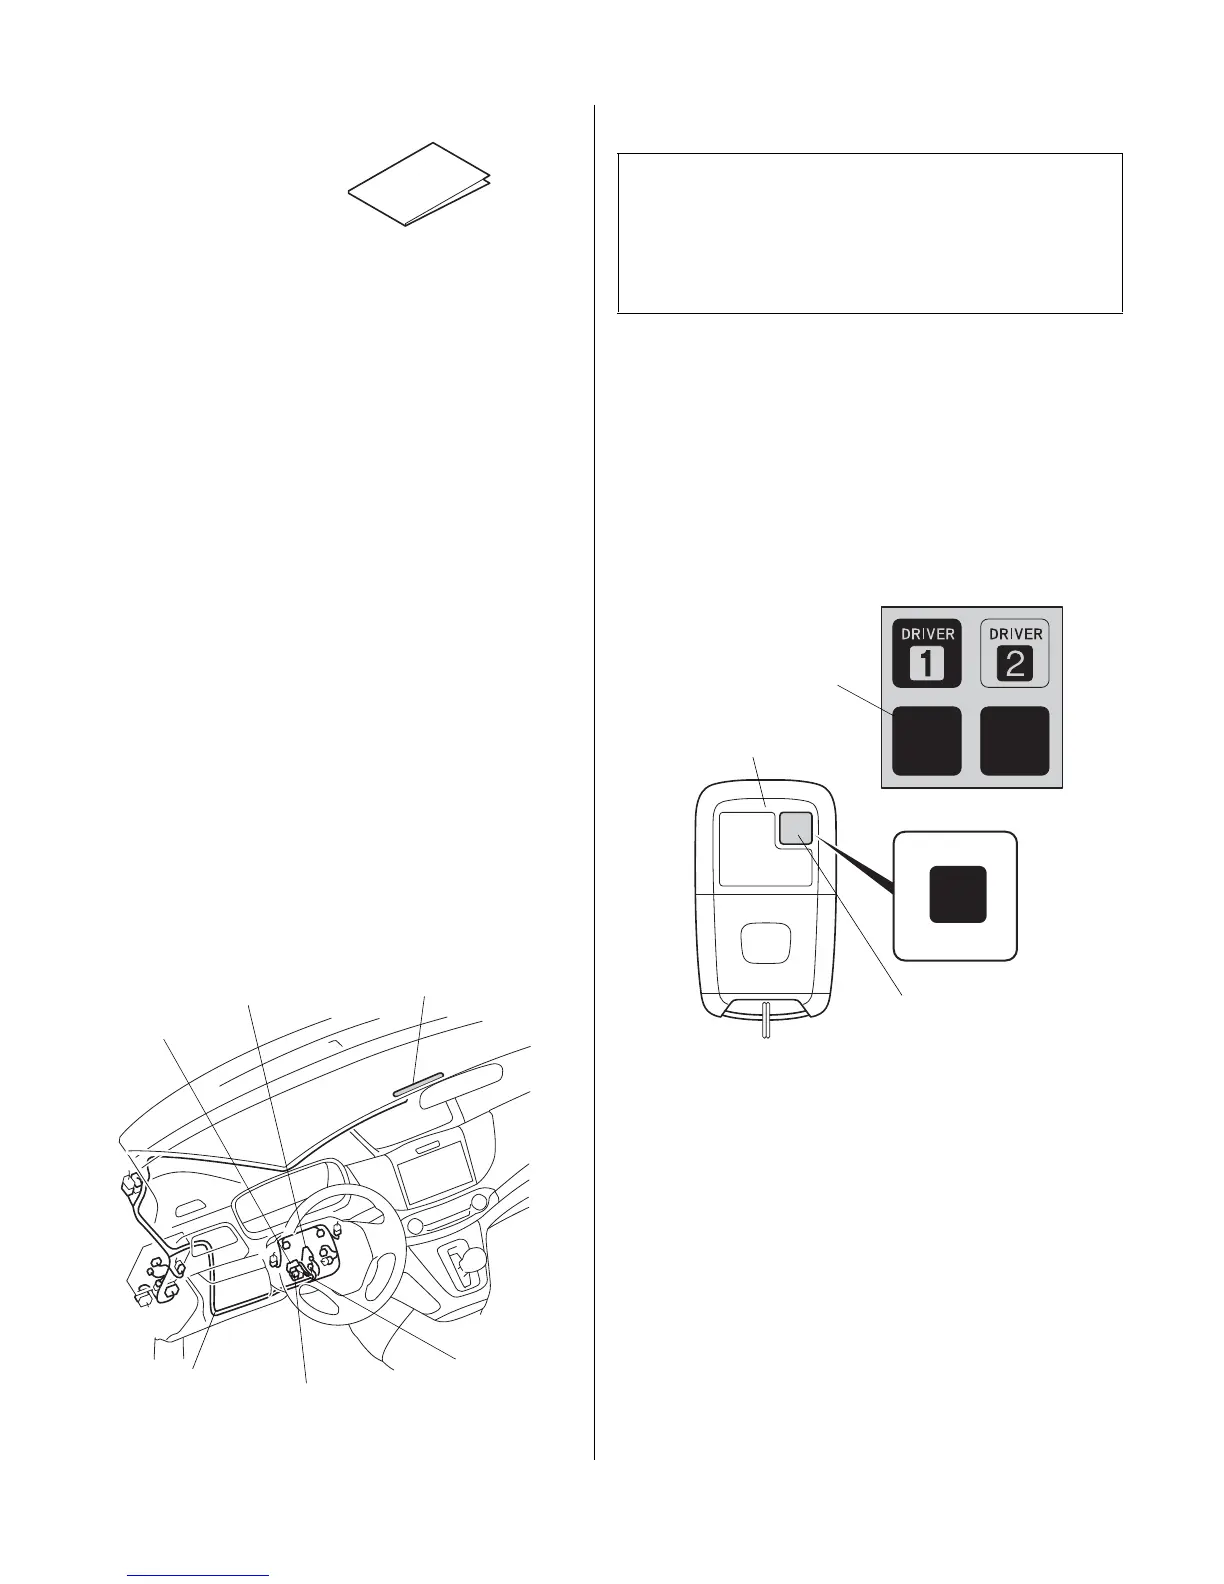
Illustration of the Remote Control Engine Starter
In
stalled on the Vehicle
40A FUSE
CONTROL UNIT
ANTENNA
3 RELAYS
3A FUSE
ENGINE
STARTER
HARNESS
INSTALLATION
Customer Information: The information in this
installation instruction is intended for use only by skilled
technicians who have the proper tools, equipment, and
training to correctly and safely add equipment to your
vehicle. These procedures should not be attempted by
“do-it-yourselfers.”
NOTE: This antenna should only be installed if the
a
mbient air temperature is 15°C (60°F) or above.
1. Move the driver’s seat all the way back.
2. Disconnect the negative cable from the battery.
3. Attach the ID label.
• Using isopropyl alcohol on a shop towel, clean
the
area where the ID label will attach.
• Attach the ID label to the
transmitter in the area
as shown.
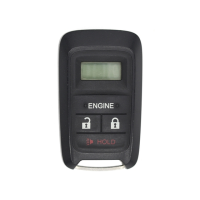
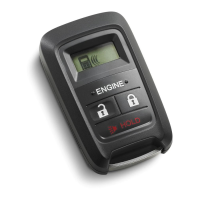
ID LABEL
TRANSMITTER
Clean with
isopropyl
alcohol.