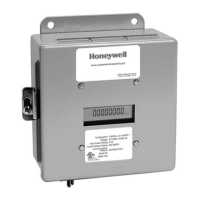
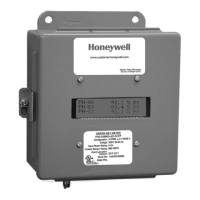
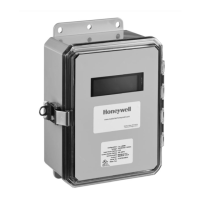
E-MON CLASS 3400 METER
25 62-0398—02
6.8.1 Hard Wired System using the RS-232
Communication Key (continued)
Fig. 11. RS-232 Configuration.
6.8.2 Connecting the RS-232 Key to the Computer
The RS-232 key is supplied with:
a. (1) 8-conductor cable fitted with RJ-45 plugs
b. (1) DB-9 serial COM port adapter
c. (1) AC adapter that converts 120VAC to 9VDC for powering the RS-232
key
Connection Steps:
1. Connect the 8-conductor cable to the left-side jack (labeled “RS232”) on
the rear panel of the RS-232 key.
2. Connect the appropriate COM port adapter (DB-9) to the serial port on the
back of the computer. Plug the 8-conductor cable from the RS-232 key into
the COM port adapter.
3. Connect the provided AC adapter into the rear panel input on the RS- 232
key. Plug the adapter into a 120VAC outlet. On the front panel of the RS-232
key, two LEDs (POWER ON and AC ON) will light up.
NOTE: When the Honeywell E-Mon Energy™ software is accessed on the com-
puter, a third LED (RS232 READY) will turn on. This indicator will light up
as soon as the Honeywell E-Mon Energy software is booted up and the
correct COM port is set up via the settings provided in the software’s
Locations menu.
CHANNEL 2
~
~
~
~
CHANNEL 3
UP TO 4000
FEET TOTAL
RS-232
KEY*
RS-232 SERIAL
PORT COM1
OR COM2
UP TO 52
CLASS 3400
METERS
M33318
UP TO 4000
FEET TOTAL
UP TO 52
CLASS 3400
METERS
CHANNEL 1
AC ADAPTER
PC
15 FEET MAX
62-0398-02.fm Page 25 Tuesday, May 8, 2018 10:22 AM
 Loading...
