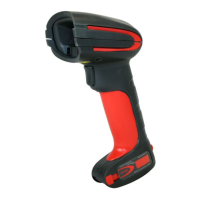
1-13
To see this example, align the aimer with the signature area (not with the bar code), then press the trigger.
Send the following IMGBOX command string after the button push:
Example: IMGBOX245w37h55y.
Note: Case is not important in the command string. It is used here only for clarity.
The following image is captured:
The IMGBOX commands have many different modifiers that can be used to change the size and appearance of the signature
image output by the scanner. Modifiers affect the image that is transmitted, but do not affect the image in memory. Any number
of modifiers may be appended to the IMGBOX command.
Note: The IMGBOX command will return a NAK unless a window size (width and height) are specified. See H - Height of
Signature Capture Area (page 1-14) and W - Width of Signature Capture Area (page 1-15).
IMGBOX Modifiers
A - Output Image Width
This option is used to size the image horizontally. If using this option, set the resolution (R) to zero.
B - Output Image Height
This option is used to size the image vertically. If using this option, set the resolution (R) to zero.
D - Pixel Depth
This indicates the number of bits per pixel in the transmitted image, which defines whether it will be grayscale or black and
white.
8D 8 bits per pixel, grayscale image (default)
Example of Image Width set to 200A:
Example of Image Width set to 600A:
Example of Image Height set to 50B:
Example of Image Height set to 100B:

 Loading...