Honeywell
16 73020212j © Elster GmbH | All rights reserved. Subject to modification
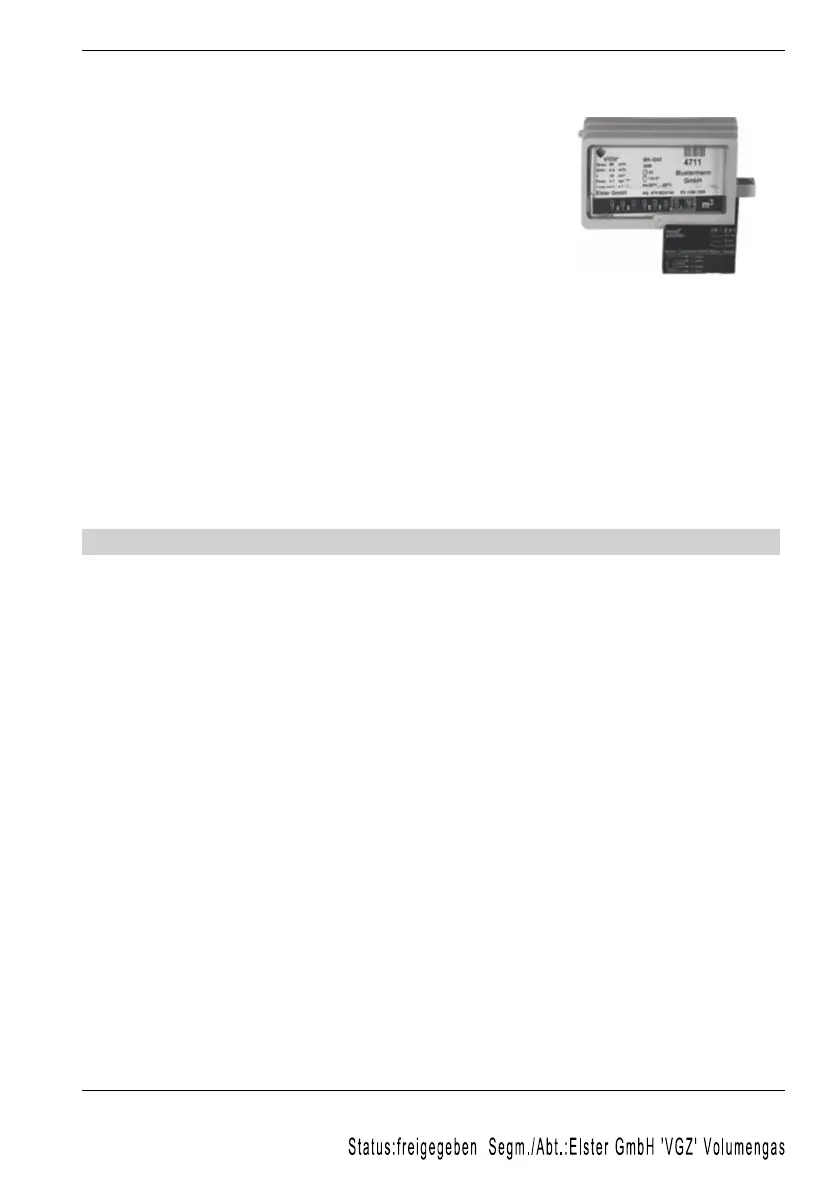
Connecting the pulse generator:
Attach the pulse generator in the opening
located on the bottom of the index and swing it
into the sealable plug connector on the right-
hand side of the index. Now secure it with the
enclosed rivet and seal (for this you will need a
pair of sealing pliers or a similar tool).
Pull the locking pin provided with a snap
mechanism out of its guide (only for IN-Z61).
Then connect the plug at the end of the prefabricated cable in the
designated opening on the bottom of the pulse generator.
Secure the plug by re-inserting the locking pin into its guide (only for IN-
Z61).
Assign the terminals in accordance with the pin assignment on the pulse
generator.
IN-Z61, IN-Z62, IN-Z63, IN-Z64 and IN-Z65 can be retrofitted onto the Z6
index at any time without breaking the metrological seal.
6. RFID passive tag
The following conditions apply to meters marked with and fitted
with an RFID passive tag:
Under standard EN 60079-14, they must not be used in an
environment with high electromagnetic fields with an effective
value of over 1 A/m or 3 V/m.
The RFID devices required for reading must be certified
separately for the appropriate explosion-hazard areas or may
only be used in safe areas.
The transmission rating of the RFID readers must not exceed
the maximum limits set out in EN 60079-14.
 Loading...