9 69-1285—2
Table 2. Terminal Designations on Old and New Thermostats.
a
If both RH and R terminals are present on existin
thermostat, remove jumper and connect Rh to R and R to Rc.
b
Do not connect both O and B when wirin
e heat pump. Connect O to O. Tape off B.
c
Tape off end of the wire with electrical tape and push the taped wire back into the wirin
hole in the wall.
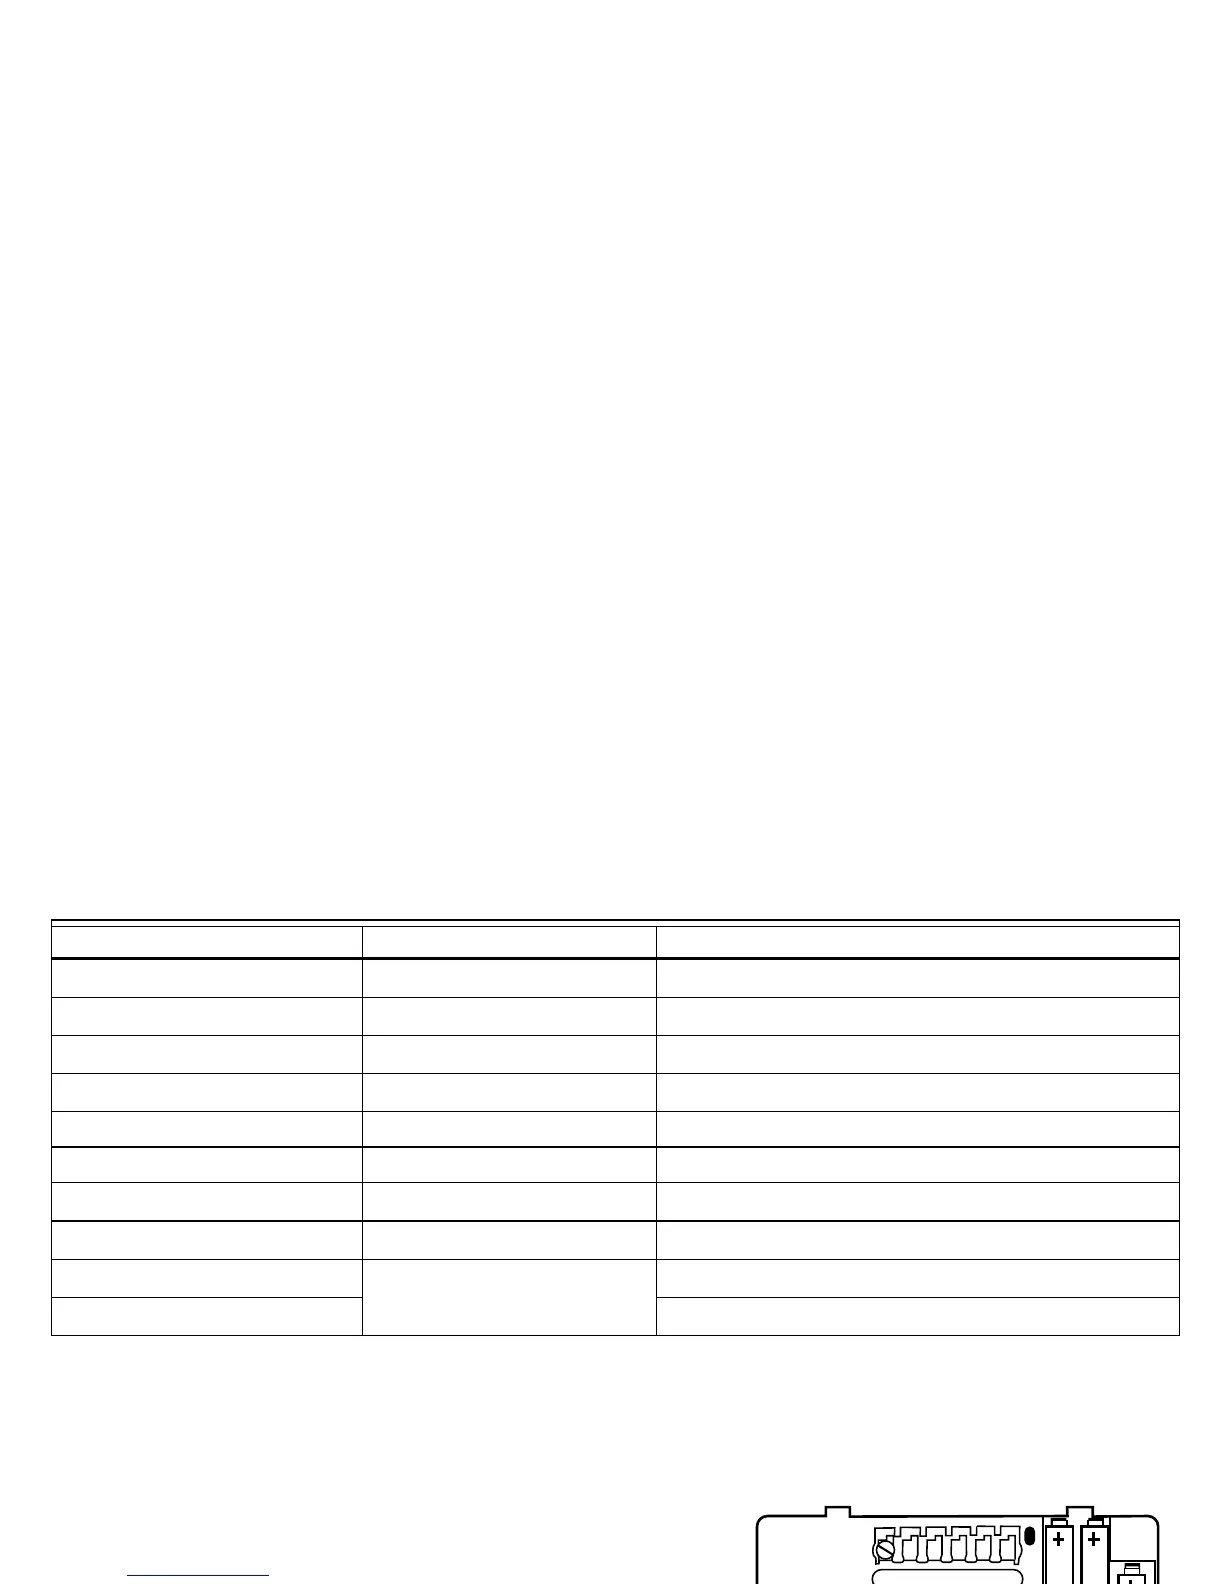
STEP 5. INSTALL THE BATTERIES
IMPORTANT
Three AA alkaline batteries are included with the thermo-
stat. Batteries must be installed for programming and opera-
tion of the thermostat and the heating/cooling system.
❑ Install the batteries in the wallplate so the positive terminals all
point up (see illustration).
❑ If the thermostat is alread
mounted on the wall, remove the
thermostat b
our thumb between the thermostat and
wallplate and pullin
the thermostat up and awa
as shown.
Terminal on Old Thermostat Connect To Description
R, RH
a
, 4, V
R Power
Rc, R
a
Rc Power for coolin
W, W
1
, H W Heat
Y, Y
1
, M Y Coolin
).
C
c
, X
c
, B
b
Do not connect. Transformer common
W
2
, H
2
Do not continue installation.
Call 1-800-468-1502.
Second sta
e cool.
M10622
INSTALL 3 AA ALKALINE BATTERIES
AS SHOWN, POSITIVE (+) TERMINALS
TOWARD TOP.
WALLPLATE
B
RRCOWYG
 Loading...