19
Once you have determined the location and placed the Experion
Orion Console into the final position, you will need to level the
Experion Orion Console. Contained in the Experion Orion Console
toolkit is a spirit level and a spanner for adjusting the leveling bolts
located on the bottom of the console feet.
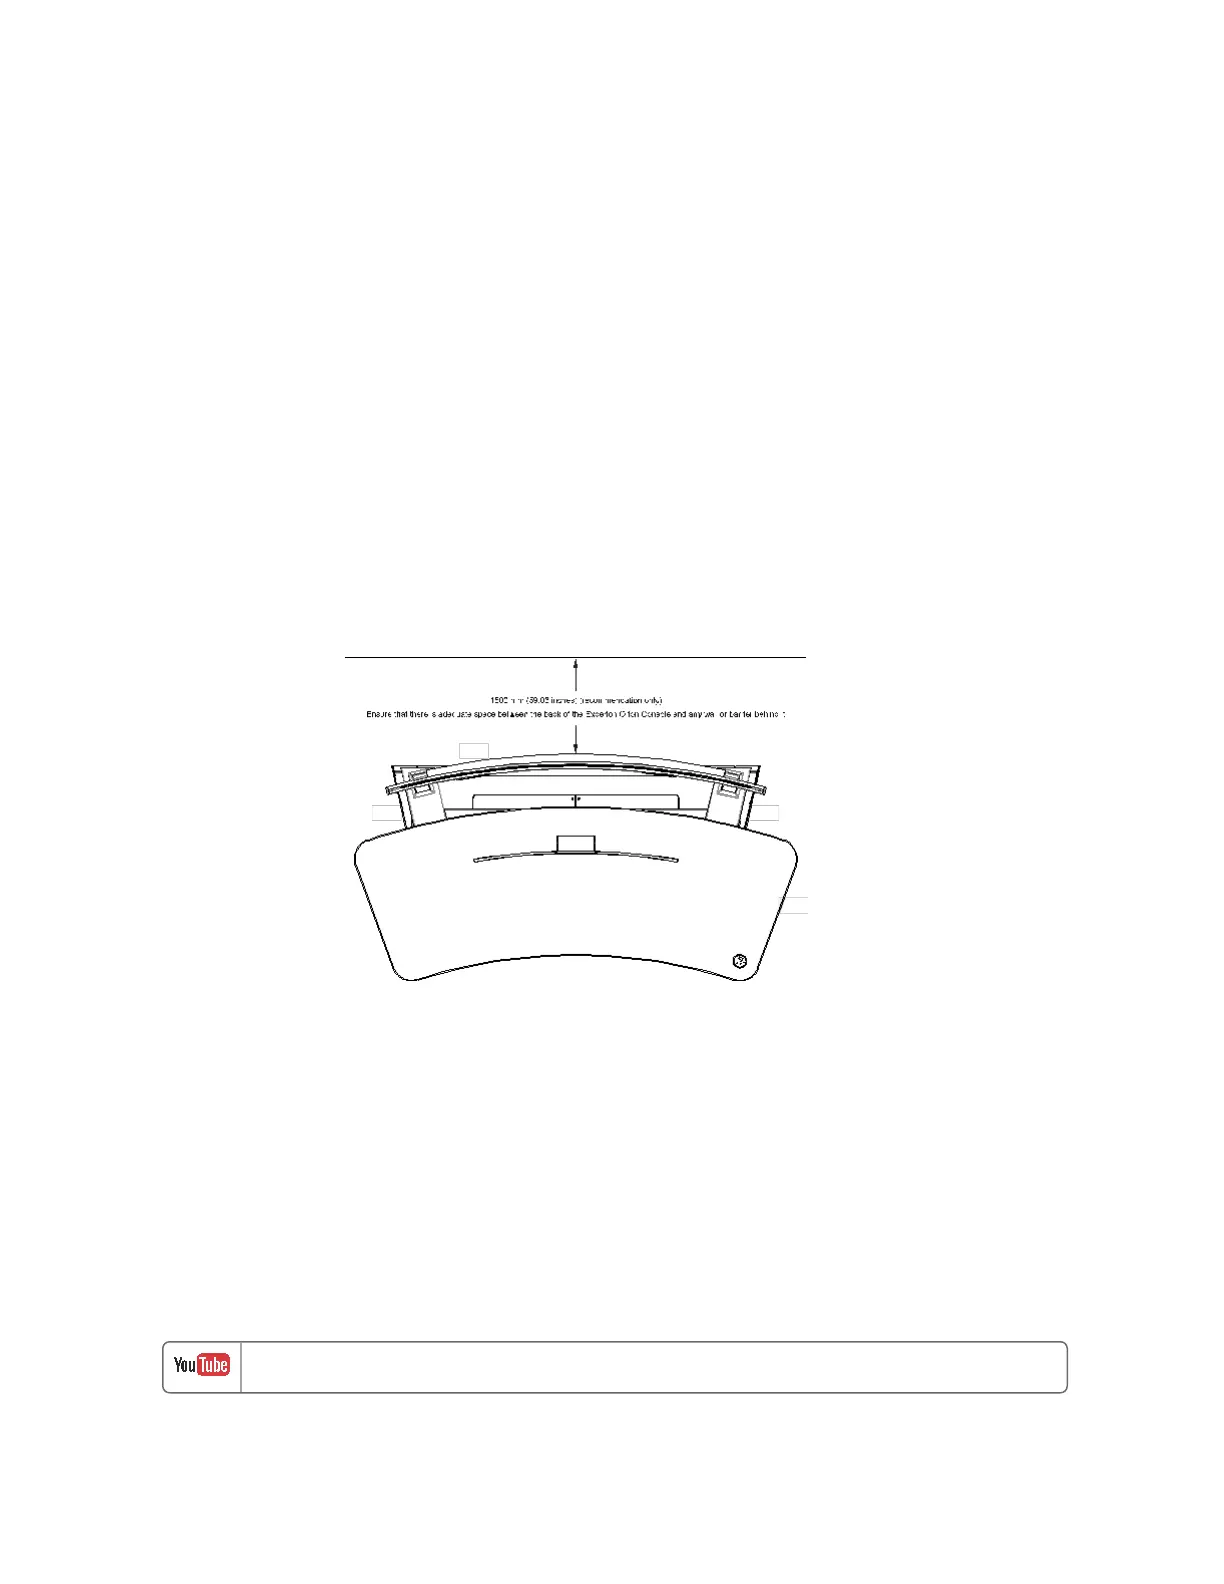
Space considerations
The entry door for the equipment tray is located at the rear of the
Experion Orion Console. Once the console has been installed, you will
need access to this entry door to install and maintain equipment
contained in the equipment tray. Therefore, you need to allow for
adequate space between any wall or barrier that is located behind the
console and the rear of the console.
Figure 3-2: Space considerations at the rear of the Experion Orion
Console
Electrical and data connections
For more information about electrical and data connections, see the
Experion Orion Console Specification.
Attaching the work surface to the Experion
Orion Console base
Attach the work surface, which includes the slat posts, slat rail, and
slat wall, to the Experion Orion Console base.
The instructions for attaching the work surface to the Experion Orion Console
Chapter 3 - Installing an Experion Orion Console
 Loading...