Installation Guide and Operating Manual // Model FS20X™ Series
Honeywell 15
Start-Up and Commissioning (continued)
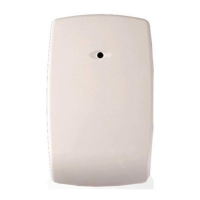
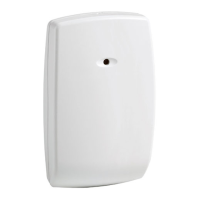
Remember to disable the outputs, as a full functional test includes activating the ALARM outputs. A
Honeywell Analytics Test Lamp must be used for this test (Section 4.4). Point the Test Lamp directly at the
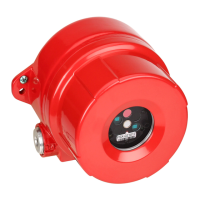
front of the Detector (on axis as much as possible, within a distance of about 1 to 25 feet). Activate the Test
Lamp by pressing and holding its pushbutton. While watching the ALARM LED on the face of the Detector,
slowly move the Test Lamp’s boresight to ensure the Detector receives its full intensity. (
UNOTE: Practicing
this technique may help to optimize testing of the FSX DetectorsU). (Sections 3.6 and 4.4). The
Detector’s ALARM LED will illuminate, usually within three (3) to ten (10) seconds. Also, the ALARM Relay
outputs will activate and the 4-20 mA analog output will increase to 20 mA (±0.6 mA).
If the Detector fails to respond within ten (10) seconds, do the following:
1. Wait ten (10) to twenty (20) seconds before performing another test.
2. Check the Distance: verify that the testing distance is between one (1) and twenty-five
(25) feet from the FSX Detector(s).
3. Check Aiming Accuracy: verify that the proper testing technique (as described above) is
followed.
 Loading...
