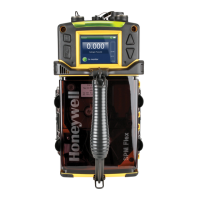
10.5 Bulb Replacement
In the event of a bulb failure, you may replace the bulb with Honeywell part number FSL100-TLBU only. However, Honeywell
recommend that this is only carried out by competent personnel, or that the Test Lamp is returned to Honeywell for repair.
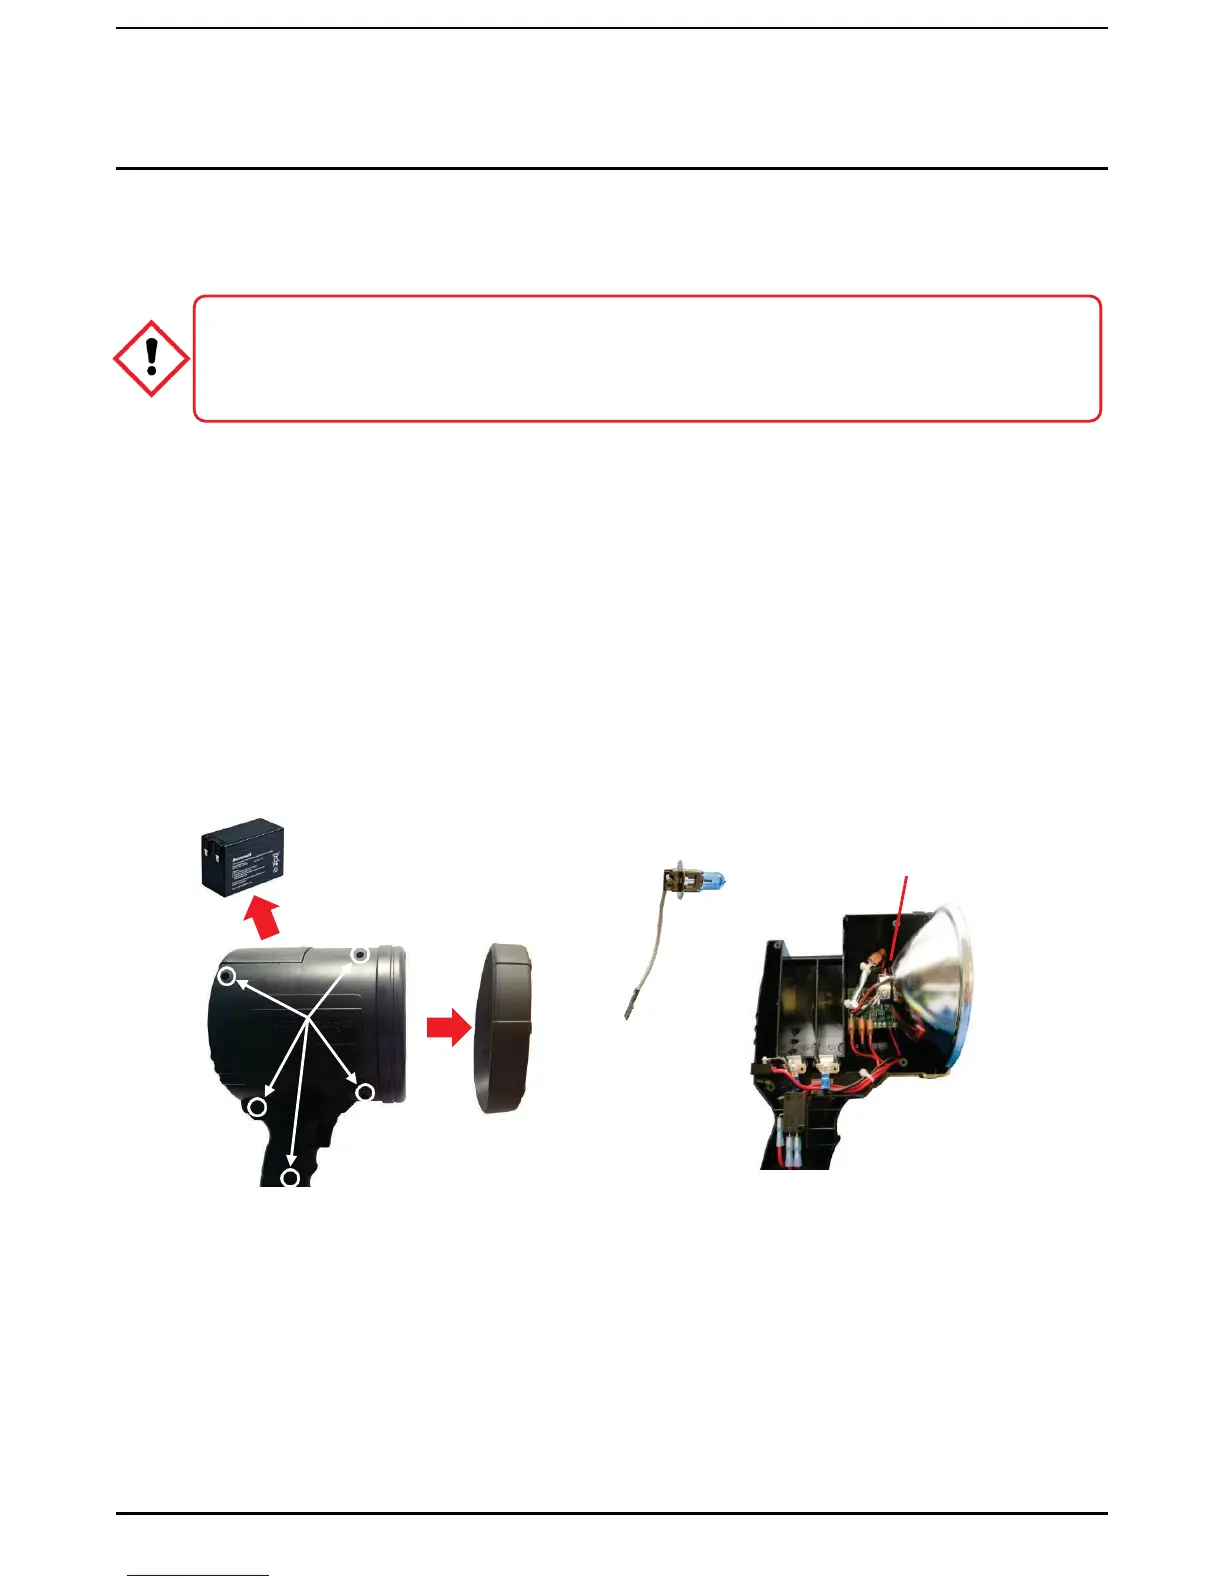
1. Remove the battery cover and then remove the battery (Step 1).
2. Remove the protective ring from the front of the test lamp (Step 2).
3. Vertically cut the label on the rear seam (Step 3).
4. Remove qty. 5 screws (Step 4).
5. Carefully separate the two casing halves.
6. Hold the reflector in place and remove the bulb clip by squeezing the legs (Step 7).
7. Remove the bulb from the reflector and disconnect the lead from the connector.
8. Connect the new bulb lead to the connector.
9. Insert the bulb into the reflector.
10. Place the bulb clip over the bulb and lock it in into the bushing.
11. Reassemble the two casing halves and refit the 5 screws.
12. Refit the battery and battery cover.
13. Test the lamp.
14. Refit the protective ring.
Step 3
Step 1
Step 4
Step 2
Step 7
Figure 19. FSL100-TL Bulb Replacement Exploded View
 Loading...