6 LCD-SLP Product Installation Document — P/N LS10045-000GF-E:E 12/16/2019
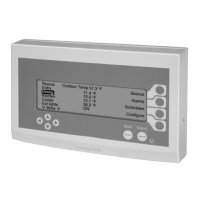
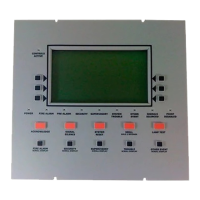
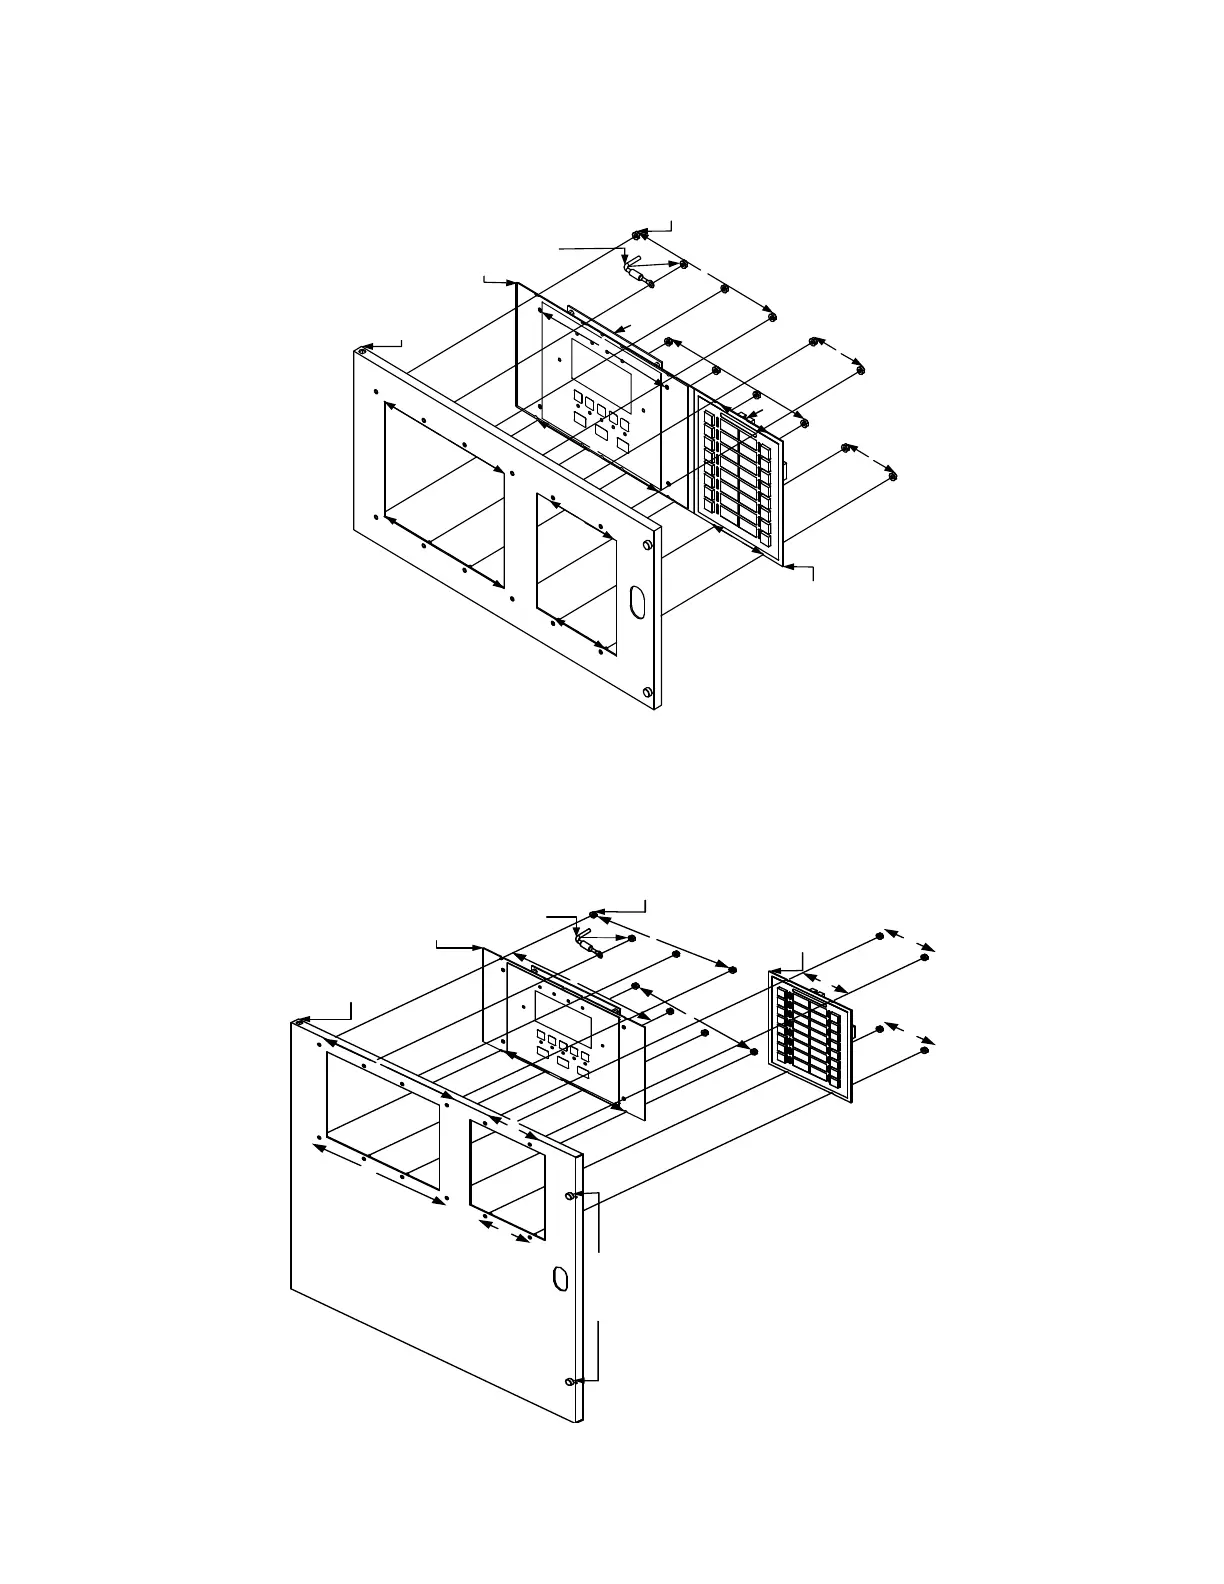
2.7.1.3 LCD-SLP Installed to the Cabinet AA 2-Bay Inner Door
1. Mount the LCD-SLP keypad to the inner door. Insert and secure eight nuts (#6-32) into the eight-hole mounting pattern as
shown in Location 1 of the figure below.
Figure 2.7.1.3.1 LCD-SLP Installed to the Cabinet AA, 2-Bay Inner Door
2.7.2 LCD-SLP Installed to the E3 Series, Cabinet B Inner Door
1. Mount the LCD-SLP keypad to the inner door. Insert and secure eight nuts into the eight-hole mounting pattern as shown in
Location 1 of the figure below.
Figure 2.7.2.1 LCD-SLP Installed to the Cabinet B Inner Door
NUT, HEX
(#6-32)
12 PLACES
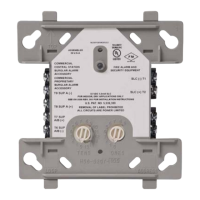
ASM-16
1
1
1
1
2
2
2
2
3
3
1
BONDING
WIRE
CABINET AA, 2-BAY,
INNER DOOR
LCD-SLP
KEYPAD
1
2
2
1
LCD-SLP
KEYPAD
ASM-16
CABINET B,
INNER DOOR
2
2
2
1
2
NUT, HEX
(#6-32)
12 PLACES
1
1
1
2
BONDING
WIRE
3
3
THUMBSCREWS
TO SEC U R E THE
INNER DOOR TO
THE BACKBOX
4
4
1
1
 Loading...