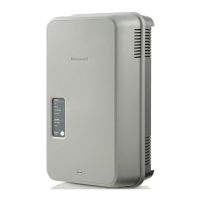
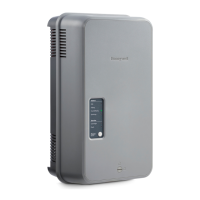
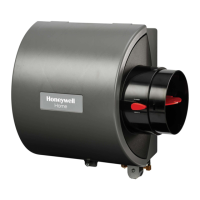
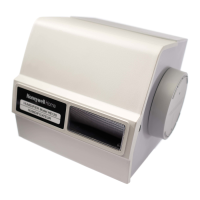
HM750A1000 Advanced Electrode Steam Humidifier
QUICK INSTALLATION GUIDE
READ AND SAVE THESE INSTRUCTIONS.
This guide should be kept by the installer. Comprehensive information
and best practices are available in the complete product guide available at
customer.honeywell.com
INCLUDED IN THE BOX
• HM750 steam humidifier
•
H6062 HumidiPRO
•
Steam distributor noz
zle
•
Rubber drain hose
•
LDPE water hose
•
Baffle (duct mount only)
•
F
oam gasket (duct mount only)
•
Steam hose (wall mount only)
•
Fittings, hardware, and mounting
templ
ate
NOTE
The humidifier comes with a salt tablet inside its cylinder to boost
conductivity during humidification. The salt tablet may make a rattle noise
when the humidifier is moved.
TOOLS AND SUPPLIES NEEDED
• Flat-head screwdriver • Phillips screwdriver
•
Wrench •
Copper pipe (optional)
MOUNTING
Location Requirements
The HM750 can be installed on a 2x4 stud beside the furnace or directly on
the air supply duct. Keep the following in mind when choosing a location to
install the humidifier:
•
The humidifier must be level and m
ounted vertically to 2x4 stud or supply duct.
Allow minimum clearances shown in Fig. 1.
•
The location must have ambient temperature bet
ween 41 and 104 °F
(5 - 40 °C) and relative humidity of 595% (non-condensing).
24 INCHES (610 MM)
4 INCHES (102 MM)
1 INCH
(25 MM)
41˚ - 104˚ F
(5˚ - 40˚ C)
5-95%
1 INCH (25 MM) IF WIRED BEFORE MOUNTING.
36 INCHES (914 MM) FOR WIRING ACCESSIBILITY.
1
1
Fig. 1. Recommended clearances.
AIR FLOW
AIR FLOW
Fig. 2. Wall mount. Fig. 3. Duct mount.
Mounting to a Wall
The HM750 comes in wall-mount configuration. In this configuration, the
humidifier can be mounted to a 2x4 stud and the steam distributor nozzle,
located at the end of a 5 ft. (1.5 m) steam hose, is inserted through the air
supply duct (see Fig. 2).
NOTE
Use #8 screws at least 2 in. (5 cm) in length (included) to mount directly to a
2x4 stud Use longer screws if the stud is behind a drywall or other spacer.
NOTE
The steam distributor nozzle MUST be installed higher than the humidifier
(see Fig. 2. The steam hose should maintain an inclination of at least 4
inches (10 cm) of rise for every 12 inches (30 cm) of run.
1.
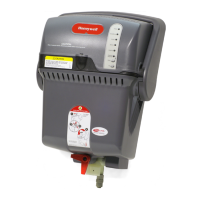
Remove the humidifier cover and pull out the cylinder
. Insert the top screw
until 1/4 in. (6 mm) is exposed. Hang the humidifier via its keyhole on the
screw head (see Fig. 4).
2.
Af
ter making sure the humidifier is level, affix it to the stud with another
screw at the lower stud-mount location (Fig. 4).
KEYHOLE
STUD
DUCT
Fig. 4. Mounting locations (rear view).
3. Drill a 13/4” hole in the duct for the steam distributor nozzle. Attach the steam
hose to the distributor nozzle and the remote adapter on the humidifier. Then
insert the steam distributor nozzle and secure it with screws.