EasyManuals Logo

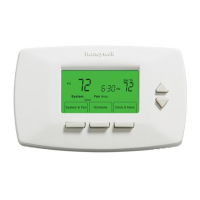
Honeywell RTH7600 Series Installation Instructions

Honeywell RTH7600 Series
60 pages
To Next Page IconTo Next Page
To Previous Page IconTo Previous Page
Page #24 background imageLoading...
Page #24 background image
Advanced Installation Guide
69-2206ES—05 22
About your new thermostat
SETUPWIRINGASSISTANCETROUBLESHOOTING
Connect wires: Heat Pump
1. Match each labeled wire with same letter on new
thermostat.
2. Use a screwdriver to loosen screws, insert wires into
hole, then tighten screws.
3. If E and Aux do not each have a wire connected,
use a small piece of wire to connect them to each
other.
4. Push any excess wire back into the wall opening.
Labels don’t match?
If labels do not match letters on thermostat, see page
23.
M28104
Aux
E
L
C
G
Y
O/B
RC
R
LABELED WIRES
SCREW
HEAT PUMP
INSERT WIRES
THEN TIGHTEN SCREWS
WIRE HOLE
Y
G
R
Aux
O
HEAT PUMP
Wiringheat pump

Other manuals for Honeywell RTH7600 Series

Questions and Answers:

Question and Answer IconNeed help?

Do you have a question about the Honeywell RTH7600 Series and is the answer not in the manual?

Honeywell RTH7600 Series Specifications

General IconGeneral
Programmability7-day programmable
Temperature Range40°F to 90°F (4°C to 32°C)
Accuracy+/- 1°F
Hold FunctionYes
Filter Change AlertYes
Power SourceBattery and/or Hardwired
CompatibilityGas, oil, electric, heat pump systems
Temperature ControlPrecise temperature control of +/-1°F
Stages2 Heat/2 Cool
Display TypeTouchscreen
Weight6.4 oz (181 g)

Related product manuals