2. Mount the mounting plate to the wall using any of the screw holes. Insert and tighten mounting screws supplied
with the cover plate. Do not overtighten. Make sure the mounting plate is level. See Figure 2a (square) or 2b
(rectangle).
3. Attach the UWP by hanging it on the top hook of the mounting plate and then snapping the bottom of the UWP
in place. See Figure 3.
4. Snap the Cover Plate onto the mounting plate. See Figure 4.
If there are no existing wall anchors, you can follow the same instructions for the UWP Mounting System
installation to install the cover plate. Just use 2 screws rather than 3.
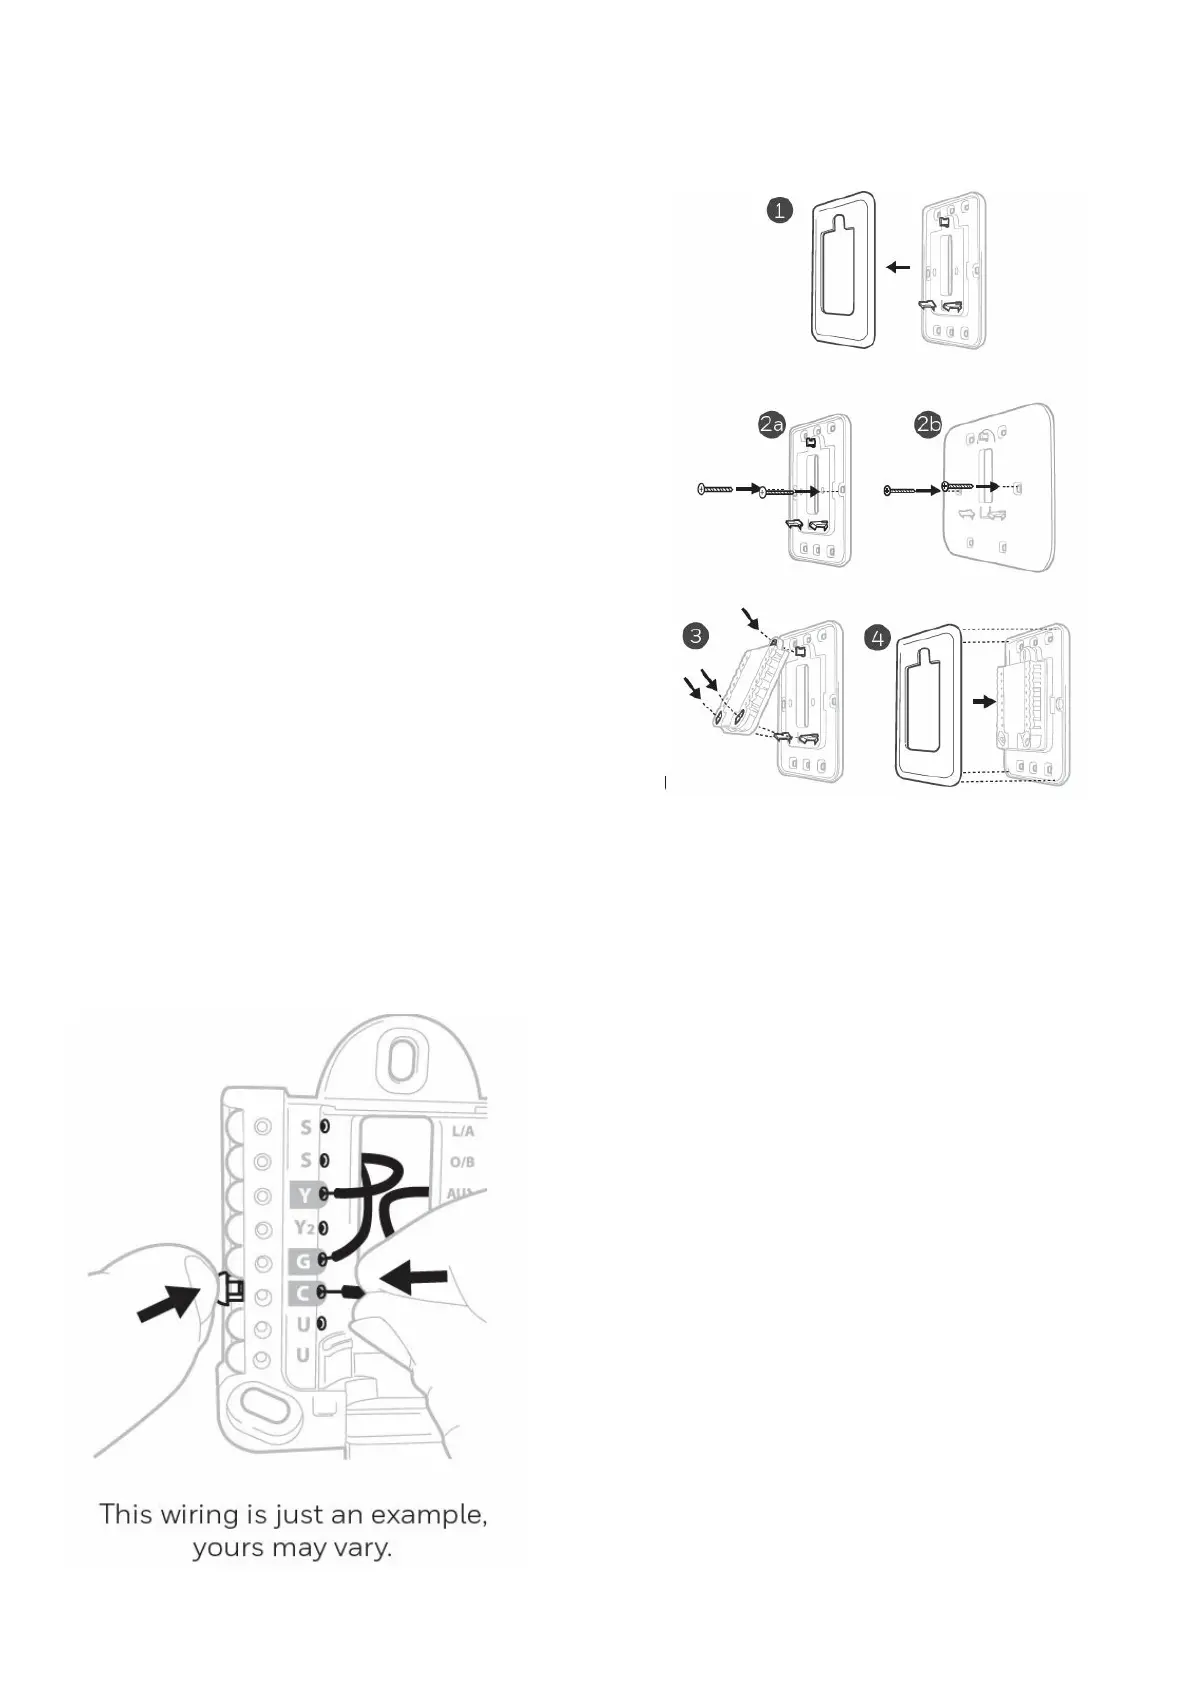
Wiring UWP
Push down on the tabs to put the wires into the inner holes of their corresponding terminals on the UWP (one wire
per terminal) until they are firmly in place. Gently tug on the wires to verify they are secure. If you need to release the
wires again, push down the terminal tabs on the sides of the UWP.
Terminal designations
 Loading...