power supply.
Installer setup – using the thermostat
Setup using the thermostat
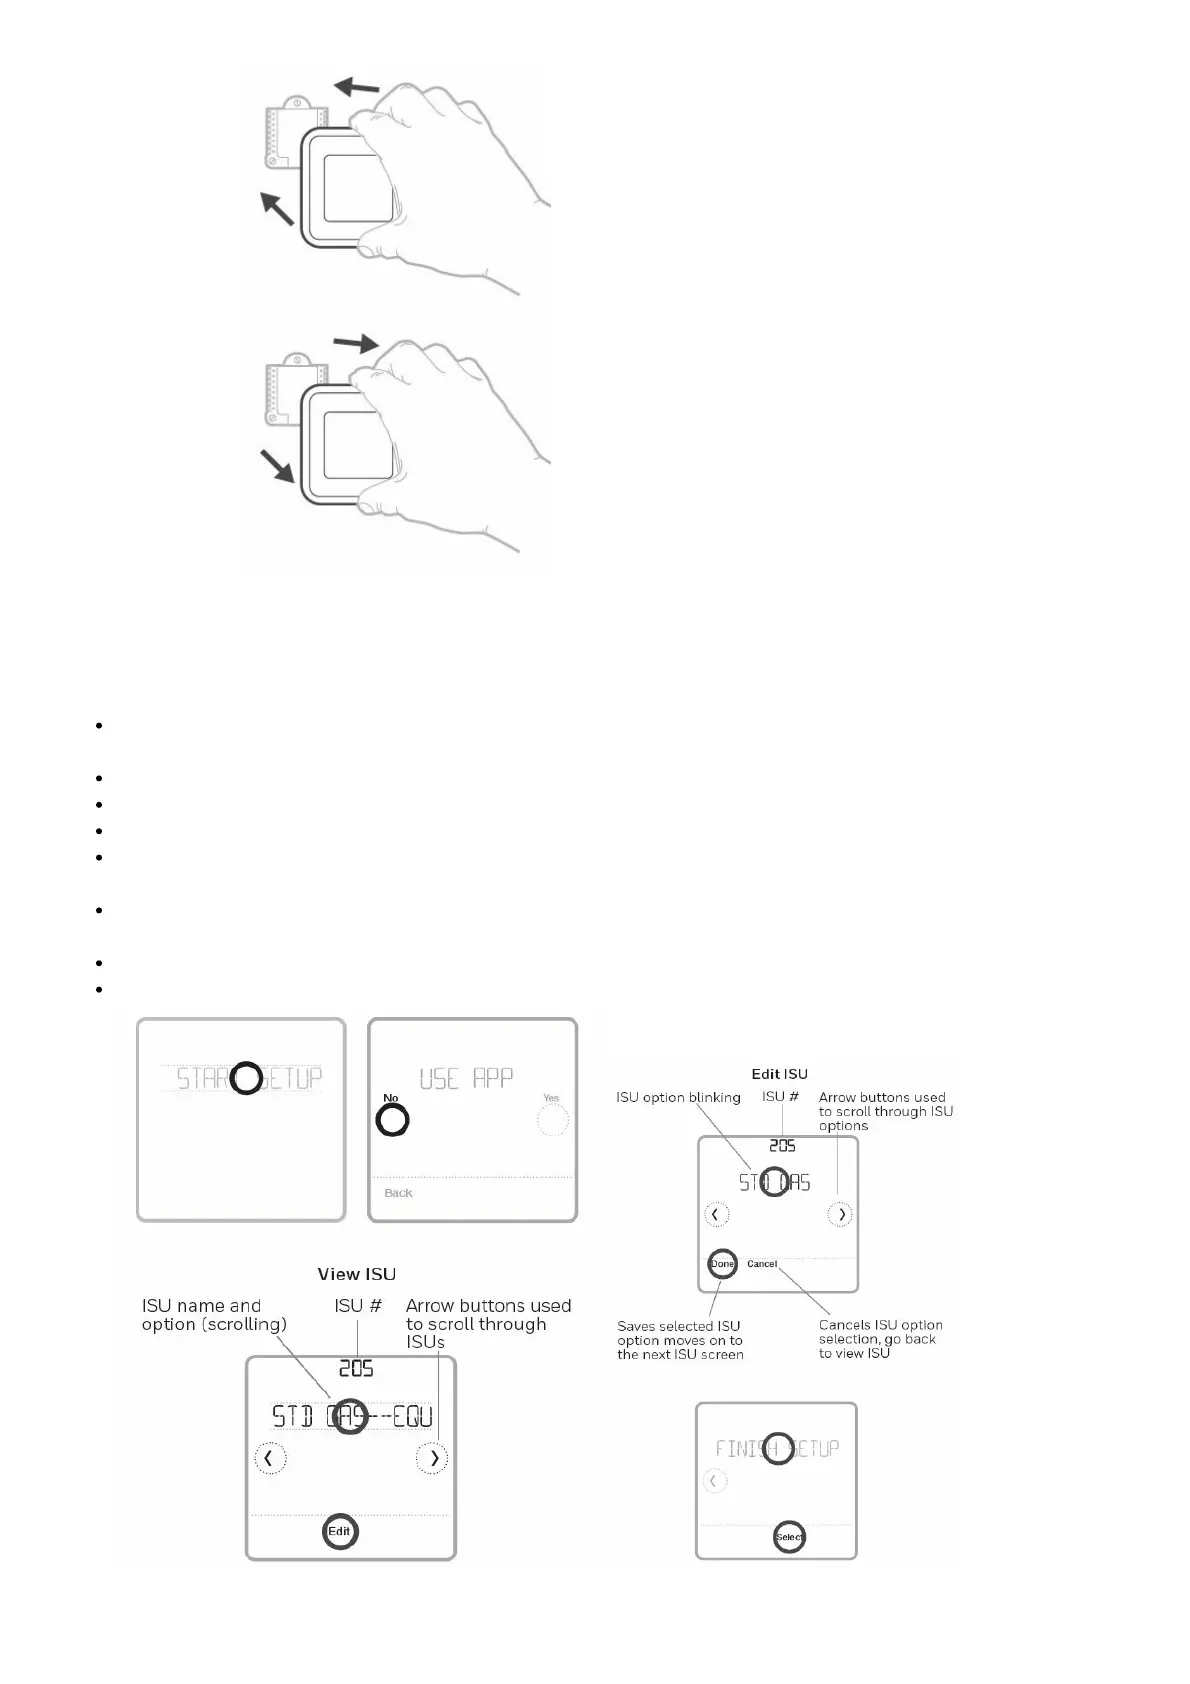
After the thermostat has powered up, touch START SETUP on the thermostat. You’ll be asked if you want to
perform setup via app. Touch No.
Touch or to toggle between Installer Set Up (ISU) options.
Touch Edit or touch text area, and then touch or to edit default setup option.
Touch Done or touch text area to confirm the setting or press Cancel.
Touch or to continue to setup another ISU option.
NOTES:
To see a list of all setup parameters, go to “Installer setup options (ISU) – advanced menu” on page 11. The
thermostat displays the ISU name and the ISU number.
To finish setup and save your settings, scroll to the Finish screen at the end of the ISU list.
Touch Select or touch text area to save changes and exit, or touch to return to initial setup screen.
Installer setup – using the Honeywell Home app
 Loading...