EN
11
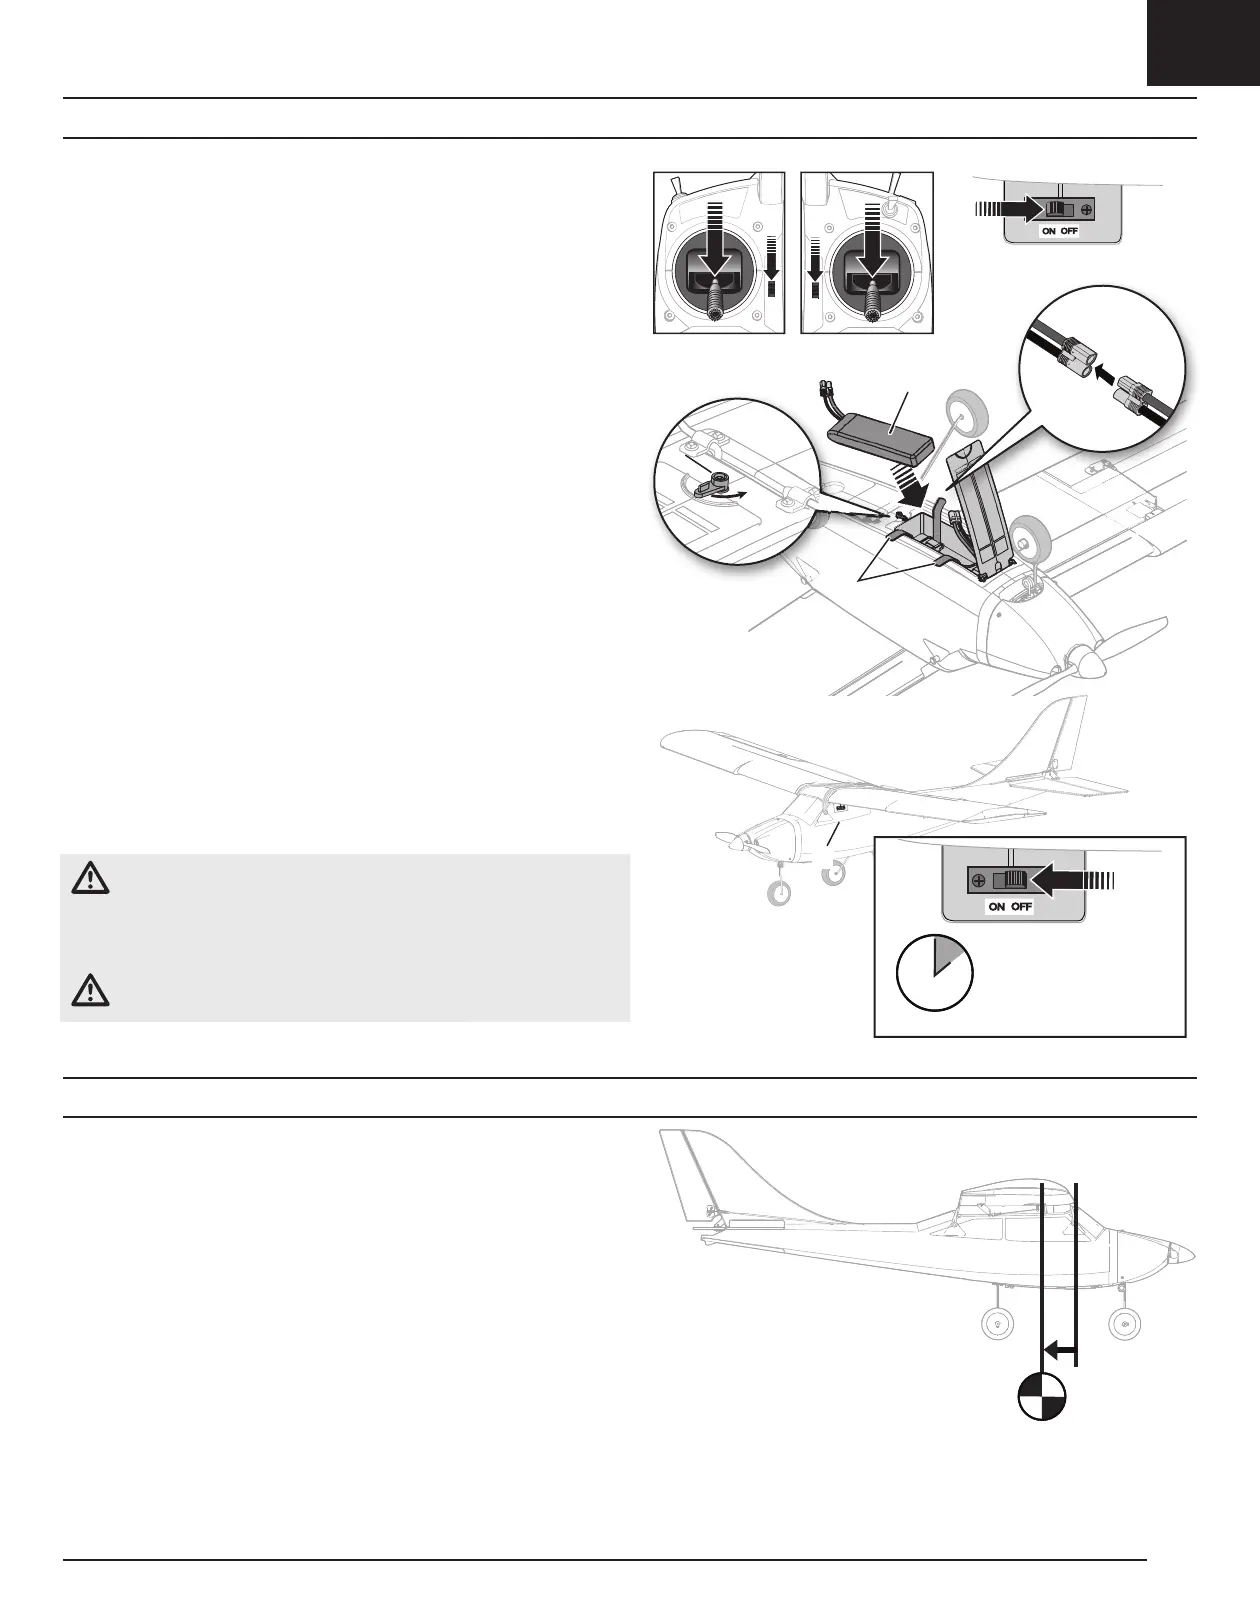
Flight Battery Installation, SAFE system and Electronic Speed Control (ESC) Arming
1. Rest the aircraft on a fl at surface with the landing gear facing up and make
sure the switch is OFF.
2. Turn the latch (A) and open the battery hatch.
3. Lower the throttle and turn on the throttle hold switch, then power on the
transmitter for at least 5 seconds.
4. Connect the fl ight battery to the aircraft.
5. Secure the fl ight battery (B) in the battery compartment using the hook and
loop straps (C) so that the aircraft has a balanced Center of Gravity (CG).
TIP: Connect the battery to the fl ight controller plug before securing the battery.
Tuck the battery wires through the opening in the battery compartment. Then
secure the battery with the hook and loop straps.
Important: Before fl ying, refer to the “Verifying Your Aircraft’s Center of Gravity
(CG)” section for details about fi nal battery placement.
6. Close the battery hatch and turn the latch to secure the hatch shut.
7. Put the aircraft on its landing gear, then power ON the Switch (D). The aircraft
should be on level ground and must be kept immobile while the SAFE system
initializes. If the aircraft does not initialize after about 30 seconds because of
too much movement, power OFF the ESC Switch and power it on again to re-
initialize the system.
After the SAFE system initializes, the rudder will move back and forth, then come
to neutral to indicate the SAFE system has initialized and is ready to operate. If you
accidentally connect the battery while the throttle is not a its lowest position, the
ESC will not arm the motor. Reduce throttle to lowest setting for motor to arm.
IMPORTANT: SAFE technology is not active until you advance the throttle past 25%.
Once it is active, the control surfaces may move on the aircraft. This is normal. The
SAFE technology will remain active until the ESC is turned off.
CAUTION: Always disconnect the Li-Po fl ight battery from the aircraft
receiver when not fl ying to avoid over-discharging the battery. Batteries
discharged to a voltage lower than the lowest approved voltage may become
damaged, resulting in loss of performance and potential fi re when batteries are
charged.
CAUTION: Always keep hands away from the propeller. When armed, the
motor will turn the propeller in response to any throttle movement.
Mode 2 Mode 1
Keep immobile and
out of the wind for
5 seconds
A
B
D
C
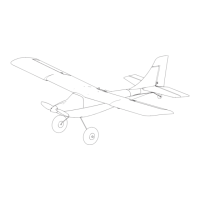
Center of Gravity (CG)
An aircraft with a correct CG has its weight balanced at a calculated point where
the entire airframe will balance when suspended at that point. After installing the
battery (in the recommended position) and before powering on the ESC switch,
verify the CG by supporting the aircraft 79.0mm (approximately 3.125 inches) back
from the front edge of the wing, as shown.
Balance the aircraft on your fi ngertips near the fuselage under the wings.
• If the nose goes down, move the fl ight battery back until the aircraft balances.
• If the nose goes up, move the fl ight battery forward until the aircraft balances.
When fl ying with correct CG in beginner mode, the aircraft should climb gradually
at full power and fl y level at 50%–60% power with no elevator input. If the aircraft
CG is too far forward (nose heavy), up elevator is required to fl y level at 50%–60%
power. If the aircraft CG is too far aft (tail heavy), down elevator is required to fl y
level. Adjust the battery position as needed.
79.0mm
3.125 inches back from the
leading edge of the wing.