66" (167.6 cm)
18" (45.7 cm) 15.5" (39.4 cm)
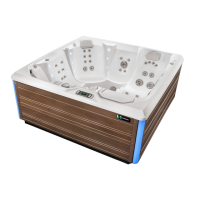
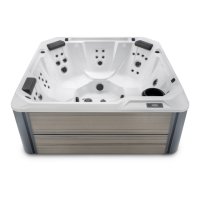
JETSETTER (Model JJ)
Dimensions
NOTE: All dimensions are approximate; measure your spa
before making critical design or pathway decisions.
(Front view)
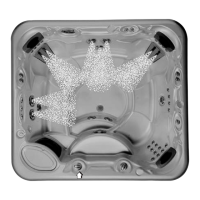
(Bottom view)
MAIN DRAIN
SECONDARY DRAIN
DOOR SIDE
UPSIDE DOWN VIEW OF SPA
•
15 leveling points (place shims at illustrated locations
).
DOOR
1 3/4” (4.4 cm) ELECTRICAL CUTOUT
Page 9 Pre-Delivery Instructions