4
EN
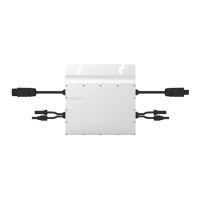
Method 1 Floor-Mounted
Position the MS-A2 on a at and stable surface.
The back of the device must be separated from the wall by
at least 1 cm.
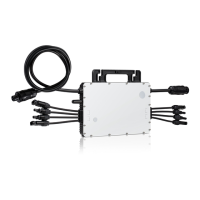
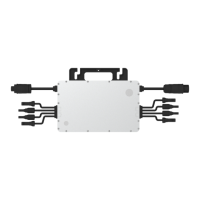
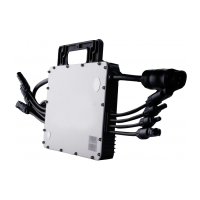
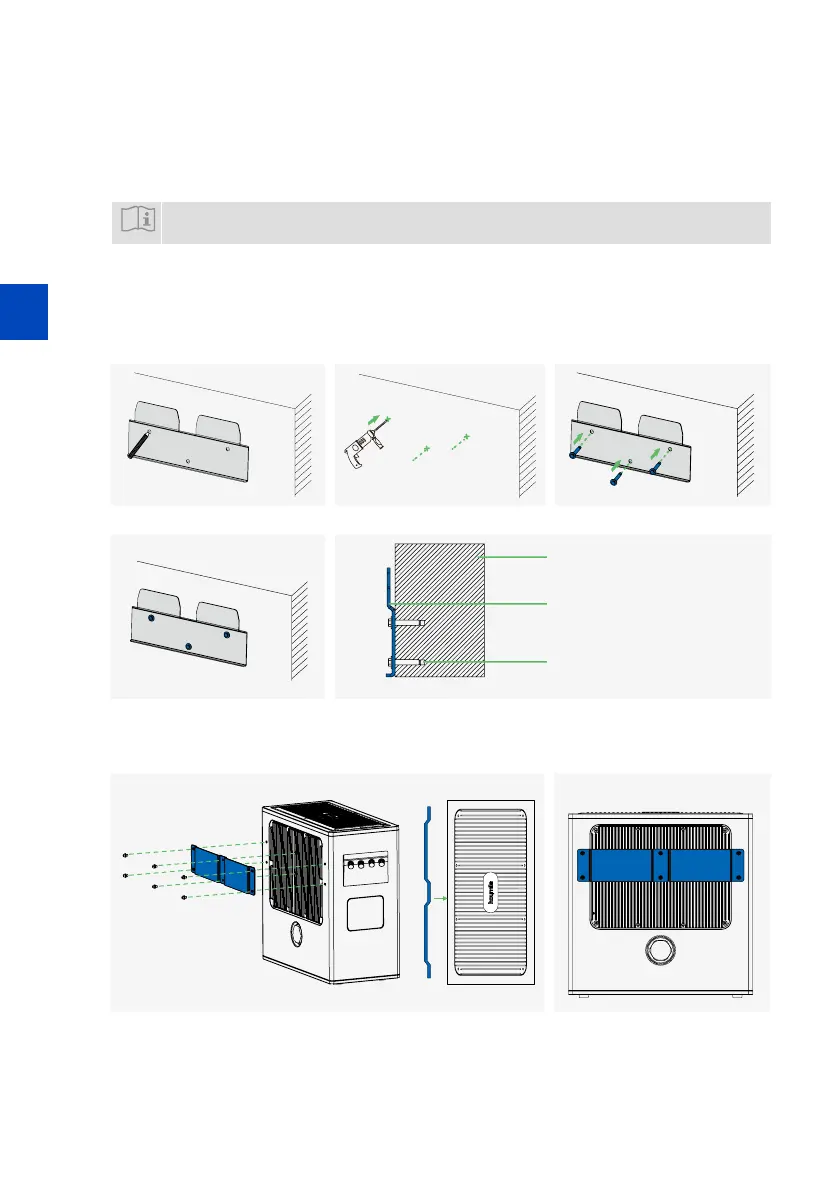
Method 2 Wall-Mounted
NOTICE
The mounting kit (brackets, screws, and expansion bolts) must be purchased separately. You can
email our sales team at sales@hoymiles.com to order the mounting kit.
A) Choose a location to mount the MS-A2.
B) Use a level to ensure the wall-mount bracket is completely level. Then mark drilling positions.
C) Drill in the marked positions. (Depth
≥
50 mm)
D) Secure the wall-mount bracket to the wall with the M6 × 50 expansion screws. (Torque: 9 N•m)
Depth
≥
50mm
B). C). D)-1.
Torque:9 N•m
Wall
Wall-Mount Bracket
M6 × 50
Expansion Screws
D)-2. D)-3.
E) Install the other mounting bracket into the MS-A2 and secure them using the M5 × 10 screws. (Torque:
1.5-2 N•m)
Torque: 1.5-2 N•m
E)-1. E)-2.