This document serves as a Maintenance and Service Guide for HP 24fh and 27fh model monitors, providing comprehensive information for trained service personnel. It outlines procedures for spare parts, removal and replacement of components, diagnostic tests, and problem troubleshooting.
Function Description
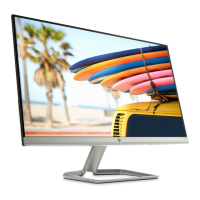
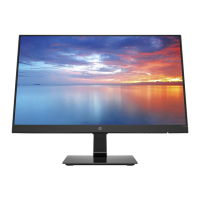
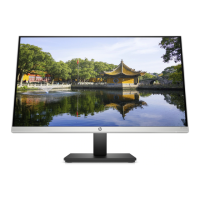
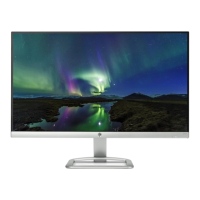
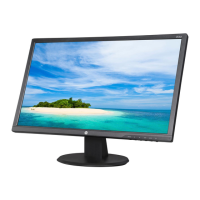
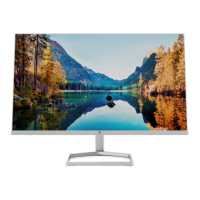
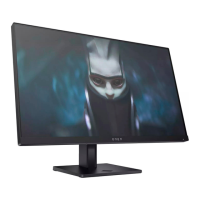
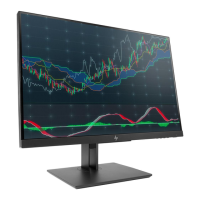
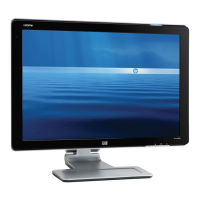
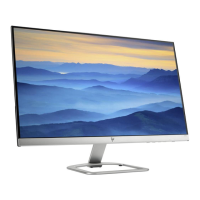
The HP 24fh and 27fh monitors are designed for display purposes, offering high-definition visual output. They are equipped with various input options to connect to source devices and feature an anti-glare screen with an LED backlight for comfortable viewing. The monitors are suitable for both sitting and standing positions due to their wide viewing angle and offer tilt, swivel, and height-adjustment capabilities for ergonomic use. They are also AMD FreeSync-qualified, ensuring smooth, responsive, and tear-free performance during PC gaming.
Important Technical Specifications
The monitors come in two main sizes:
- 24fh model: 54.61 cm (21.5 inches) diagonal viewable area with a 1920 × 1080 resolution. It supports lower resolutions with full-screen display and custom scaling to maintain the original aspect ratio.
- 27fh model: 68.6 cm (27 inches) diagonal viewable area with a 1920 × 1080 resolution. Similar to the 24fh, it supports lower resolutions with full-screen display.
- 23.8-inch diagonal viewable screen area: An additional size option of 60.47 cm (23.8 inches) diagonal viewable screen area with 1920 × 1080 resolution is also mentioned, supporting lower resolutions with full-screen display.
Connectivity options include:
- High-Definition Multimedia Interface (HDMI) inputs (HDMI1 and HDMI2 for some models).
- VGA video input.
- Power connector.
- Security cable slot.
The monitors meet RoHS (Restriction of Hazardous Substance in Electrical and Electronic Equipment Directive) requirements, indicating compliance with environmental standards for electronic equipment sold in the EU and other countries. They also feature an energy saver function to reduce power consumption.
Usage Features
The monitors are designed for user convenience with several features:
- On-Screen Display (OSD) Adjustments: Users can easily set up and optimize the screen using OSD adjustments available in multiple languages.
- Function Buttons: Four function buttons are located under the right side of the front bezel. Three of these buttons can be reconfigured to quickly access commonly used operations.
- Menu / OK (Button 1): Opens the OSD main menu when closed, or selects an item when open.
- Information / Auto-Adjustment / Minus (Button 2): Opens the Information menu if HDMI is the primary source and OSD is closed. Activates auto-adjustment for VGA sources when OSD is closed. Navigates backward through the OSD menu and decreases adjustment levels when OSD is open.
- Input / Plus (Button 3): Switches to the next video input port (VGA or HDMI) when OSD is closed. Navigates forward through the OSD menu and increases adjustment levels when OSD is open.
- Viewing Modes / Exit (Button 4): Opens the Viewing Modes menu to choose different screen settings when OSD is closed. Saves changes and exits the OSD menu when OSD is open.
- Power Button (Button 5): Turns the monitor on or off.
- Plug-and-Play Capability: The monitors offer plug-and-play functionality if supported by the operating system.
- Security: A security slot is provided on the rear for an optional cable lock.
- HP Display Center Software: This software allows users to adjust monitor settings and enable theft deterrence features.
- HDCP (High Bandwidth Digital Content Protection): Copy protection is enabled on all digital inputs.
Maintenance Features
The guide emphasizes that only trained service personnel familiar with the product should perform maintenance or service. Key maintenance features and precautions include:
- Safety Information: Strict adherence to safety guidelines is required, including ensuring a dry and clean working environment, disconnecting power before opening the cabinet, using proper safety devices and approved tools, and following ESD safety procedures when handling electrical components.
- RoHS Compliance: When replacing parts, it is crucial to confirm RoHS requirements. If original parts are RoHS compliant, replacement parts MUST also be RoHS compliant.
- General Descriptions: The manual outlines two levels of service: Level 1 for cosmetic/appearance/alignment service and Level 2 for circuit board or standard parts replacement.
- Firmware Updates: Firmware updates are available on support.hp.com, if needed.
- Pre-Return Check: Before returning a repaired product to the customer, an AC leakage current check on exposed metallic parts must be performed to ensure electrical safety.
- Preparation for Disassembly: Detailed steps are provided for preparing the monitor for disassembly, including cleaning the room, identifying the disassembly area, preparing for material flow, and ensuring necessary equipment (press fixture, working table, screwdriver, knife, gloves, cleaning cloth, ESD protection, and a scraper bar with specified dimensions) is available.
- Removal and Replacement Procedures:
- RC (Rear Cover) Removal: Instructions include removing the base screw, breaking down the base and neck, stripping screws from the rear cover, pulling out the 8P FFC, and disassembling the DECO from the panel.
- Shielding Removal: Steps involve removing acetate tapes covering LVDS/LED FFCs and pulling out LVDS/LED FFCs to separate the base assembly.
- Screw Removal: Specific instructions are given for stripping screws from the main board (M/B) and the Liquid Crystal Module (LCM).
- Connector Repair (VGA P6 and HDMI P3/P4): Detailed procedures for repairing VGA and HDMI connectors are provided. This includes using a hot air gun to melt solder, a soldering iron and desoldering pump to remove solder, lifting the old connector, placing the new component, and soldering it to the PCB, ensuring it matches the PCB footprint.
- Illustrated Parts Catalog: The guide includes detailed illustrations and tables listing major components for both 24fh and 27fh models, along with their descriptions and quantities. This aids in identifying and ordering correct spare parts.
- Ordering Parts: Information on where to purchase cables and other parts is provided, directing users to Farnell, RS Component, Digi-Key, and the HP part store (partsurfer.hp.com). It also notes that connectors may need modification to meet specific requirements.
- Function Test: After any repair, a function test is mandatory to confirm all functions are working correctly. This includes VGA, HDMI, DP (DisplayPort), and Audio tests, using a computer or DVD player and a speaker to verify image display, sound quality, and volume.
- Support and Troubleshooting: A comprehensive table lists common problems, their possible causes (e.g., power cord disconnected, monitor off, cable improperly connected, system in sleep mode, video card incompatible, brightness too low, monitor video cable disconnected, video resolution/refresh rate out of range, monitor's power saving control enabled, OSD lock function enabled, monitor's power button locked), and corresponding solutions. Solutions range from connecting the power cord and pressing the power button to adjusting OSD settings, connecting appropriate video cables, and disabling power button lock functions.