4-Using hp instant share 33
Using hp instant share to print
pictures
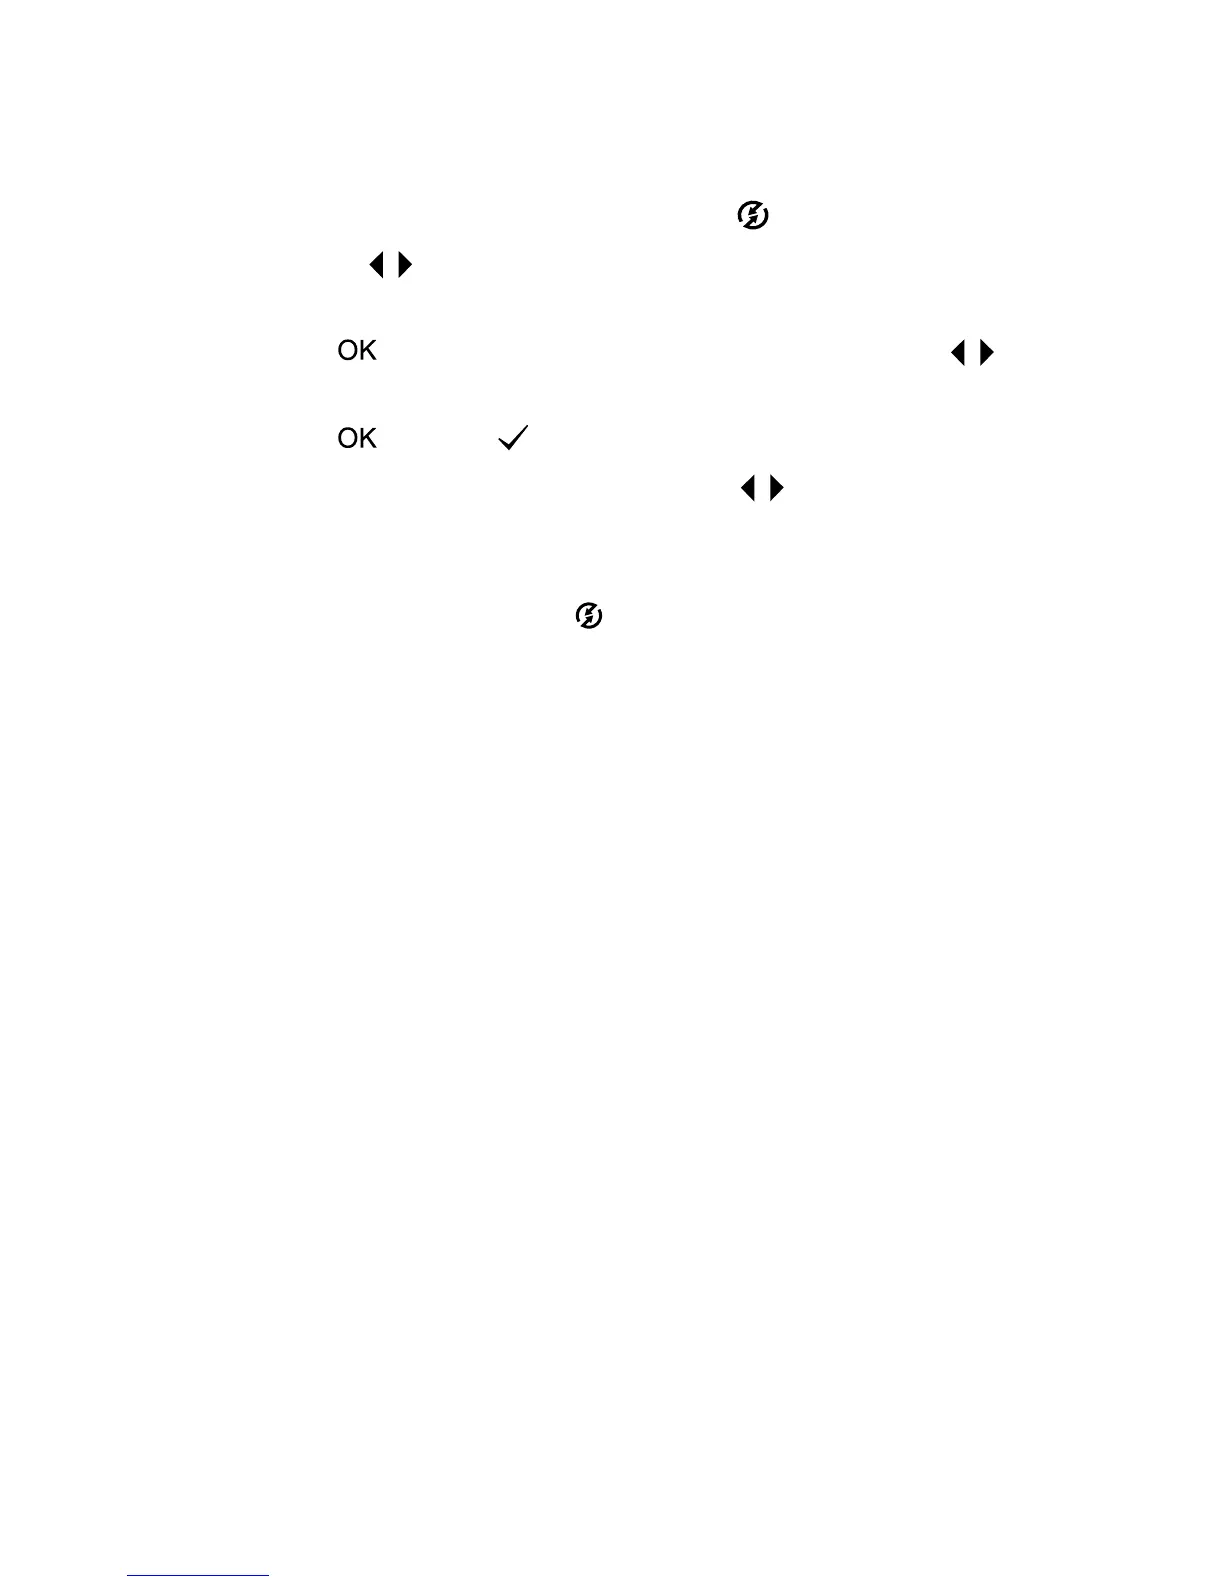
1 Turn on the camera, then press the button.
2 Use the buttons to scroll to the image you want to print.
Video clips cannot be selected for printing.
3 Press to activate the Share
ShareShare
Share menu, then use the
buttons to scroll to the print option you want.
4 Press , and a appears next to that option.
5 Scroll to other images by using the buttons and repeat
steps 3 and 4 to select print options for each image.
6 When you are finished selecting all the images you want to
have printed, press the button.
7 The next time you connect the camera to your computer or a
compatible printer, the images you selected will be
automatically printed. See Chapter 5:
Chapter 5: Chapter 5:
Chapter 5: Unloading, printing,
Unloading, printing, Unloading, printing,
Unloading, printing,
and displaying images
and displaying imagesand displaying images
and displaying images
on page 37 for information about
connecting the camera to a computer or printer.
NOTE The Share
ShareShare
Share menu creates a standard Digital Print Order
Format (DPOF) file for print options.
Using the hp instant share
e-mail service
Using HP Instant Share
HP Instant ShareHP Instant Share
HP Instant Share to e-mail images involves three steps:
1 Adding e-mail addresses to the Share
ShareShare
Share menu on the camera
(using your computer and the camera together).
2 Selecting images to be e-mailed (using the Share
ShareShare
Share menu on
the camera).
3 Connecting the camera to your computer to send selected
images.
 Loading...