3-84
Performance Tests
Multirate Optical Interfaces
Procedure 1310nm - Optical Power Output
1 SwitchontheHP37718A/19Aand recall theDEFAULTSETTINGSas
shown on page 3-4.
2 Connectthe HP 37718A/19A Optical Out Porttothe HP8153A (ensure
that all connections are tight and that the cable has no twists).
3 Setup the HP 8153A as follows:
a. Press key to display wavelength [λ]
b. Using , and keys, set the wavelength to 1310nm.
c. Press key to display Time [t]
d. Using , and keys, set the time to 200mS.
e. Press key to display REF.
f. Using , and keys, set the REF to 0.000dBm.
g. Press key to display CAL.
h. Using , and keys, set the CAL to 0.000dBm.
i. Press the key on the Power Meter to calibrate - the Power
Meter is now ready.
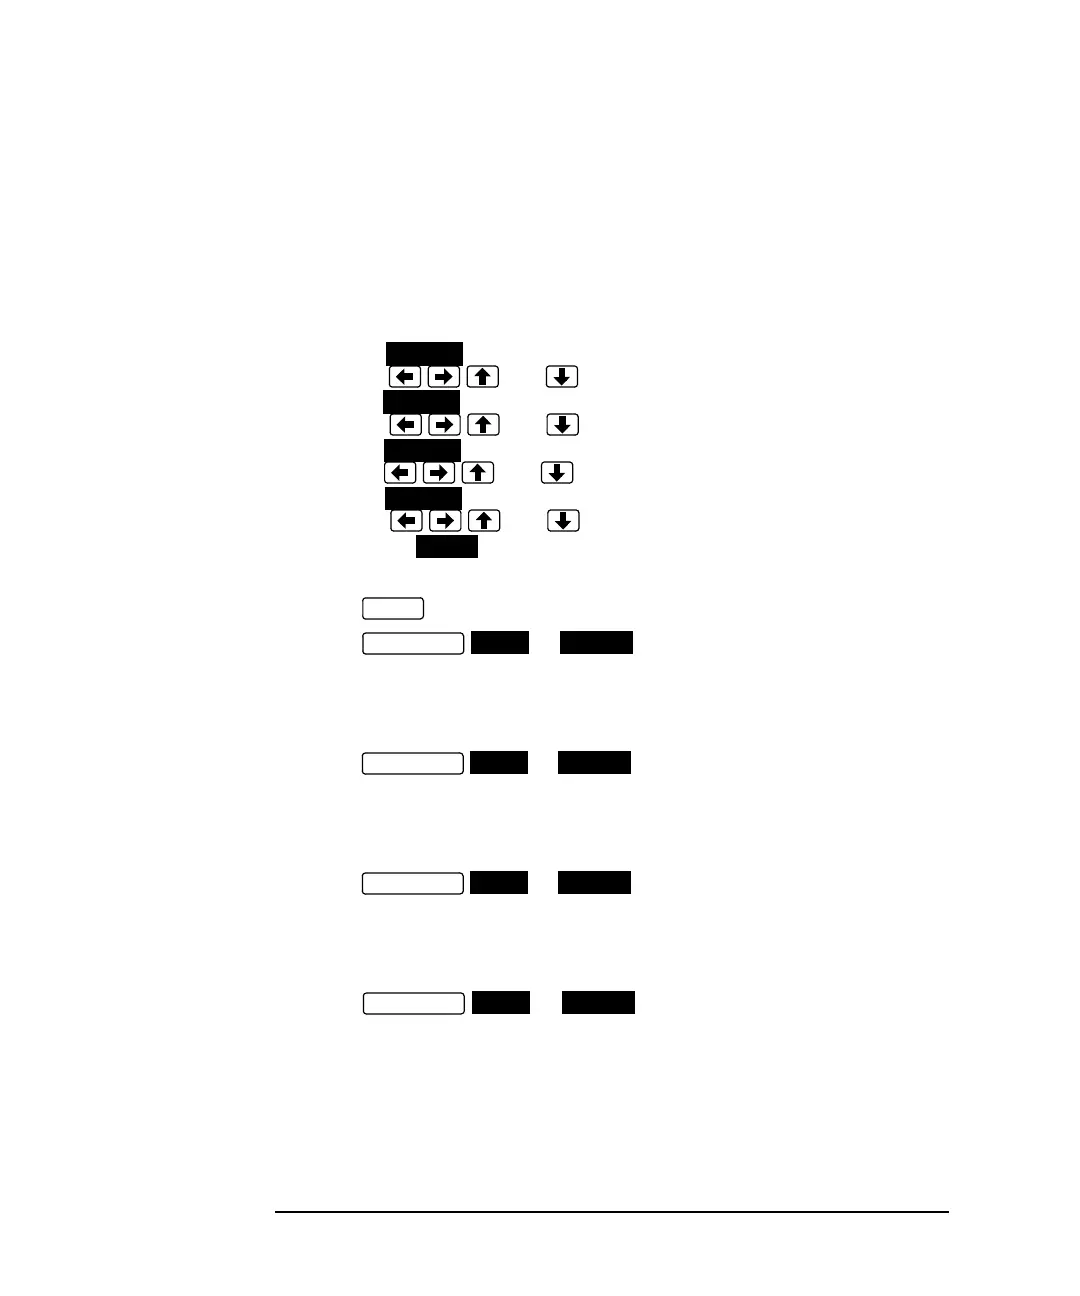
4 Press toselect the PowerLevel measurement on the HP8153A.
5 Press or and select SIGNAL [STM-0 OPT]
or [OC-1].
6 Check the HP8153A Power Meter reading is between 0 dBm and +3
dBm (Typically +1 dBm).
7 Press or and select SIGNAL [STM-1 OPT]
or [OC-3].
8 Check the HP8153A Power Meter reading is between 0 dBm and +3
dBm (Typically +1 dBm).
9 Press or and select SIGNAL [STM-4 OPT]
or [OC-12].
10 Check the HP8153A Power Meter reading is between 0 dBm and +3
dBm (Typically +1 dBm).
11 Press or and select SIGNAL [STM-16
OPT] or [OC-48].
12 Check the HP8153A Power Meter reading is between 0 dBm and +3
dBm (Typically +1 dBm).
PARAM
PARAM
PARAM
PARAM
ZERO
MODE
TRANSMIT
SDH SONET
TRANSMIT
SDH SONET
TRANSMIT
SDH SONET
TRANSMIT
SDH SONET