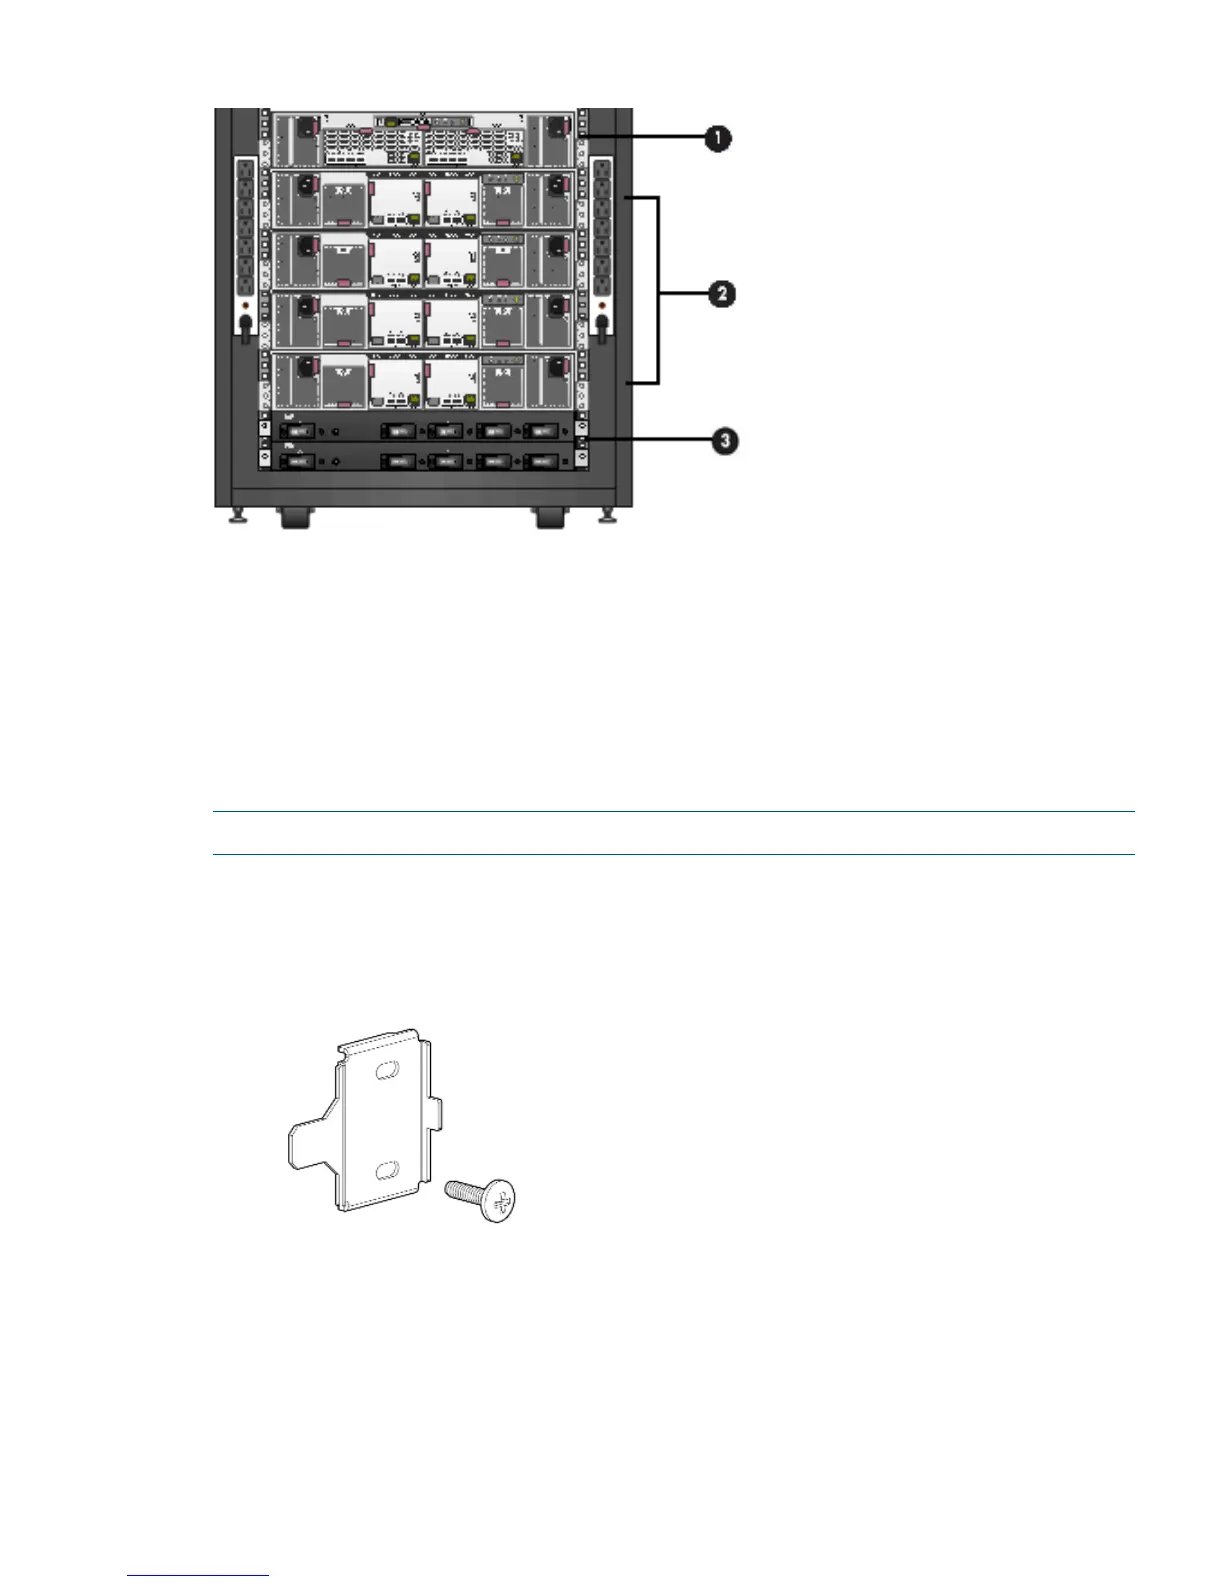
Figure 1 Typical EVA installed in rack (preferred layout)
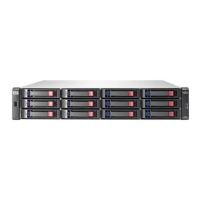
1. Controller enclosure
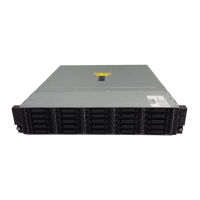
2. Disk enclosures
3. PDU (at rear of enclosure)
Attach the brackets for a longer chassis
If you are installing a longer chassis into your cabinet, such as for the controller enclosure, you
must remove the shipping retaining bracket and install the smaller brackets supplied in the accessory
kit.
NOTE: A No. 2 Phillips head screwdriver is required for this procedure.
1. Remove the existing thumbscrew and shipping retaining bracket from the rear of the rail.
2. Insert a screw through the bottom hole of the new bracket and loosely secure the bracket to
the rear of the rail.
Figure 2 Inserting screw into the new bracket
Attach the brackets for a longer chassis 11
 Loading...