SVC 4-62
8. Remove the extension spring holding the PMT assembly to the support bracket.
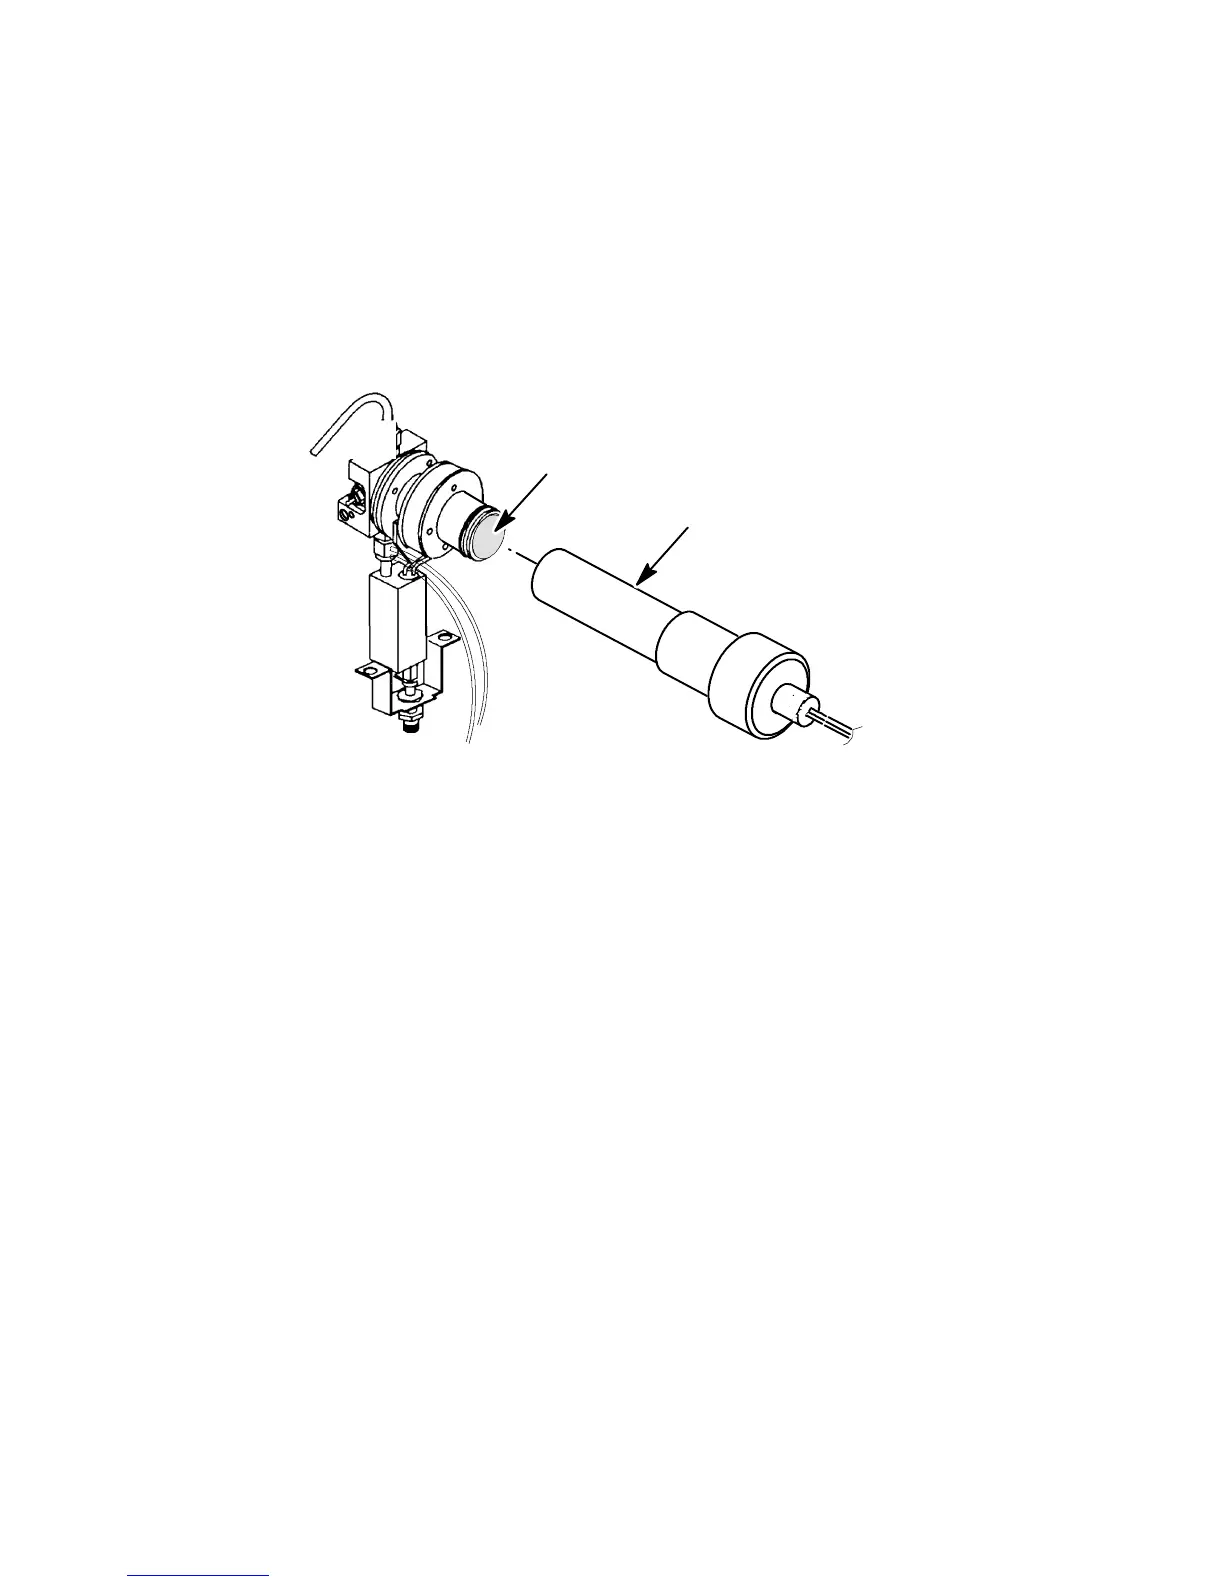
9. Remove the PMT assembly by pulling it toward the rear of the instrument.
10. Remove the sulphur filter from the flange adapter.
11. If the filter is not going to be replaced, wipe it clean using a lint-free lens tissue. Be careful not
to scratch the surface of the filter. (If necessary clean the filter with a solution of soft soap and
warm water. Rinse with distilled water.)
12. Replace the filter if there is any evidence of chips, scratches or cracks in its surface area.
13. Install the cleaned/new filter in the flange adapter. (If the filter is silvered on one side, the sil-
vered side must face toward the flame. If the filter has a indicator arrow on its edge (>) the ar-
row must point towards the PMT.)
14. Slide the PMT tube assembly onto the detector assembly.
15. Secure the PMT assembly to its support bracket using the extension spring.
16. Install the FPD cover on the instrument and secure using a thumbscrew.
17. Restore power to the instrument.
PMT ASSEMBLY
(CHIMNEY AND BRACKETRY
REMOVED FOR CLARITY)
SULPHUR FILTER
Artisan Scientific - Quality Instrumentation ... Guaranteed | (888) 88-SOURCE | www.artisan-scientific.com

 Loading...


