EasyManuals Logo

HP Compaq dc7100 MT User Manual

HP Compaq dc7100 MT
76 pages
To Next Page IconTo Next Page
To Previous Page IconTo Previous Page
Page #44 background imageLoading...
Page #44 background image
2–28 www.hp.com Hardware Reference Guide
Hardware Upgrades
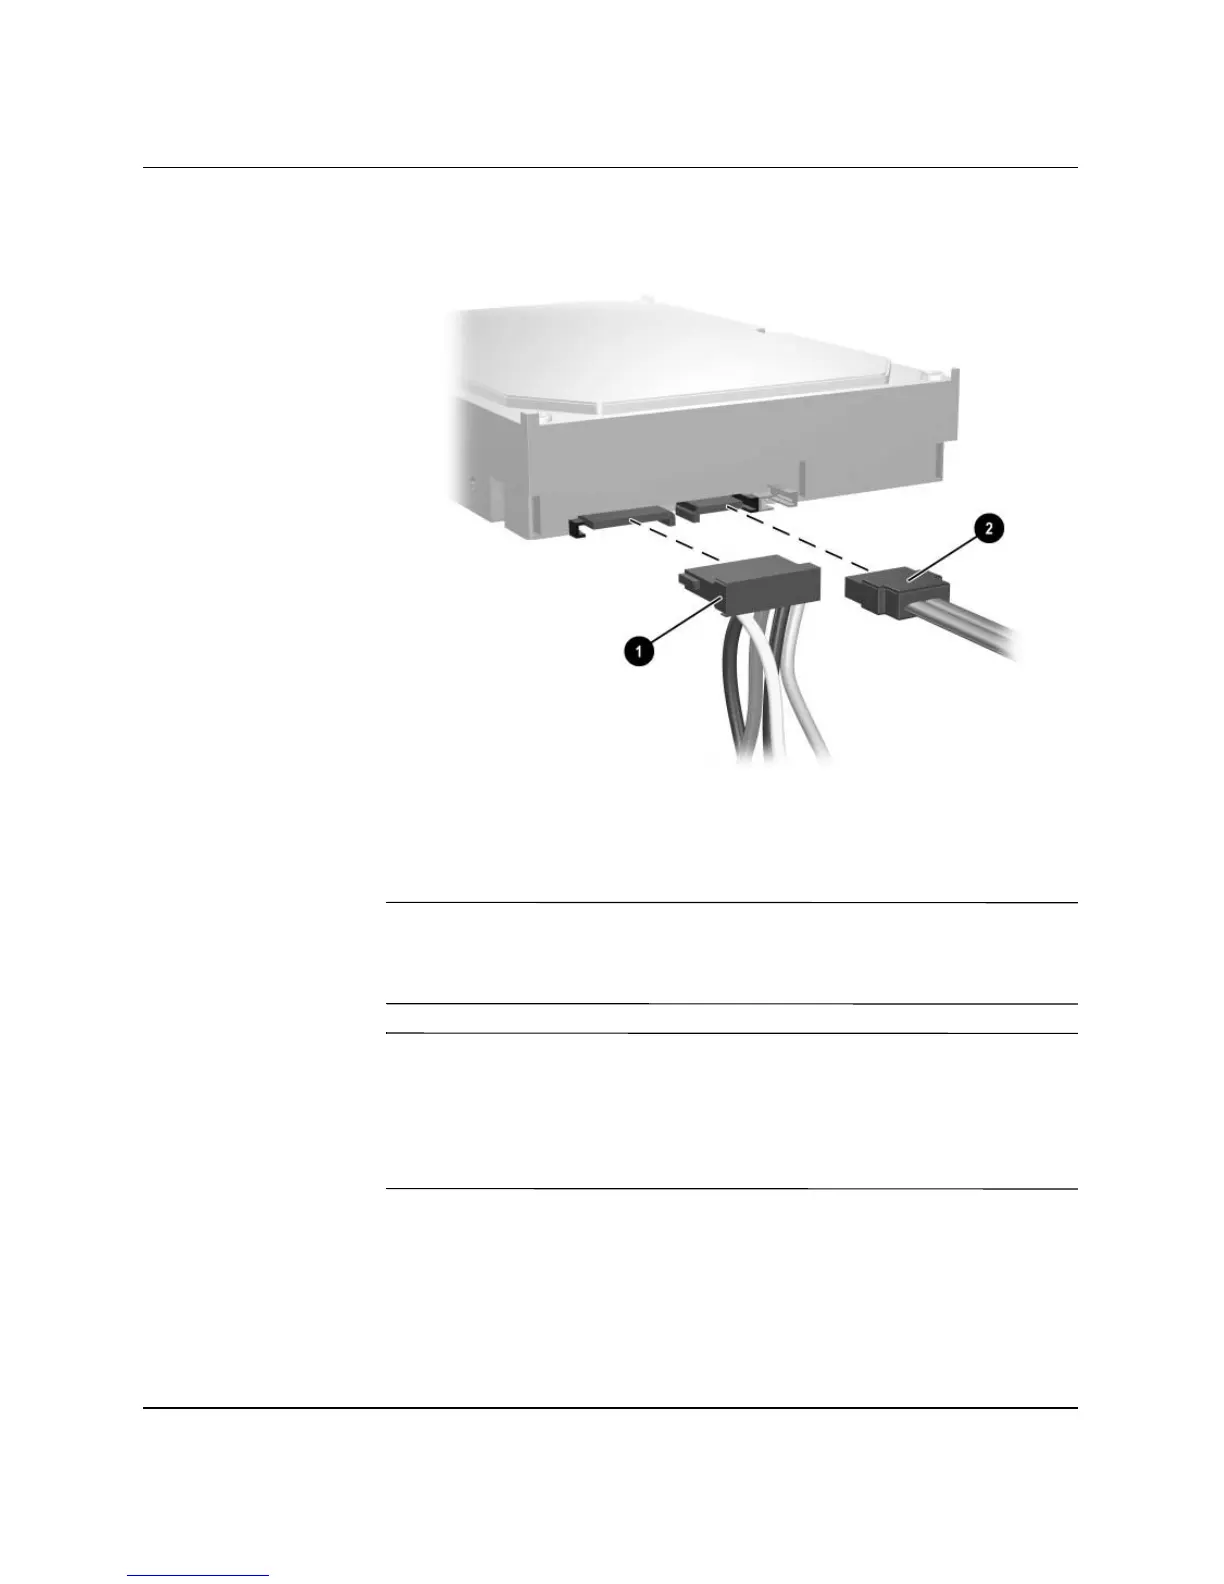
5. Connect the power cable 1 and data cable 2 to the hard drive.
Connecting the Power Cable and Data Cable to a SATA Hard Drive
6. Connect the opposite end of the data cable to the appropriate
system board connector.
The replacement hard drive kit includes several data cables. Make
sure to use the cable that is exactly the same as the factory-installed
cable.
If your system has only one SATA hard drive, you must connect the
hard drive to the connector labeled P60 SATA 0 first to avoid any
hard drive performance problems. If you are adding a second hard
drive, connect the data cable to the system board connector labeled
P61 SATA 1.
7. Replace the computer access panel.
8. If you normally lock the Smart Cover Lock, use Computer Setup
to relock the lock and enable the Smart Cover Sensor.

Table of Contents

Other manuals for HP Compaq dc7100 MT

Questions and Answers:

Question and Answer IconNeed help?

Do you have a question about the HP Compaq dc7100 MT and is the answer not in the manual?

HP Compaq dc7100 MT Specifications

General IconGeneral
GraphicsIntegrated Intel Graphics Media Accelerator 900
NetworkIntegrated Broadcom NetXtreme Gigabit Ethernet
Operating SystemWindows XP Professional
Form FactorMicrotower
ProcessorIntel Pentium 4
ChipsetIntel 915G Express
MemoryUp to 4 GB DDR2 SDRAM
Storage40 GB to 160 GB SATA
Optical DriveDVD-ROM
PortsUSB 2.0, serial, parallel, audio in/out
Expansion Slots1 PCI Express x16
AudioIntegrated AC'97 audio

Related product manuals