Upgrading and replacing hardware
22 Evo D310 Micro Desktop
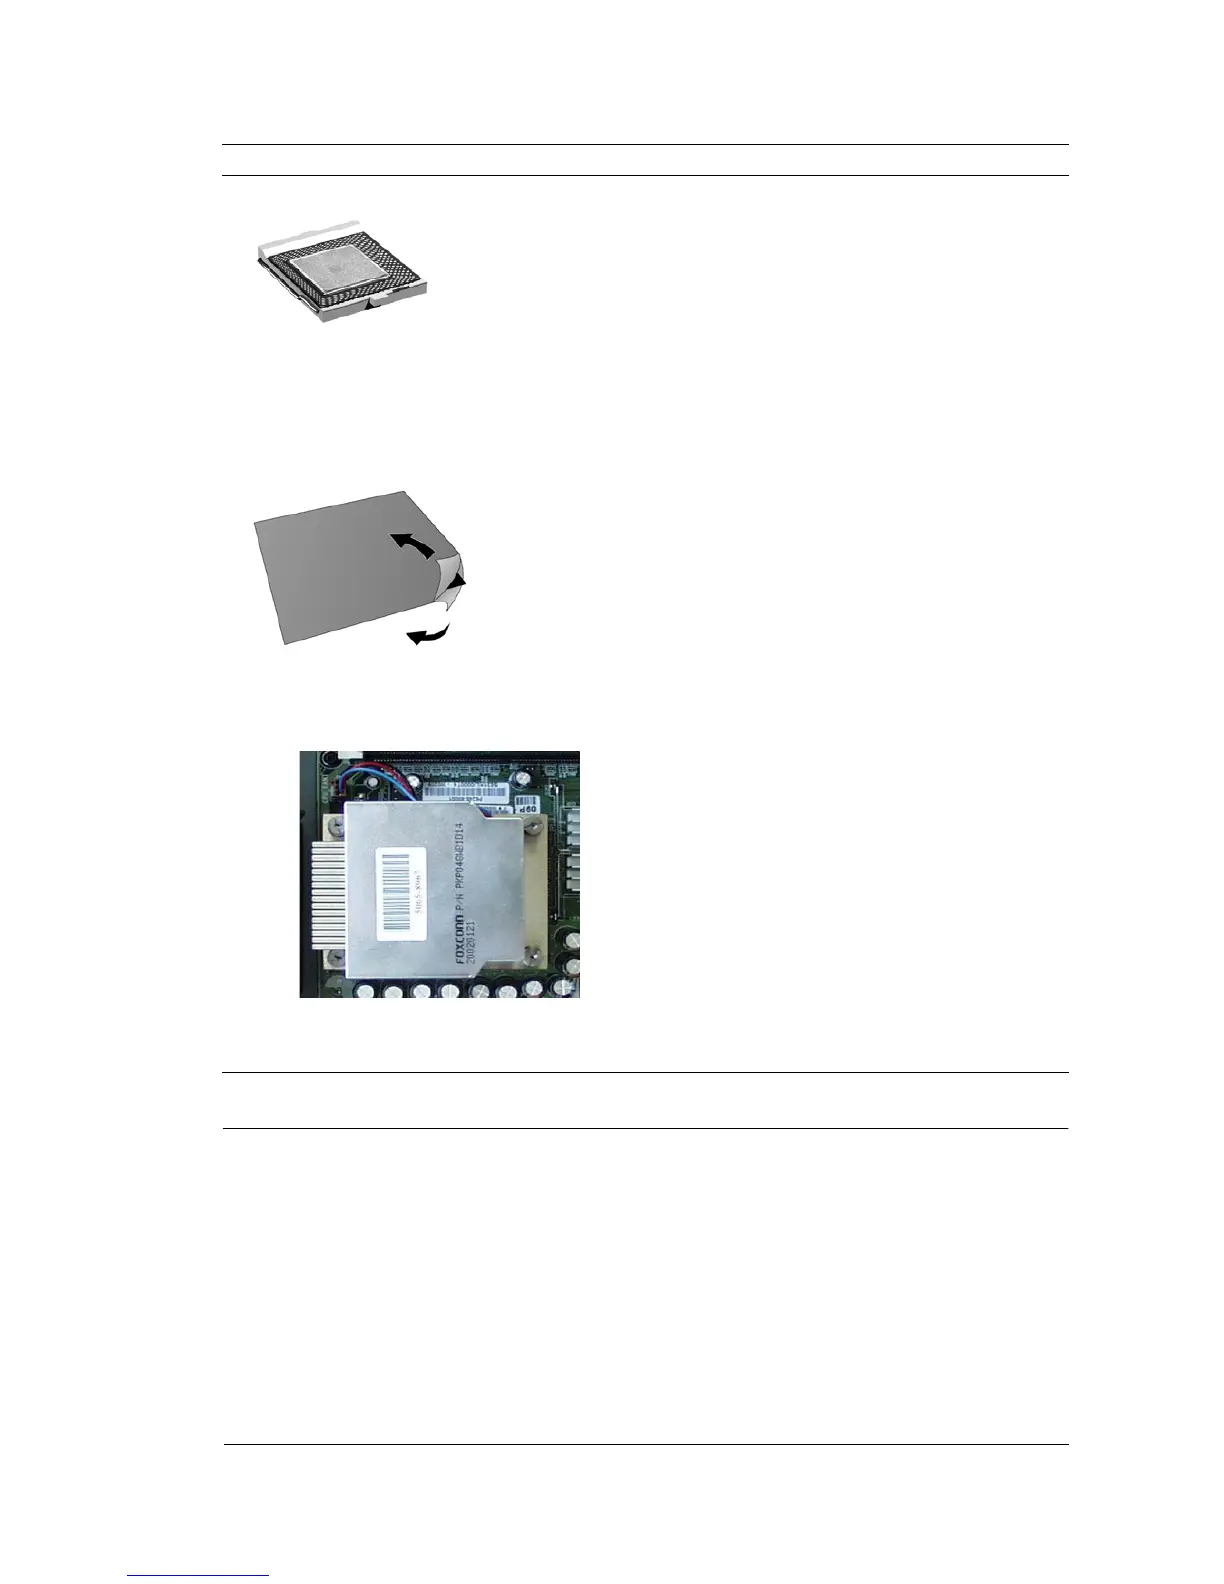
NOTE Insert the processor carefully. Ensure the orientation is correct - it can go in one way only.
6 Carefully remove all old thermal bonding material from the underside of the heatsink, by scraping it
off with a straight plastic edge (such as a plastic rule).
7 Remove the two paper protectors from the thermal interface material then affix it to the top of the
processor.
8 Attach the heatsink to the processor.
9 Secure the heatsink using the springs and screws.
10 Reconnect the processor fan cable to the system board.
Caution Ensure you use the correct system board connector (marked CPU FAN). If necessary, refer to “System board cables and connectors”
on page 13.
11 Replace the cover. Refer to page 10.
12 Ensure that the latest version of BIOS is installed on your PC. To learn which version of BIOS is
currently installed on your PC, press
F8 during startup, then select Summary from the list of options.
To get the latest BIOS version for your PC, connect tothe support web site.
1
2
4
3