Replacing components | 45
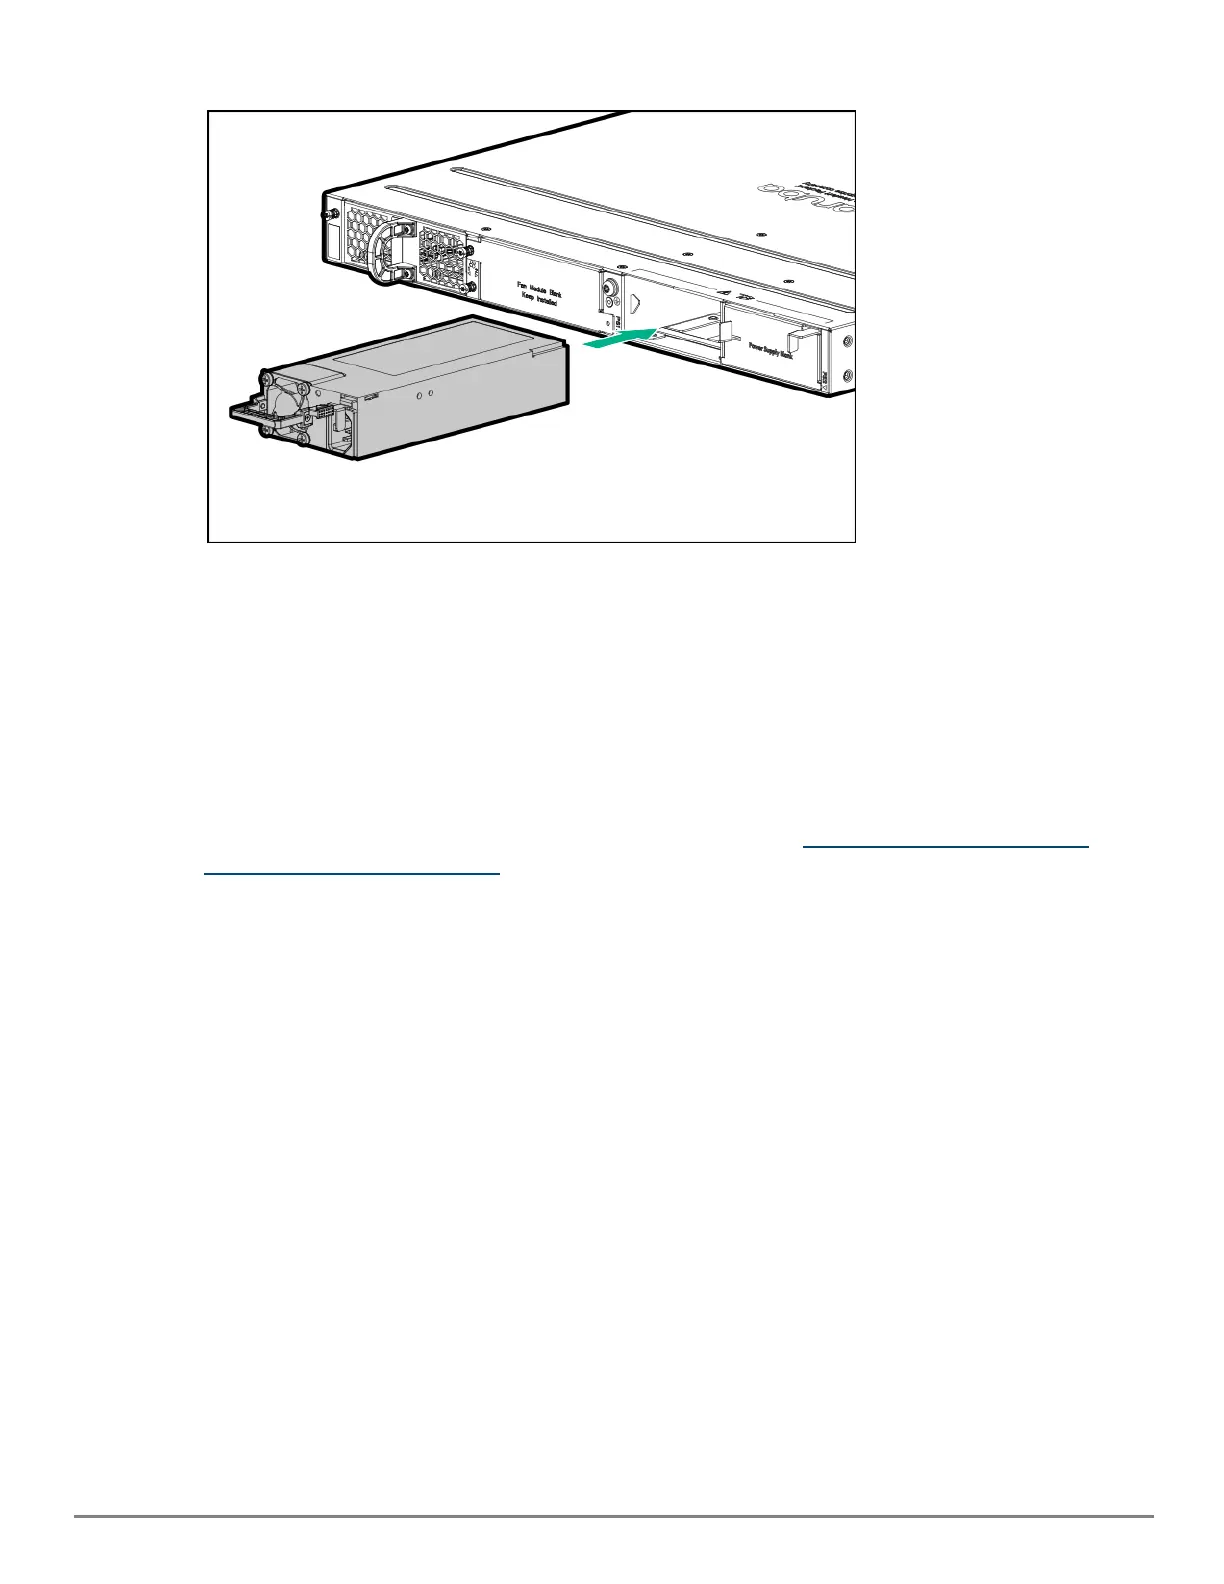
3. Insert the new power supply. Slide it in all the way in until the locking mechanism locks.
DC power supply
1. Switch off the DC source and remove the DC cable from the DC source.
2. Remove the transparent protective cover from the DC input connector on the DC power supply. Unfasten the
DC cable from the DC power supply. Remember to reinstall the protective transparent cover back on the DC
power supply input connector.
3. Grasping the handle of the failed power supply, release the locking mechanism by squeezing the latch
handle while removing the failed power supply.
4. Insert the new power supply. Slide it in all the way in until the locking mechanism locks.
5. Follow the steps to install the DC cable on the DC power supply found in Install a power supply or a second
power supply for modular switches .
6. Connect the DC cable to the DC source.