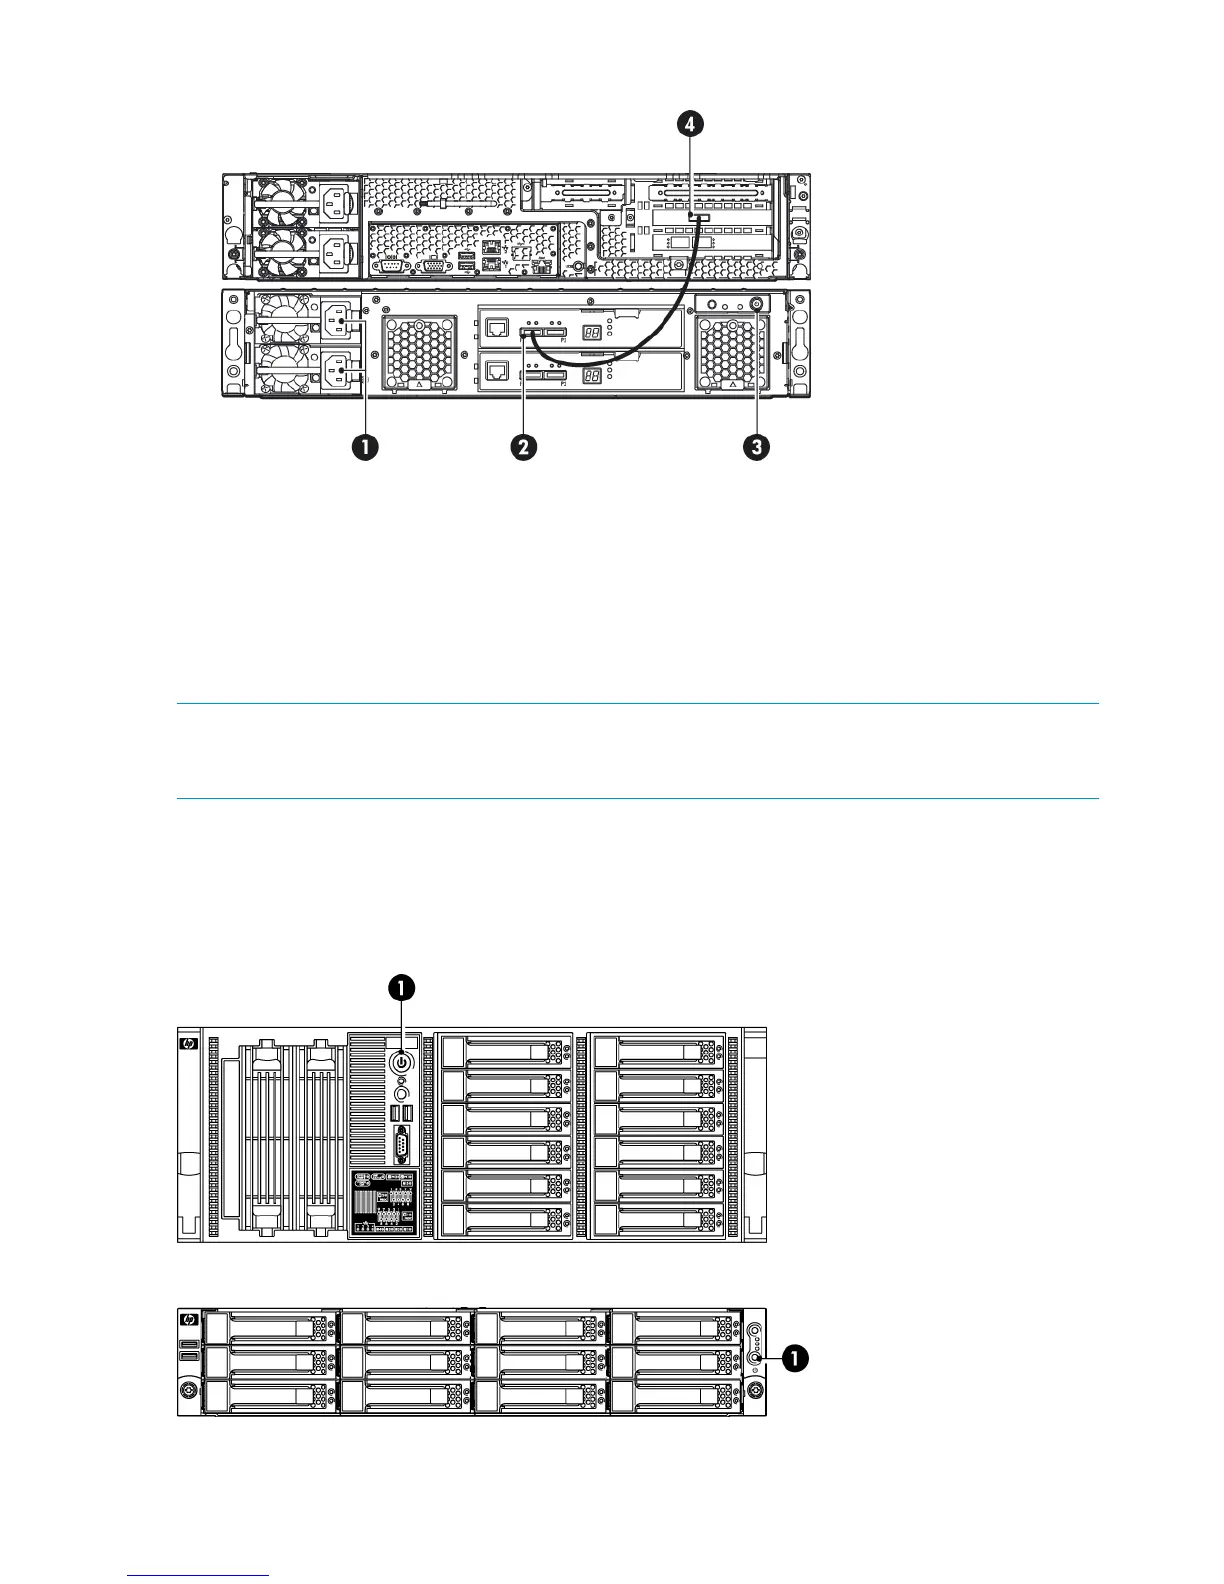
Figure 16 Cabling the Capacity Upgrade Kit to the HP D2D4100 Series Backup System
2. P1 connector (on I/O-A)1. Power connectors
4. Port 1E connector3. Power on/off button
4. Power on the Capacity Upgrade Kit. You may need to hold down the power on button for a
few seconds.
Powering on the HP StoreOnce Backup System
NOTE: Ensure that any expansion shelves attached to the system are powered on before pressing
the Power button. You may need to hold down the power on button (on the rear of each unit) for
a few seconds.
Press the Power on button on the front of your HP StoreOnce Backup System. The normal boot
sequence takes approximately 2 minutes (5 minutes for the HP D2D4300 Series Backup System).
On power up the HP StoreOnce Backup System runs its fans at high speed for approximately 10
seconds before returning to normal speed.
Figure 17 Powering on the HP D2D4300 Series Backup System
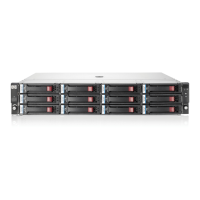
Figure 18 Powering on the HP D2D4100 Series Backup System
20 Connecting and installing the HP StoreOnce Backup System