3. Replace the cable(s).
4. Confirm basic communication using LEDs See “Verifying the operating status of the disk
enclosures” (page 13).
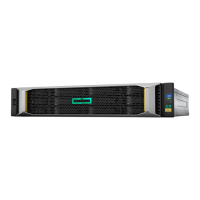
Removing and replacing the I/O module
1. Unplug the two cables from the back panel of the I/O module. See “Removing and replacing
I/O Cables” (page 17)
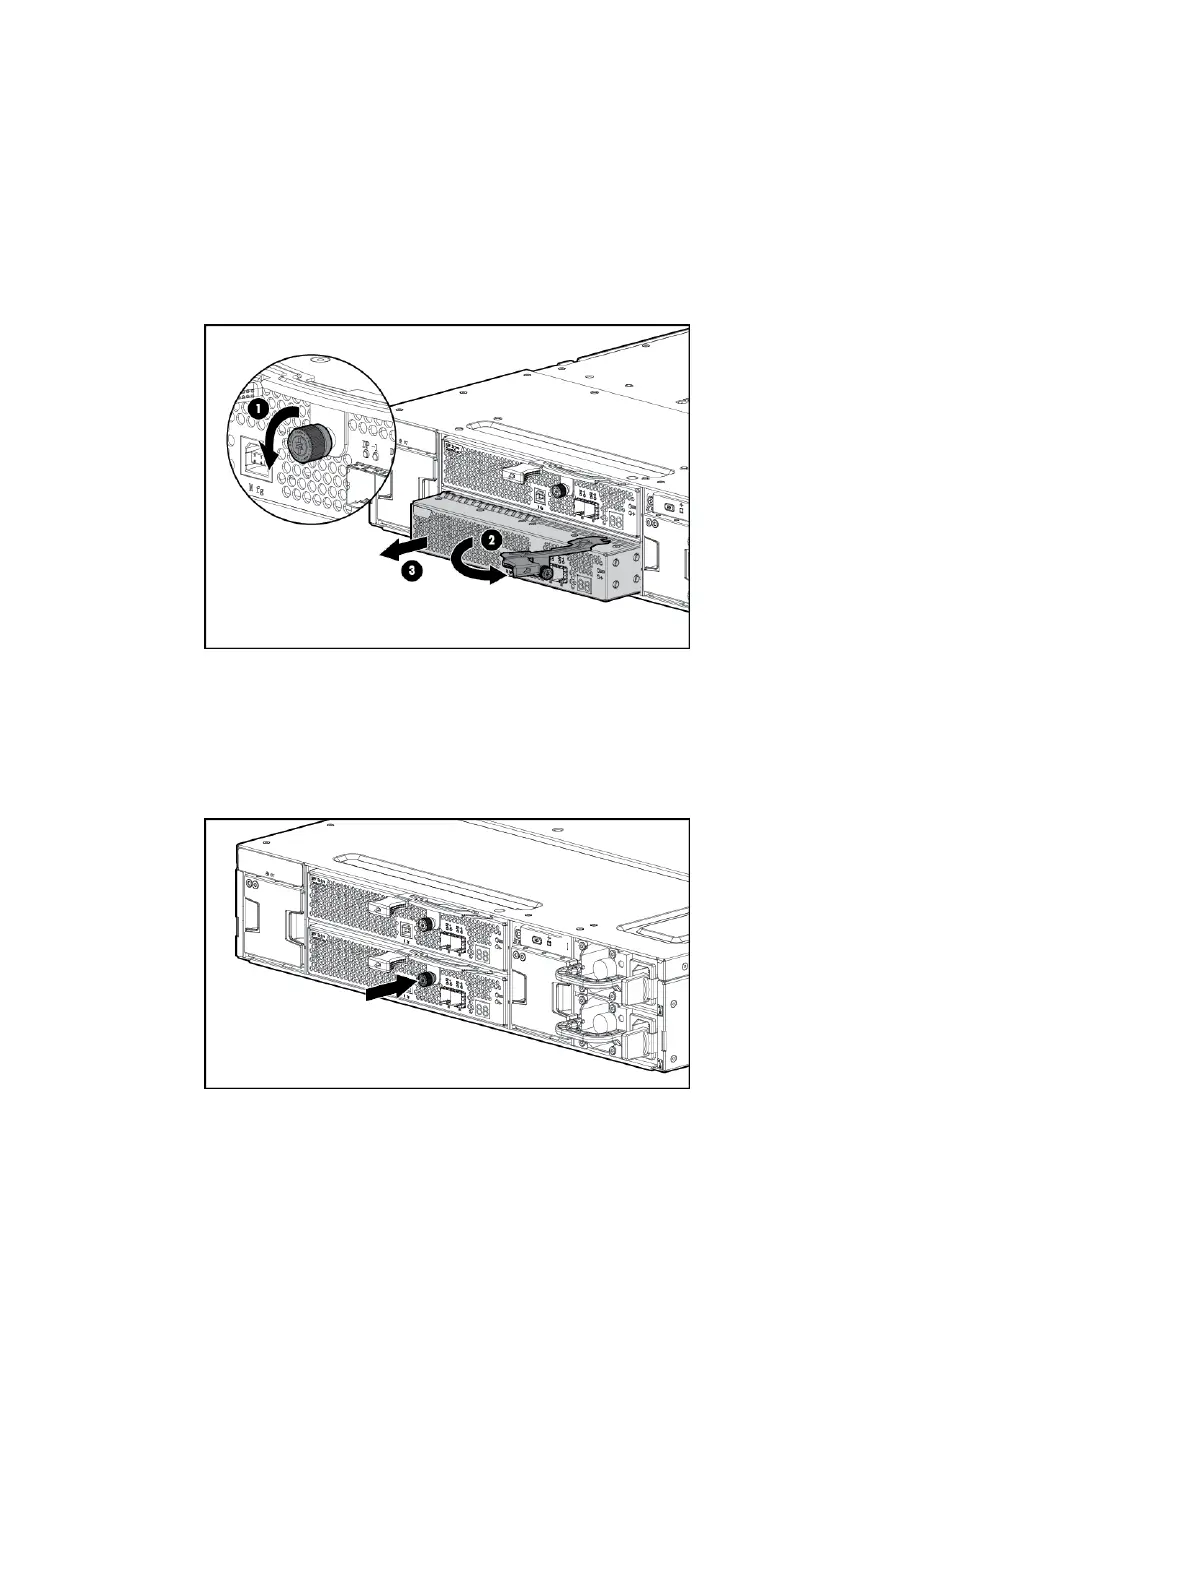
2. Loosen the captive retaining thumbscrew (1), and swing out the hood latch (2).
3. Slide out the I/O module (3) and set aside.
4. Then, slide the replacement I/O module into the correct bay and swing in the hood latch until
it closes.
5. Re-tighten the captive retainer thumbscrew.
6. Replace the two I/O cables.
7. Read the LEDs to confirm the unit is operating. See “I/O module LEDs” (page 14)
Removing and replacing a power supply
1. Remove the power cable from the power supply to be replaced.
18 Removal and replacement procedures