2-5
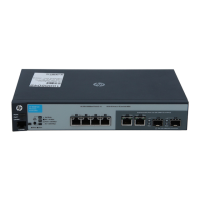
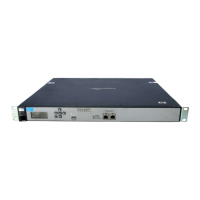
Installing the E-MSM720
Installation Procedures
LED Behavior
During the self test:
• Initially, all the E-MSM720 and port LEDs are on. Most of the LEDs go
off and then may come on again during phases of the self test.
• For the duration of the self test, the Test LED stays on.
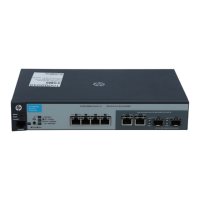
When the self test completes successfully:
•The Power LED remains on.
•The Fault, Locator and Test LEDs stay off.
•The Act LED remains on indicating the default port LED mode.
• The port LEDs on the front of the E-MSM720 go into their normal
operational mode:
– If the ports are connected to active network devices, the Link
LEDs stay on and the Mode LEDs behave according to the mode
selected. In the default mode (Act), the Mode LEDs should be
blinking indicating port activity.
– If the ports are not connected to active network devices, the Link
and Mode LEDs will stay off.
If the LED display is different than what is described above, especially if
the Fault and Test LEDs stay on for more than 60 seconds or they start
flashing, the self test has not completed correctly.
Save Power Mode
A Save Power mode feature can be configured through the console. Save
Power mode can be used to turn off port LEDs unless the LED Mode button
is pressed. In addition, it can configure the LAN ports to operate at low power
if a link is not detected.
3. Mount the E-MSM720
After the E-MSM720 passes self test, it is ready to be mounted in a stable
location. The E-MSM720 can be mounted in these ways:
■ in a rack or cabinet
■ on a horizontal surface
■ on a wall