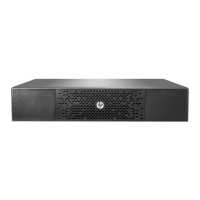
Switching off the ERM circuit
breaker
WARNING: To prevent personal injury from
electric shock or damage to the equipment,
verify that the circuit breaker is in the Off
position.
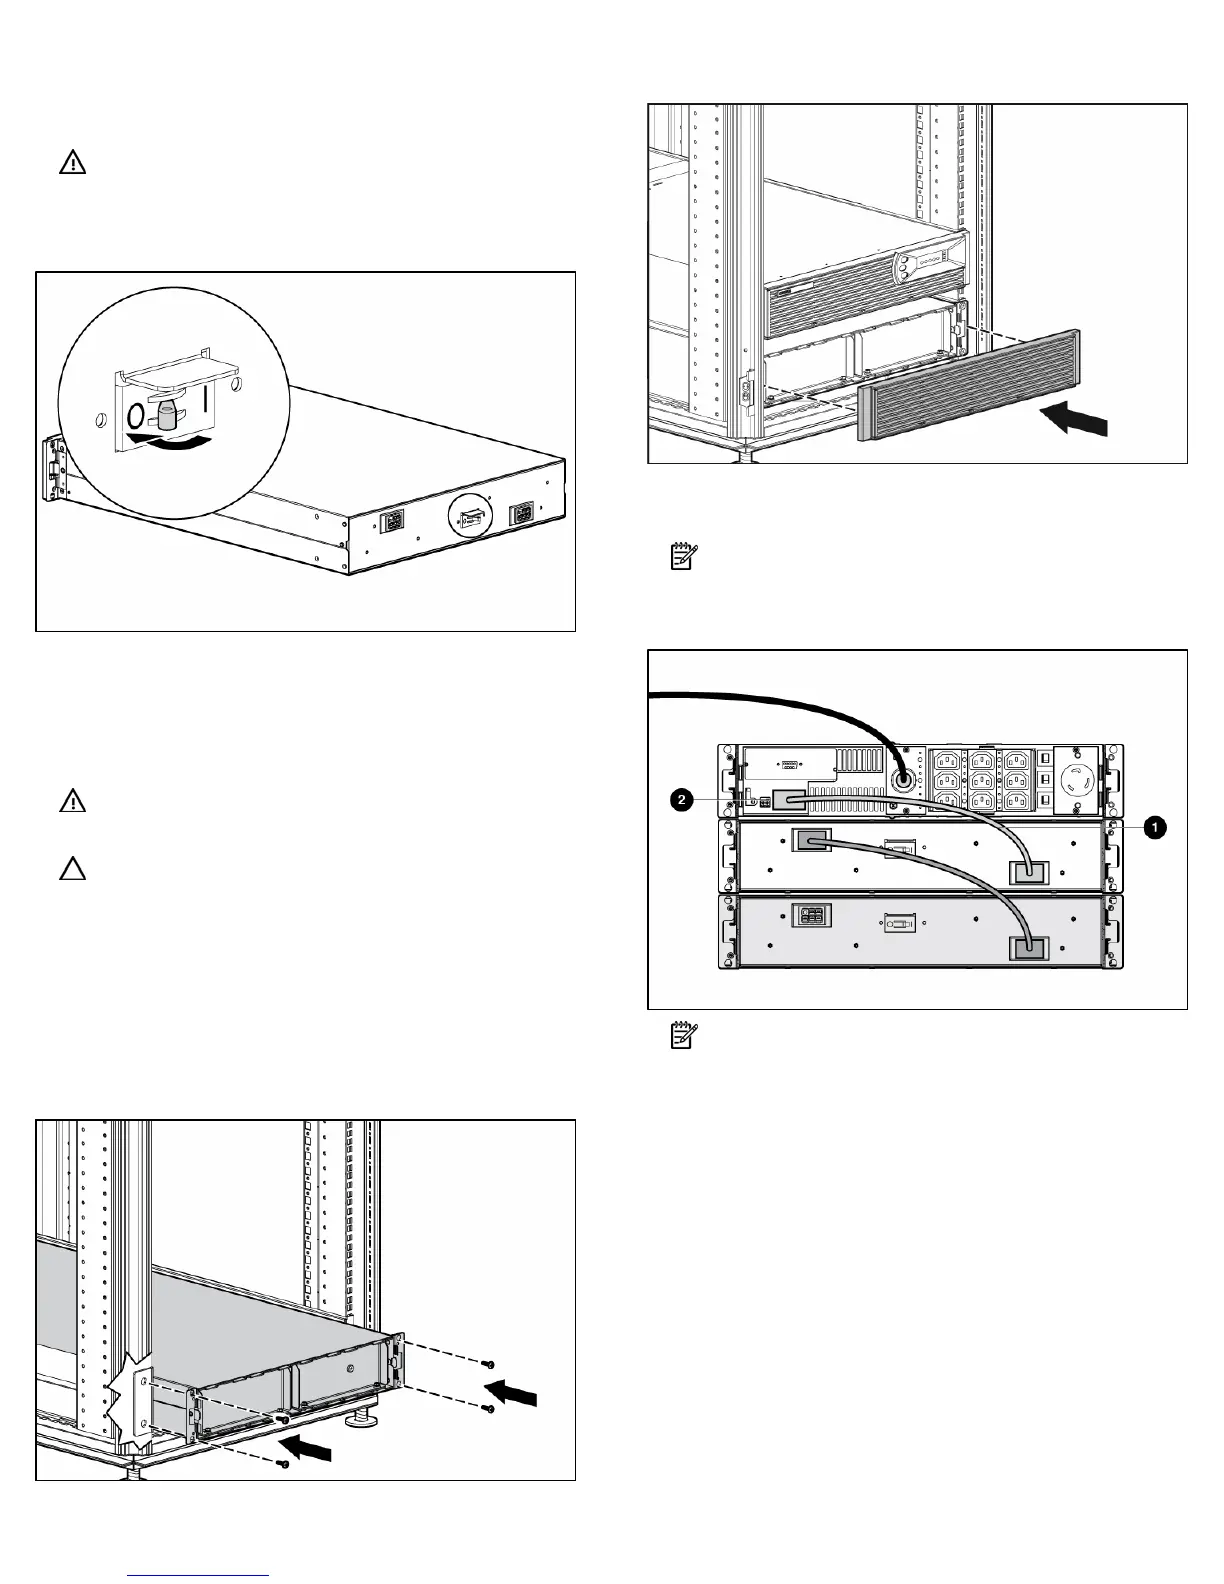
Installing the ERM
Before installing the unit, review and adhere to all warnings
provided in "Precautions (on page 1)."
WARNING: Uneven mechanical loading in
the rack may cause a hazardous condition.
CAUTION: Always plan the rack installation so that
the heaviest item is on the bottom of the rack. Install
the heaviest item first, and continue to populate the
rack from the bottom to the top.
1. Install the mounting rails ("Installing the mounting rails"
on page 2).
2. With one person on each side, lift the chassis to rail
level and slide the chassis on the mounting rails.
3. Attach the chassis to the rack using the supplied screws.
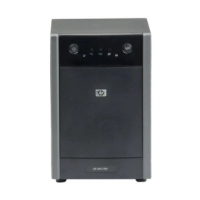
Attaching the ERM front bezel
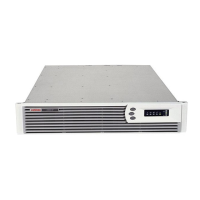
Connecting the ERM to the UPS
NOTE: Before connecting an ERM to a UPS, remove
the label from the ERM connector.
Plug the ERM cable (1) in the socket (2) at the rear of the UPS.
NOTE: To install a second ERM, plug the cable from
the second ERM into the socket at the rear of the first
ERM. Up to two ERM units can be connected.
 Loading...