Mechanical Instruction
Go to cover page
10
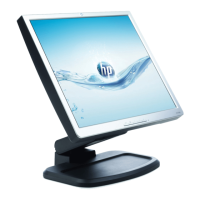
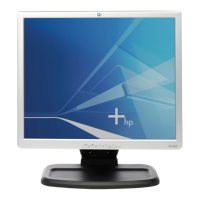
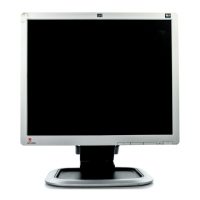
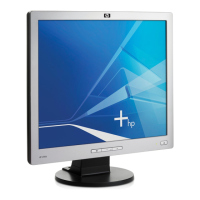
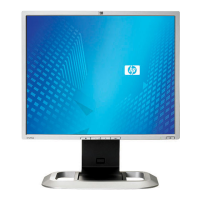
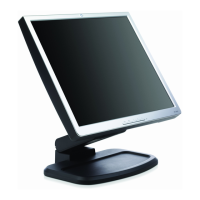
HP L1940
Front view
Back view
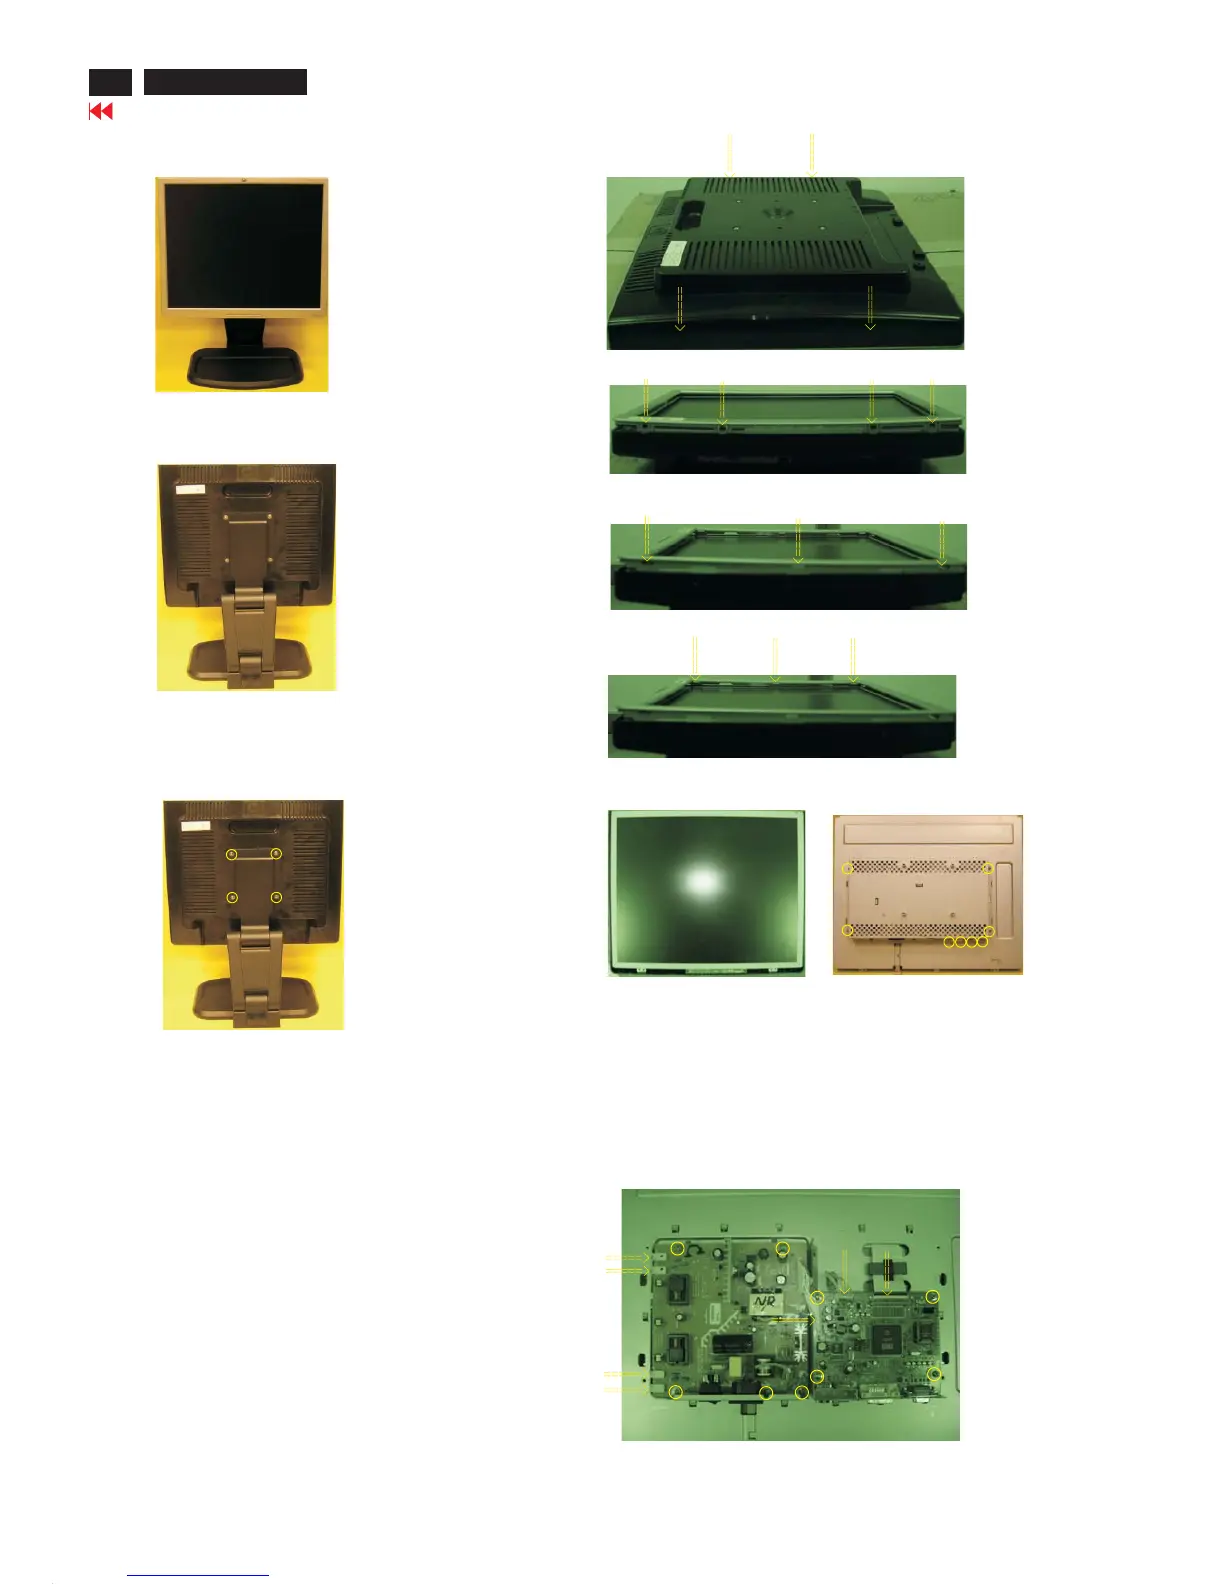
Step 1. Remove the stand.
Remove the four screws as Fig.3
Fig.3
Fig.4
Fig.2
Fig.1
Step 2. Remove the Back cover as Fig.5~8.
a.
b. Use thin "I" type screwdriver to open 4 clicks on bottom
side as Fig.5
c.
Remove the four screws on the left and right sides as Fig.4
Use thin "I" type screwdriver to open 3 clicks on right
side as Fig.6
e. Use thin "I" type screwdriver to open 3 clicks on left
side as Fig.7
f. Remove the front cover as Fig.8
g. Remove the back cover as Fig.9 ,then remove the 8 screws
Fig.5
Fig.6
Fig.7
Fig.8
Step 3. Remove the Scaler and Power board.
Remove the 9 screws and disconnect the 7 cables as Fig. 10
Fig.9
Fig. 10
 Loading...