28
Color Adjustment
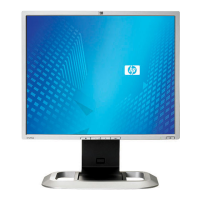
HP L1940
Go to cover page
Fig. 1
Fig. 2
0-CAL
Fig. 3
Factory Mode Indicator
Note: after alignment,please reset OSD to user s mode for normal
operation. Otherwise, themonitorwon t entering power saving mode
and showing full white picture all the time as no video signal supplied.
Toleave factory mode byrestartthe monitor.
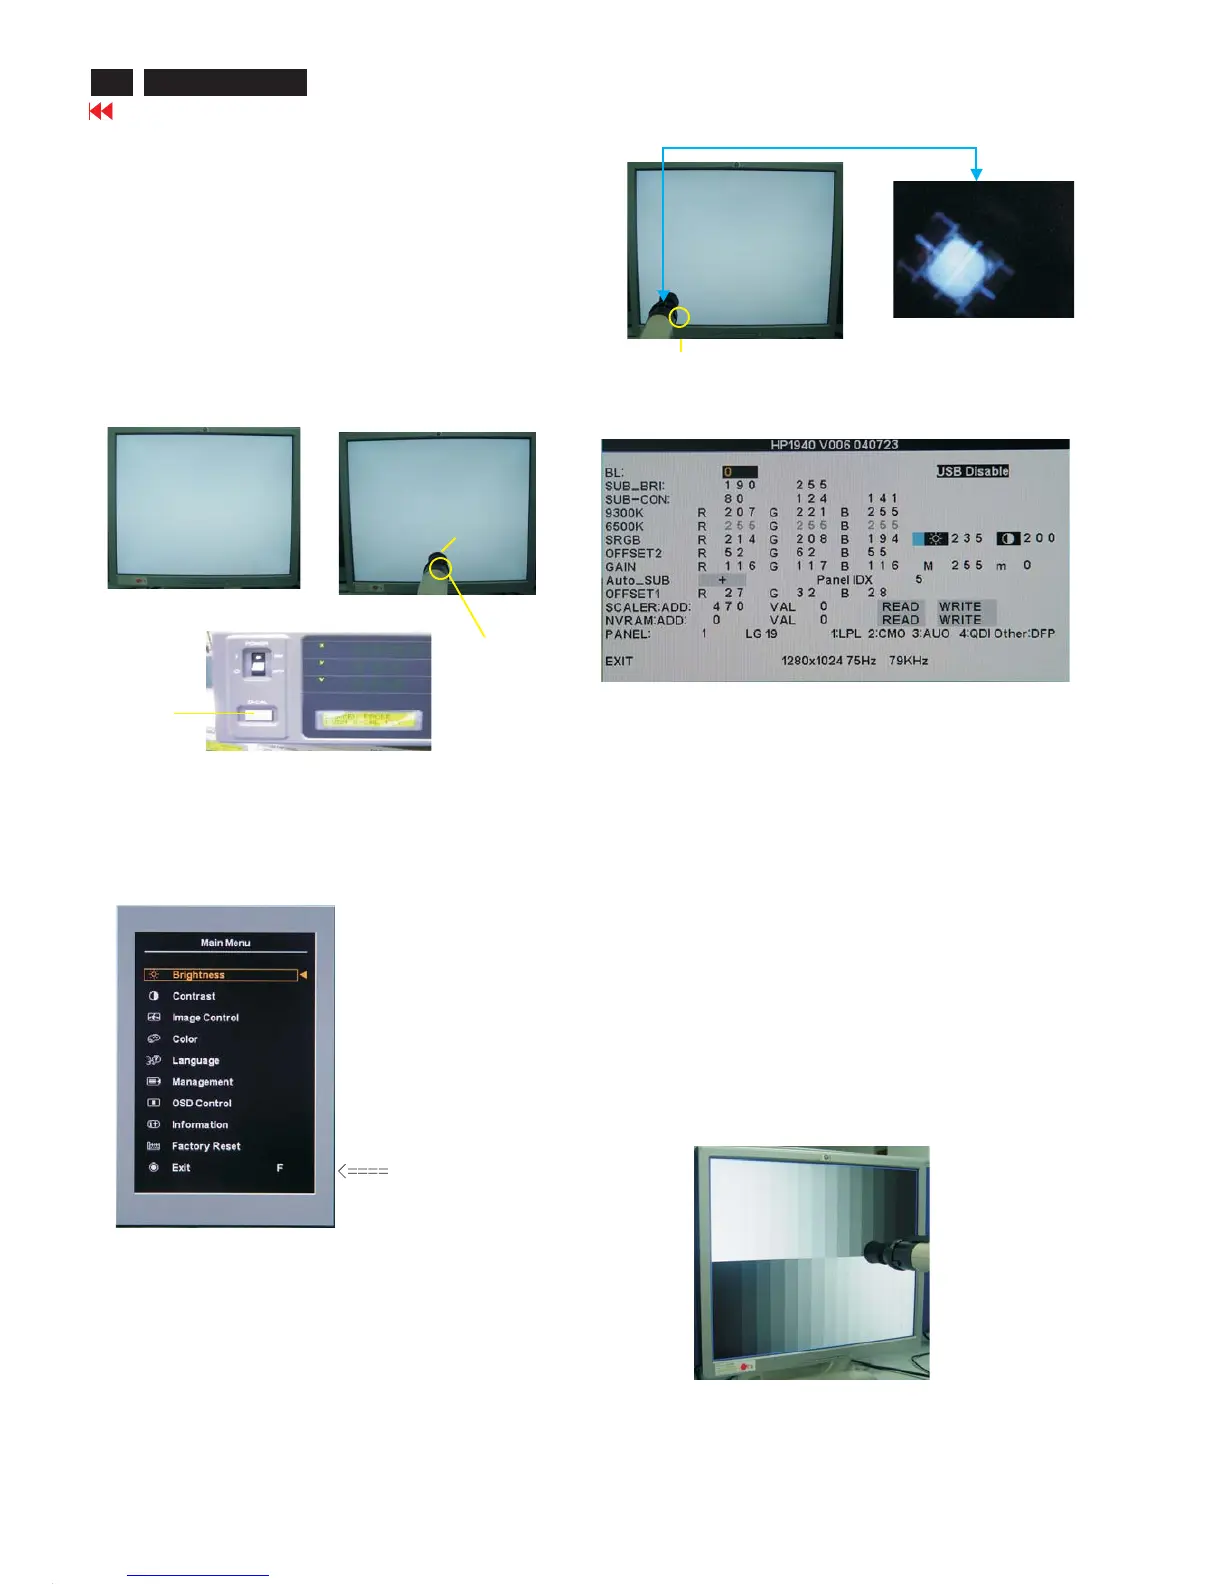
5. Adjust OSD menu to lower position of screen (i.g. adjust V-position to
value "0"at submenu ofOSDSetting.
6. Setting Brightness and Contrast
- Adjust Brightness to value "90".
- Adjust Contrast to value " 80" .
7. Switch light probetoViewing position.
8. Movethe Lens barrel forward or backward to get clear image as
showninFig.4
9. Switch light probe to Measuring position. It should beable t o indicate
Fig. 4
Clear image
Measurement/viewing selector
See Fig. 5
Fig. 5
9300° K
13. Press MENU buttons to select RGB. Increase/decrease value
by press or buttons until the X, Y co-ordinates as below:
X= 0.283+/- 0.020
Y= 0.297 +/-0.020
Y>= 200 nits
6500 °K
14. Setting X, Y value listed as below:
X= 0.313 +/-0.020
Y= 0.329+/-0.020
Y>= 200 nits
Alignment hits:1. Rfor xvalue,Gfor y value,Bfor
Yvalue on the
colour analyzer.
2. If the colour analyzer has been calibrated and preset
colour temperature in it. Please switch to correct
setting in accordance with colour settings.
15. Gray scale checking
- SwitchTiming/pattern generator to
Pattern:64gray scale
Timing:640X480 60Hz KHz
31.47
- Setting bothBrightness 90% and Contrast to 80% (Value).
-Checkblack and white scale are visible clearly across the screen.
10. Setting pattern to full white picture.
11. Press "menu" then select F,by "plus"button.
12. Press "menu"to bring up submenu as following windows.
Note:The bright scale will be saturated, ifYis too large. The dark scale
will beinvisible, ifYis too small. Re-alignment or review
4. Entering factory adjustment mode ofLCD Monitor.
- Power off the monitor,To hold "Auto Adjust" And" +(plus)"
buttons at the same time , And press "Power"button to
power on the monitor. Press "Menu"button to bring upOSD
MENU for confimation.
Cover(black)
White Balance Adjustment
Alignment procedure
1. Turn on HP L1940 LCD monitor.
2. Turn on the Timing/Pattern generator. See Fig. 1
Setting generator to provide CROSS-Hatchpattern at
Resolution :640*480
Timing :H=31.47kHz V= 60 Hz
3. Preset LCD colour Analyzer CA-110
- Removethe lens protectivecover ofprobe CA-A30.
- Set Measuring/viewing selector to Measuring position for reset
analyzer. (Zero calibration) as Fig. 2
-
Turn on the colour analyzer (CA-110).
- Press 0-CALbutton to starting reset analyzer. See Fig. 3
procedure again to correct this.
Measurement viewing selectorMeasurement viewing selector
 Loading...