Installation
5
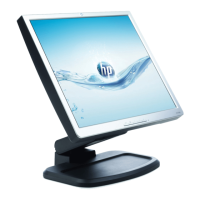
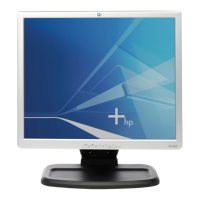
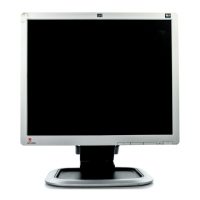
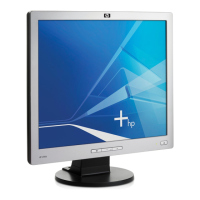
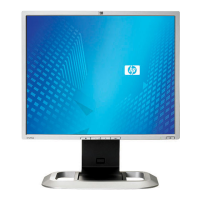
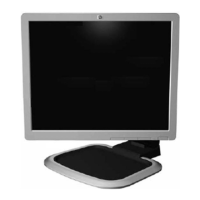
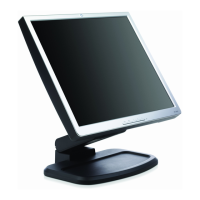
HP L1940
Go to cover page
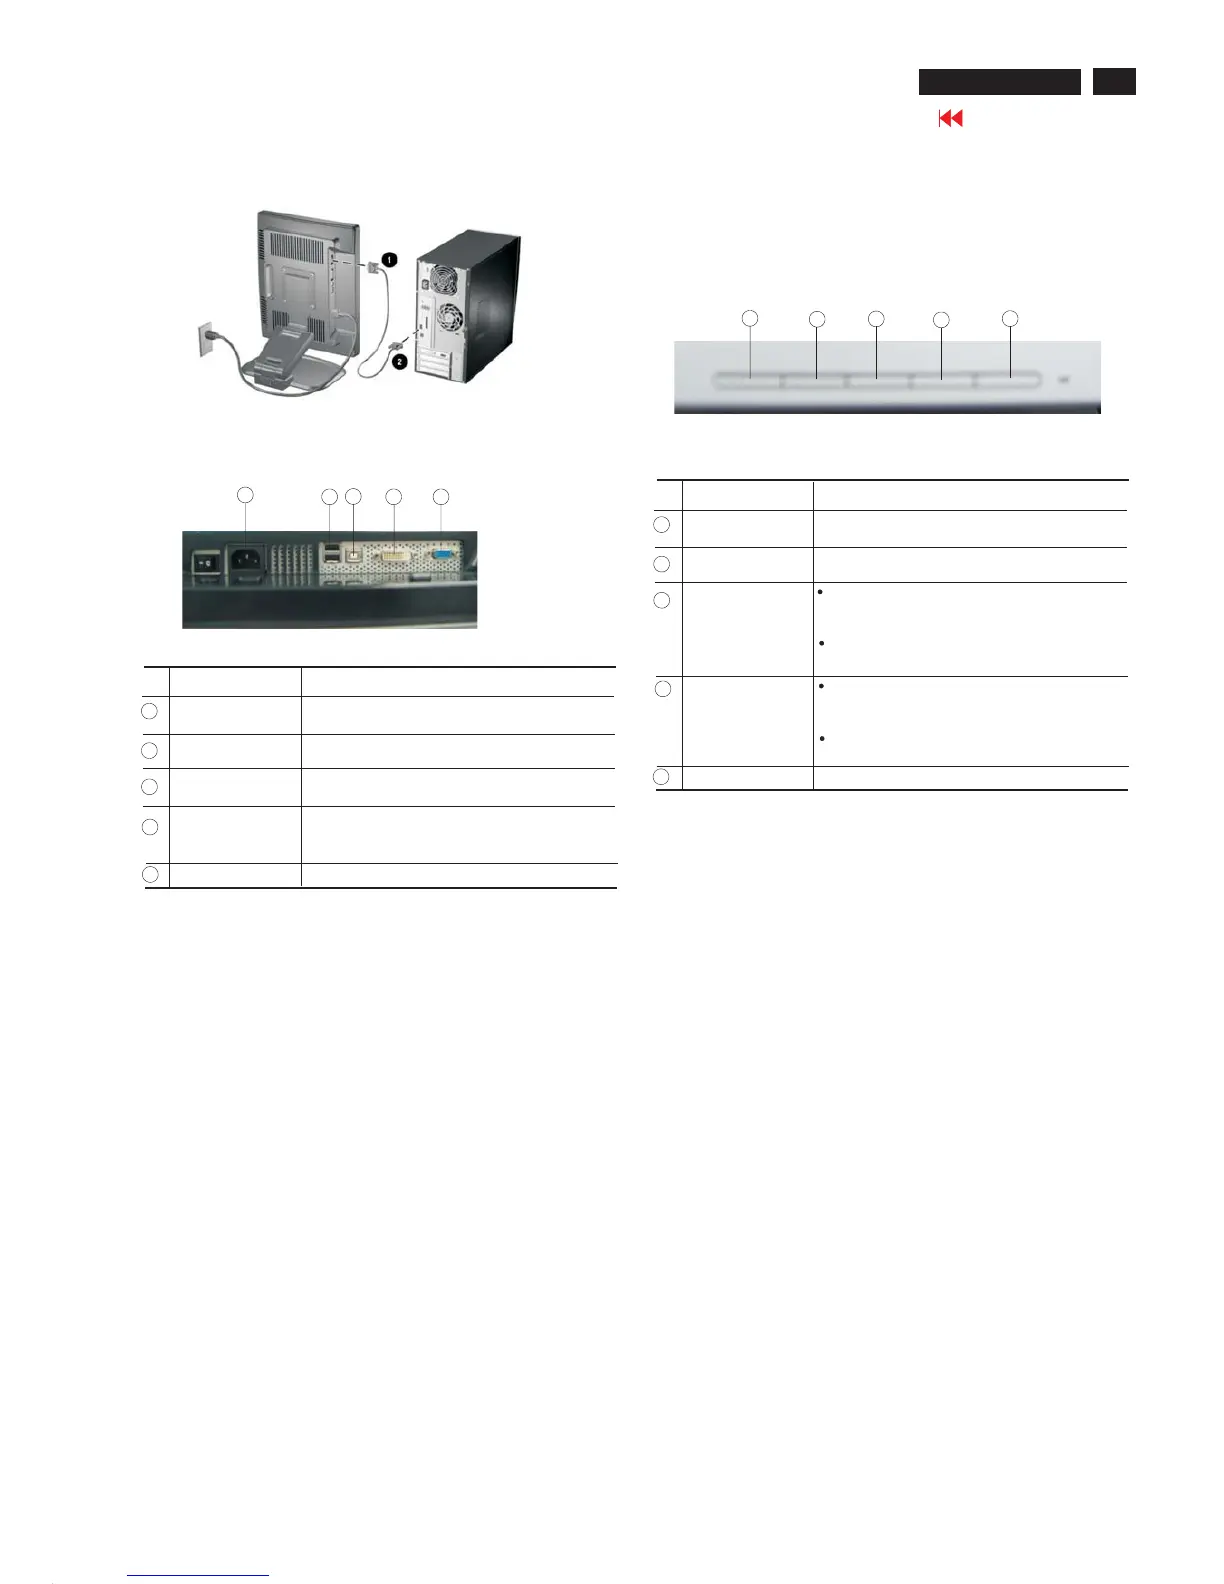
Connecting to PC
When two computers are connected, you will need to set the
Video Input Select on the on-screen display (OSD) menu to
specify which monitor input has priority.
1. Place the monitor in a convenient, well-ventilated location
Near your computer.
2. Connect the monitor signal cable into the correct video
connector (VGA or DVI-D) on the back of the monitor and into
the corresponding video connector on the rear panel of the
computer.
Your computer must have a DVI -compatible graphics card
installed for use with the DVI-D cable. When connecting the
DVI-D signal cable to the DVI connector on the monitor, connect
the other end of the DVI-D cable to the DVI connector on the
Computer.
3. Connect one end of the power cable to the back of the monitor,
and the other end to an electrical wall outlet.
Warnning:To reduce the risk of electric shock or damage to
your equipment:
1. Do not disable the power cord grounding plug. The grounding
plug is an important safety feature.
2. Plug the power cord into a grounded (earthed) electrical outlet
that is easily accessible at all times.
3. Disconnect power from the monitor by unplugging the power
cord from the electrical outlet.
Front control panel
Identifying Rear Panel Components
1
2
3
4 5
No. Component Function
AC power
connector
Connects the AC power cord to the monitor.
USB downstream
connectors
Connects optional USB devices to the monitor.
USB upstream Connects the USB cable to the host (computer
connector or another USB hub).
DVI connector
(available on
select models)
Connects the DVI-D signal cable to the monitor.
VGA connector Connects the VGA cable to the monitor.
1
2
3
4
5
4. Do not place anything on power cords or cables. Arrange them
so that no one may accidentally step on or trip over them. Do not
pull on a cord or cable. When unplugging from the electrical
outlet, grasp the cord by the plug.
1
2
3
4
5
No. Component Function
1
2
3
4
5
Auto Adjust
Activates the auto adjustment feature for
optimum image.
Menu
Opens the On-Screen Display (OSD) menu.
-(Minus)
If OSD is on, press to navigate backward
through the OSD menu features and
decrease adjustment levels.
If OSD is off, press to enable the DVI
signal input(available on select models)
+ (Plus)
If OSD is on, press to navigate forward
through the OSD menu features and increase
adjustment levels.
If OSD is off, press to enable the VGA signal
input.
Power
Turns the monitor on or off.
 Loading...