Hardware options installation 25
7.
Connect the four-pin power cable to the half-height drive.
8. Connect the device cable to the device and the system board or to an expansion board, as directed
by the option documentation.
9. Slide the media drive fully into the bay until it is seated securely.
10. Close the media bay retainers.
Memory options
For server-specific memory installation guidelines, refer to the installation sheet that ships with the server.
Interleaving and non-interleaving memory configuration
This server supports both interleaving and non-interleaving memory configurations. Interleaving memory
increases bandwidth by allowing simultaneous access to more than one block of data (for example,
overlapping Read-Writes). This is accomplished by dividing the system memory between pairs of DIMMs
and Writing-Reading blocks of data to/from both simultaneously. In order to take advantage of memory
interleaving, identical DIMMs must be installed in pairs. DIMMs can also be installed singularly in slot 1
only if memory interleaving is not desired.
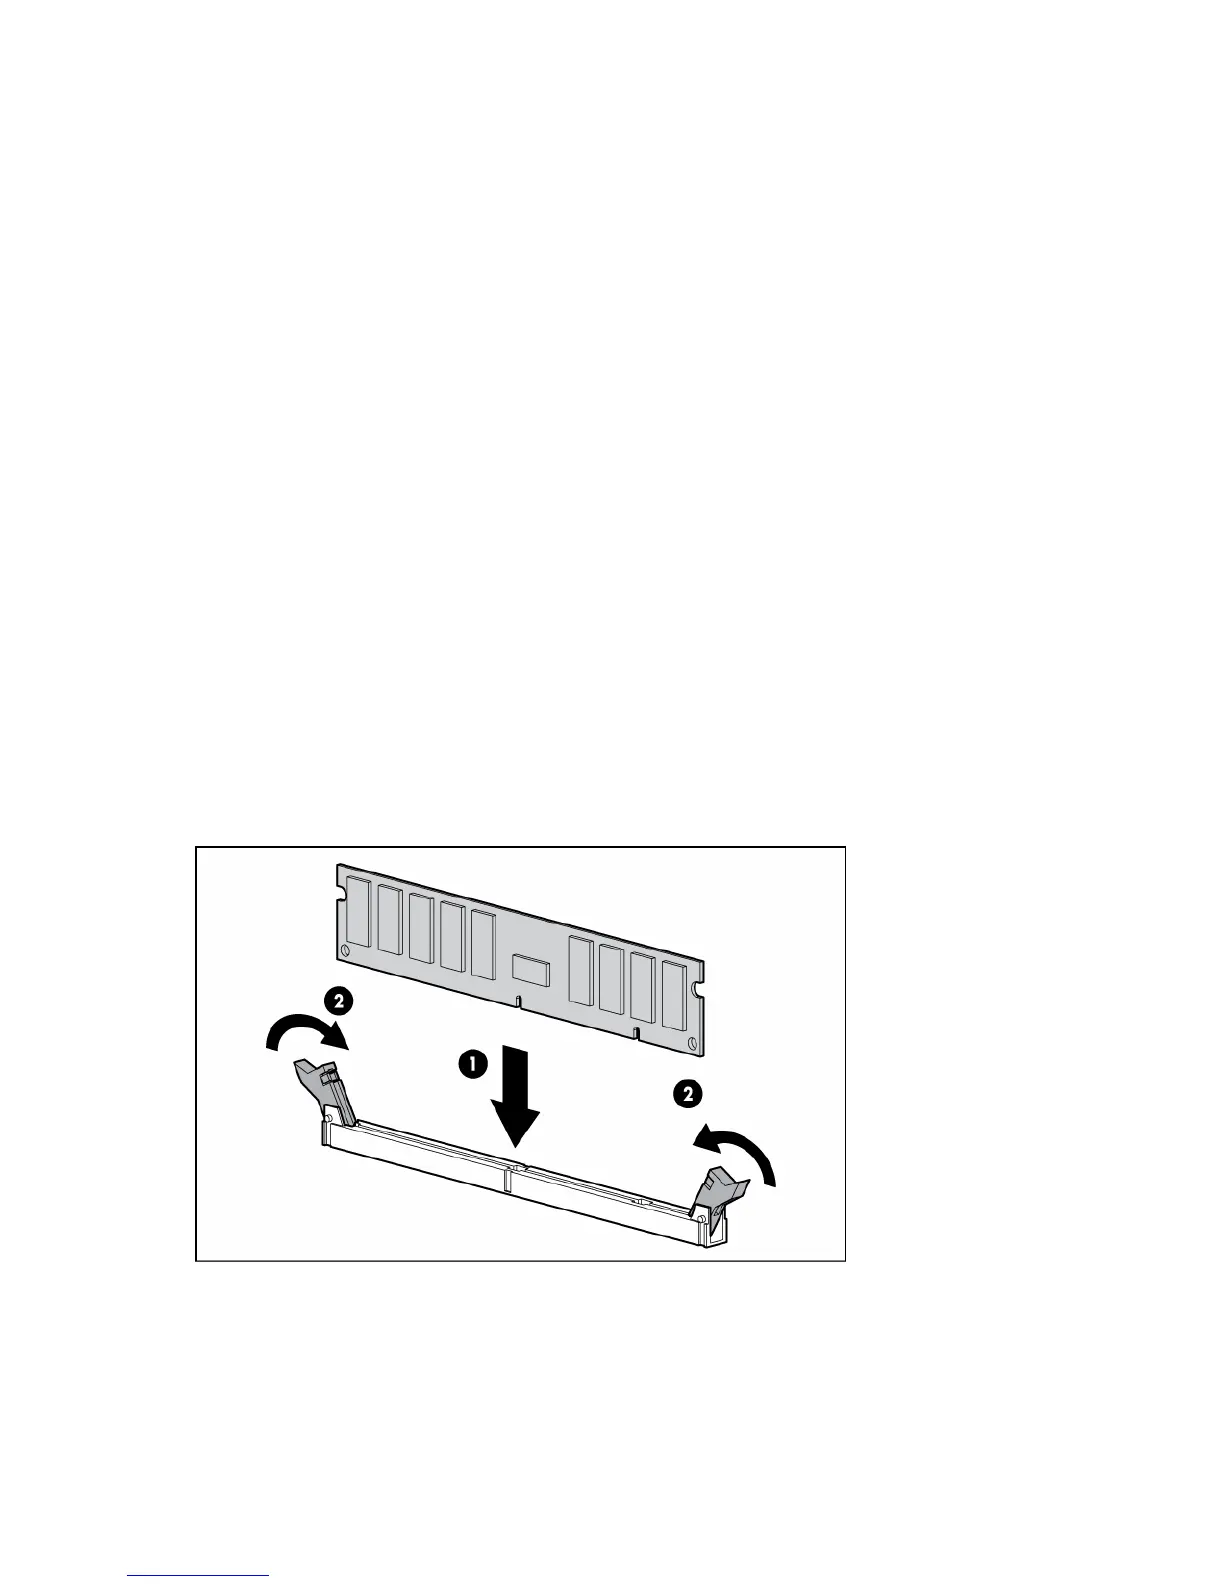
Installing DIMMs
1. Power down the server (on page 6).
2. Extend the server from the rack, if applicable.
3. Remove the access panel ("Access panel" on page 6).
4. Open the DIMM slot latches.
5. Install the DIMM. Refer to the installation sheet for server-specific configuration and population
guidelines.
6. Replace the access panel ("Access panel" on page 6).
Expansion board options
Depending on the model, HP ProLiant 100 Series servers use one of the following methods to retain
expansion boards within the server: