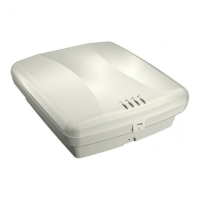
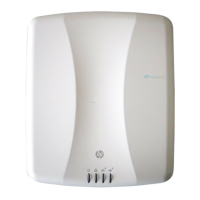
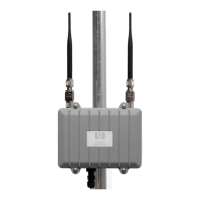
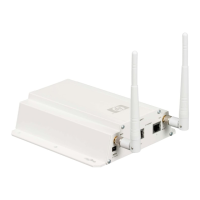
MSM310-R
Initial configuration (autonomous mode)
5-12
Step 4: Log in
1. Wait until the login page appears, then specify admin for both Username and Password.
Select Login.
2. On the License Agreement page, read the agreement and select Accept License
Agreement.
3. The registration page appears. It is recommended that you register later by selecting
Maintenance > Registration.
4. If a Country prompt appears, select the country in which the MSM310-R will operate.
The correct country must be selected. See Country of use on page 5-5.
5. At the password prompt it is recommended that you change the default password and
select Save. Passwords must be at least six characters long and include four different
characters.
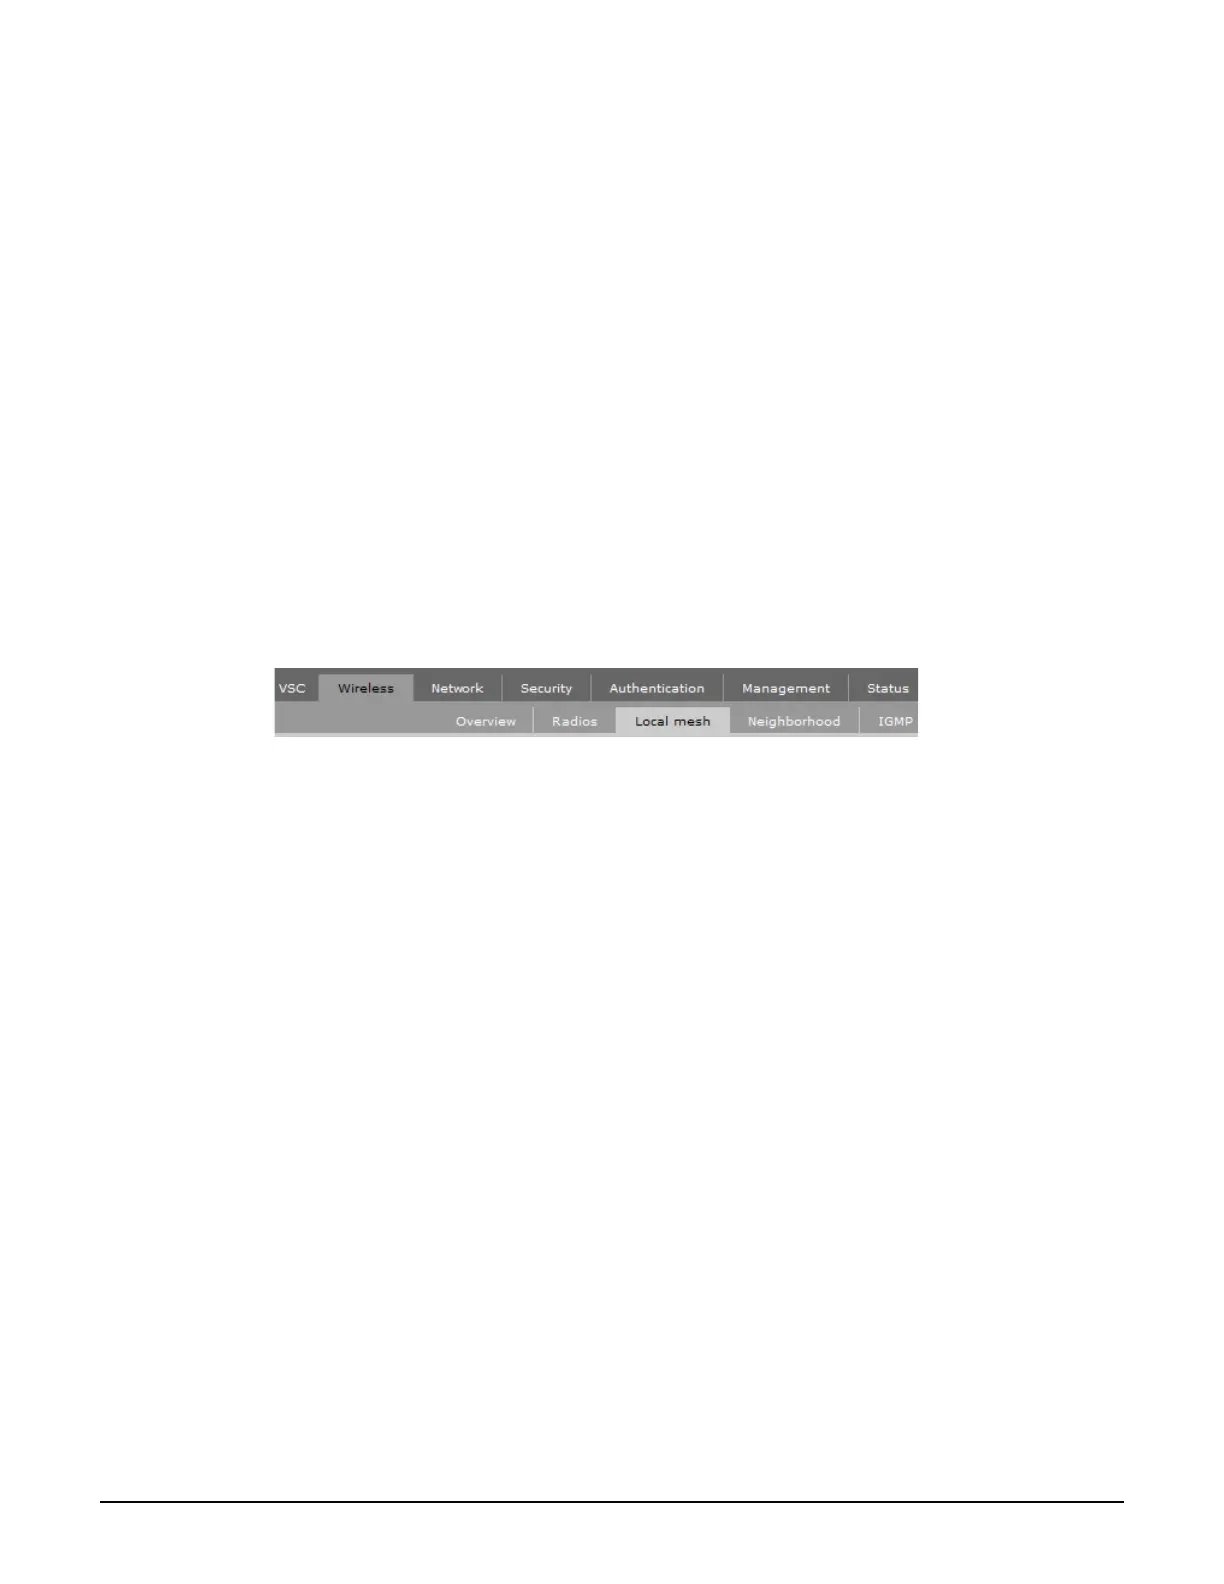
The management tool is organized with menus and sub-menus. Instructions for making menu
selections, such as “select Wireless > Local mesh” instruct you to select the Wireless menu
and then the Local mesh sub-menu, as follows:
Step 5: Assign an IP address to the MSM310-R
By default the MSM310-R operates as a DHCP client. This means that if the network has a
DHCP server, the MSM310-R will automatically receive a new IP address in place of its
default address of 192.168.1.1 upon connecting to the network. Use one of the following
methods to assign an IP address to the MSM310-R:
Pre-configure the DHCP server to assign a specific IP address to the MSM310-R. To do
this you need to specify the MSM310-R Ethernet MAC address and a reserved IP address
on the DHCP server. The MSM310-R Ethernet MAC address is printed on the MSM310-R
label identified as Ethernet Base MAC, and listed on the management tool Home page
as Ethernet base MAC address.
Let the DHCP server automatically assign an IP address. By default, the DHCP
server will assign an IP address once the MSM310-R connects to the network. Once the
DHCP server has assigned the MSM310-R an IP address, you can then find the IP address
of the MSM310-R by looking for its Ethernet base MAC address in the DHCP server log.
For example after Step 6.4 below, you could go to the DHCP server log to retrieve the IP
address assigned to the MSM310-R.
Assign a static IP address to the MSM310-R. The address must be on the same
subnet as the network to which the MSM310-R will connect.
1. Select Network > DNS, and set the DNS server address. Select Save.
2. Select Network > Ports > Bridge port.

 Loading...