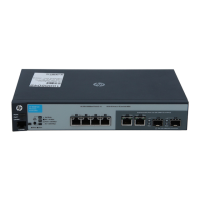
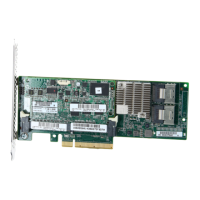
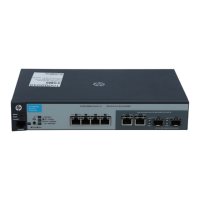
The controller supports these mini-GBICs:
• HP X112 100M SFP LC BX-D Transceiver J9099B
• HP X112 100M SFP LC BX-U Transceiver J9100B
• HP X111 100M SFP LC FX Transceiver J9054B
• HP X121 1G SFP LC SX Transceiver J4858C
• HP X121 1G SFP LC LX Transceiver J4859C
• HP X122 1G SFP LC BX-D Transceiver J9142B
• HP X122 1G SFP LC BX-U Transceiver J9143B
• HP X121 1G SFP LC LH Transceiver J4860C
CAUTION: Hot swapping of transceivers is supported. You can install or remove a transceiver
with the controller powered on, a reset will not occur. However, rapid hotswaps are not
recommended. Wait a few seconds for the Mode LED to turn on (during initialization) and then
turn off.
CAUTION: Use only supported genuine HP mini-GBICs with your controller. Non-HP mini-GBICs
are not supported and their use may result in product malfunction. Contact your HP Networking
Sales and Service Office or authorized dealer for additional HP mini-GBICs.
NOTE:
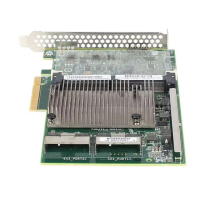
• The mini-GBIC slots are shared with 10/100/1000Base-T RJ-45 ports. When a mini-GBIC is
installed in a slot, the associated RJ-45 port is disabled and cannot be used.
• Ensure the fiber network cable is NOT connected when you install or remove a mini-GBIC.
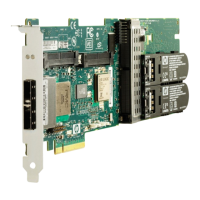
Installing the mini-GBICs
Remove the protective plastic cover and retain it for later use. Hold the mini-GBIC by its sides and
gently insert it into either of the slots on the controller until the mini-GBIC clicks into place.
WARNING! The HP mini-GBICs are Class 1 laser devices. Avoid direct eye exposure to the laser
beam coming from the transmit port.
14 Installing the controller
 Loading...