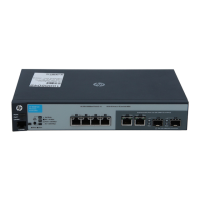
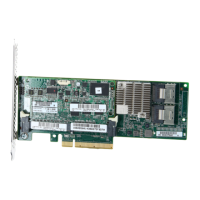
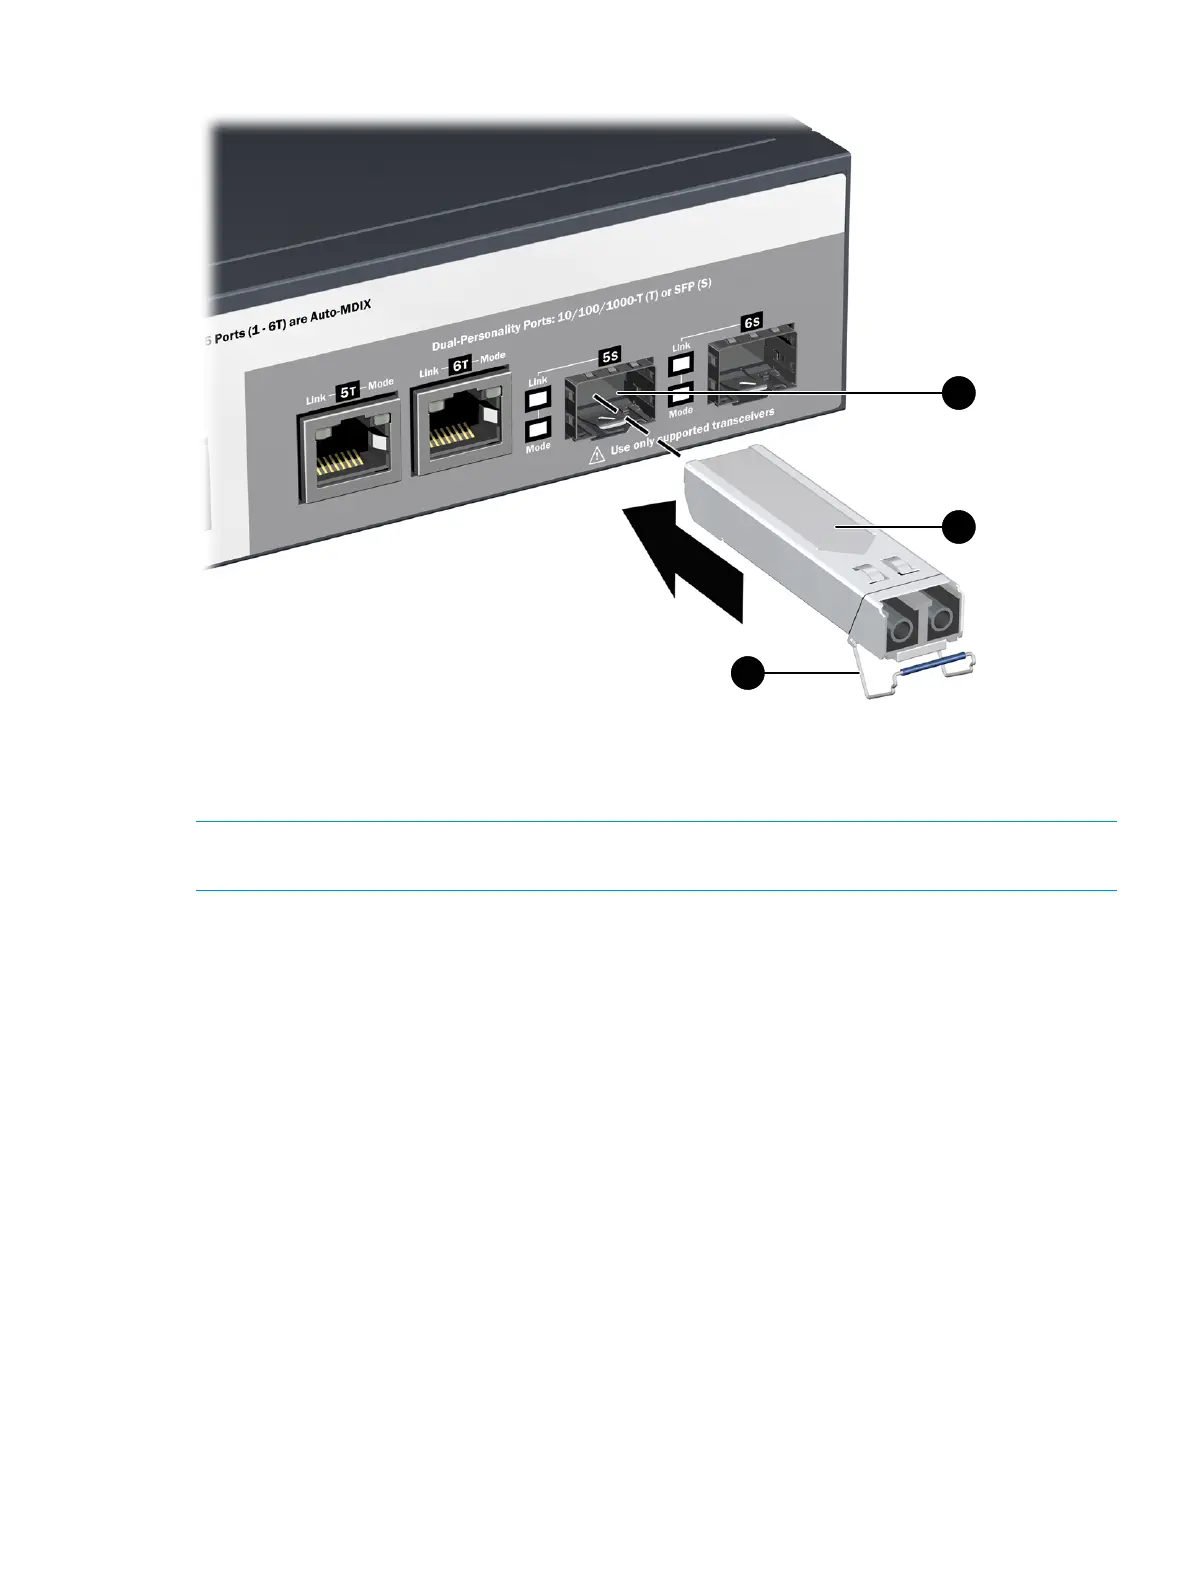
Figure 10 Installing a mini-GIBIC
3. Wire bail2. Mini-GBIC1. Mini-GBIC Slot
Removing the mini-GBICs
NOTE: You should disconnect the network cable from the mini-GBIC before removing it from the
controller.
Depending on when you purchased your HP mini-GBIC, it may have one of three different release
mechanisms: a plastic tab on the bottom of the mini-GBIC, a plastic collar around the mini-GBIC,
or a wire bail.
To remove the mini-GBICs that have the plastic tab or plastic collar, push the tab or collar toward
the controller until you see the mini-GBIC release from the controller (you can see it move outward
slightly), and then pull it from the slot.
To remove the mini-GBICs that have the wire bail, lower the bail until it is approximately horizontal,
and then using the bail, pull the mini-GBIC from the slot.
Replace the protective plastic cover on the mini-GBIC.
Installing optional accessories
Two optional controller accessories are available from HP.
HP X510 1U Cable Guard (J9700A): Mounts to the front of the controller to help stabilize and
support the networking cables and provide extra security against tampering or theft.
HP X520 1U Power Adapter Shelf (J9701A): Holds the power supply adapter at the back of the
controller.
Install these optional accessories according to the instructions provided with them. Accessory
documentation is available online (search by product number).
Installing optional accessories 15
 Loading...