NOTE:
Ensure the network cable is NOT connected when you install or remove an SFP.
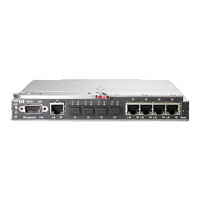
Installing the SFPs:
Remove the protective plastic cover and retain it for later use. Hold the SFP by its sides and gently insert it
into any of the slots on the switch until the SFP clicks into place.
WARNING:
The HPE SFPs are Class 1 laser devices. Avoid direct eye exposure to the beam coming from the
transmit port.
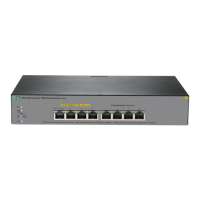
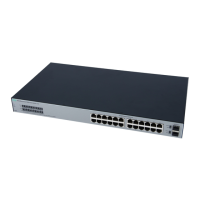
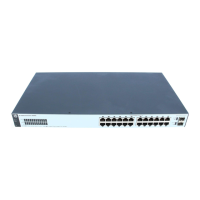
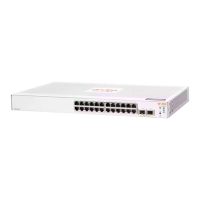
Link/Act
Speed
Link/Act
Speed
SFP Ports
Removing the SFPs
NOTE:
You should disconnect the network cable from the SFP before removing it from the switch.
To remove the SFPs that have the plastic tab or plastic collar, push the tab or collar toward the switch until
you see the SFP release from the switch (you can see it move outward slightly), and then pull it from the slot.
To remove the SFPs that have the wire bail, lower the bail until it is approximately horizontal, and then using
the bail, pull the SFP from the slot.
Replace the protective plastic cover on the SFP.
Connecting cables to SFPs
If you have any SFPs installed in the switch, the type of network connections you will need to use depends on
the type of SFPs you have installed. See the table in Network ports, and appendix A, Cabling and
Technology Information Specifications, for the SFP cabling information.
For SFP ports, and in general for all the switch ports, when a network cable from an active network device is
connected to the port, the port Link LED for that port should go on. If the port Link LED does not go on when
the network cable is connected to the port, see Diagnosing with the LEDs on page 27.
24 Installing the SFPs:
 Loading...