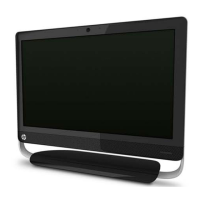
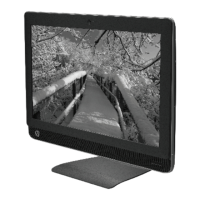
Rear Cover
The rear cover is secured with five screws. You must pry it off at the seams around the edges of the
computer, starting at the bottom.
To remove the rear coverl:
1. Prepare the computer for disassembly (see
Preparing to Disassemble the Computer
on page 27).
2. Position the computer with the top rear facing you.
3. Remove the small rear cover (see
Small Rear Cover on page 28).
4. Remove the stand (see
Stand on page 29).
5. Remove the right rear cover (see
Right Rear Cover on page 35).
6. Remove the heat sink (see
Heat Sink (Thermal Module) on page 38).
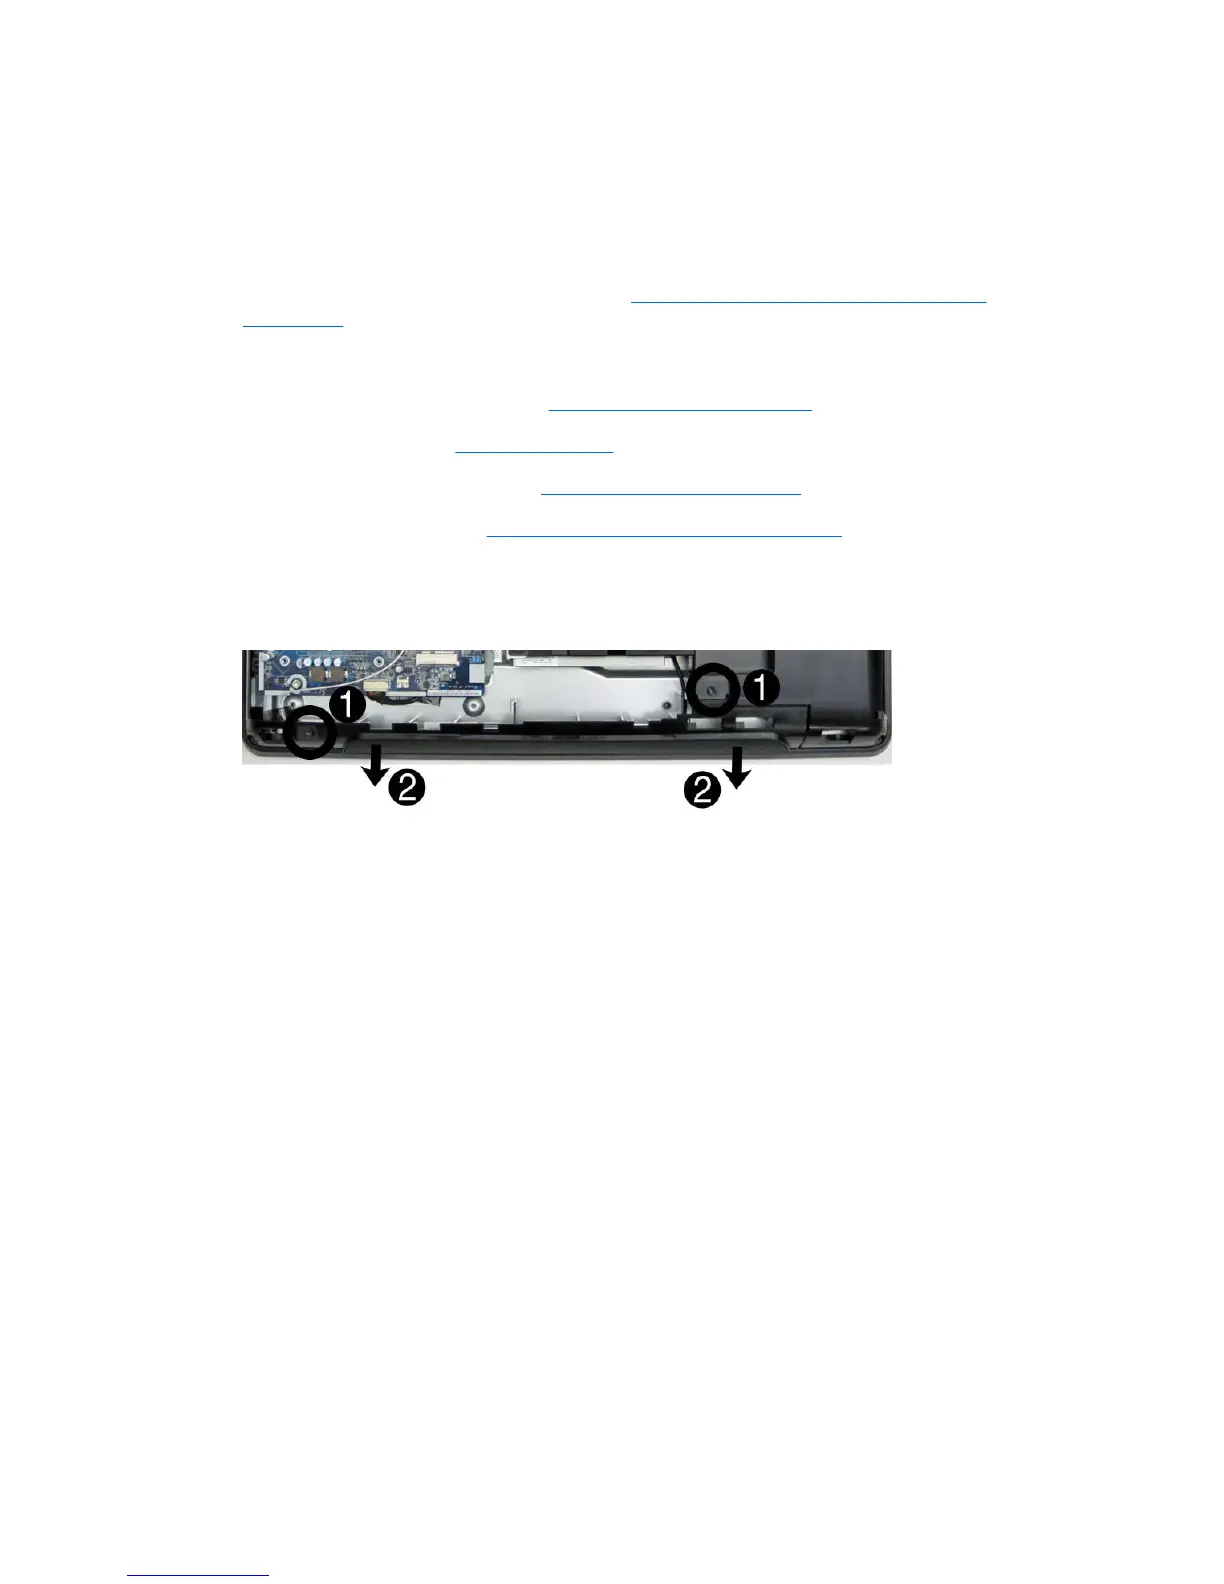
7. Remove the upper cover (if not yet removed) by removing the two screws (1) that secure the
cover to the computer, and then rotating the cover up and off the computer (2).
Figure 7-19 Removing the upper cover
8. Remove the five screws(1) that secure the rear cover to the computer.
46 Chapter 7 Removal and Replacement Procedures All-in One (AIO) Chassis
 Loading...