Installing the autoloader16
Installing the autoloader into a rack (optional)
The autoloader fits all standard 19-inch racks, taking up 2U of space. To install the autoloader into
a rack, install the mounting brackets on both sides of the autoloader and the rails in the selected
rack location.
To install the autoloader:
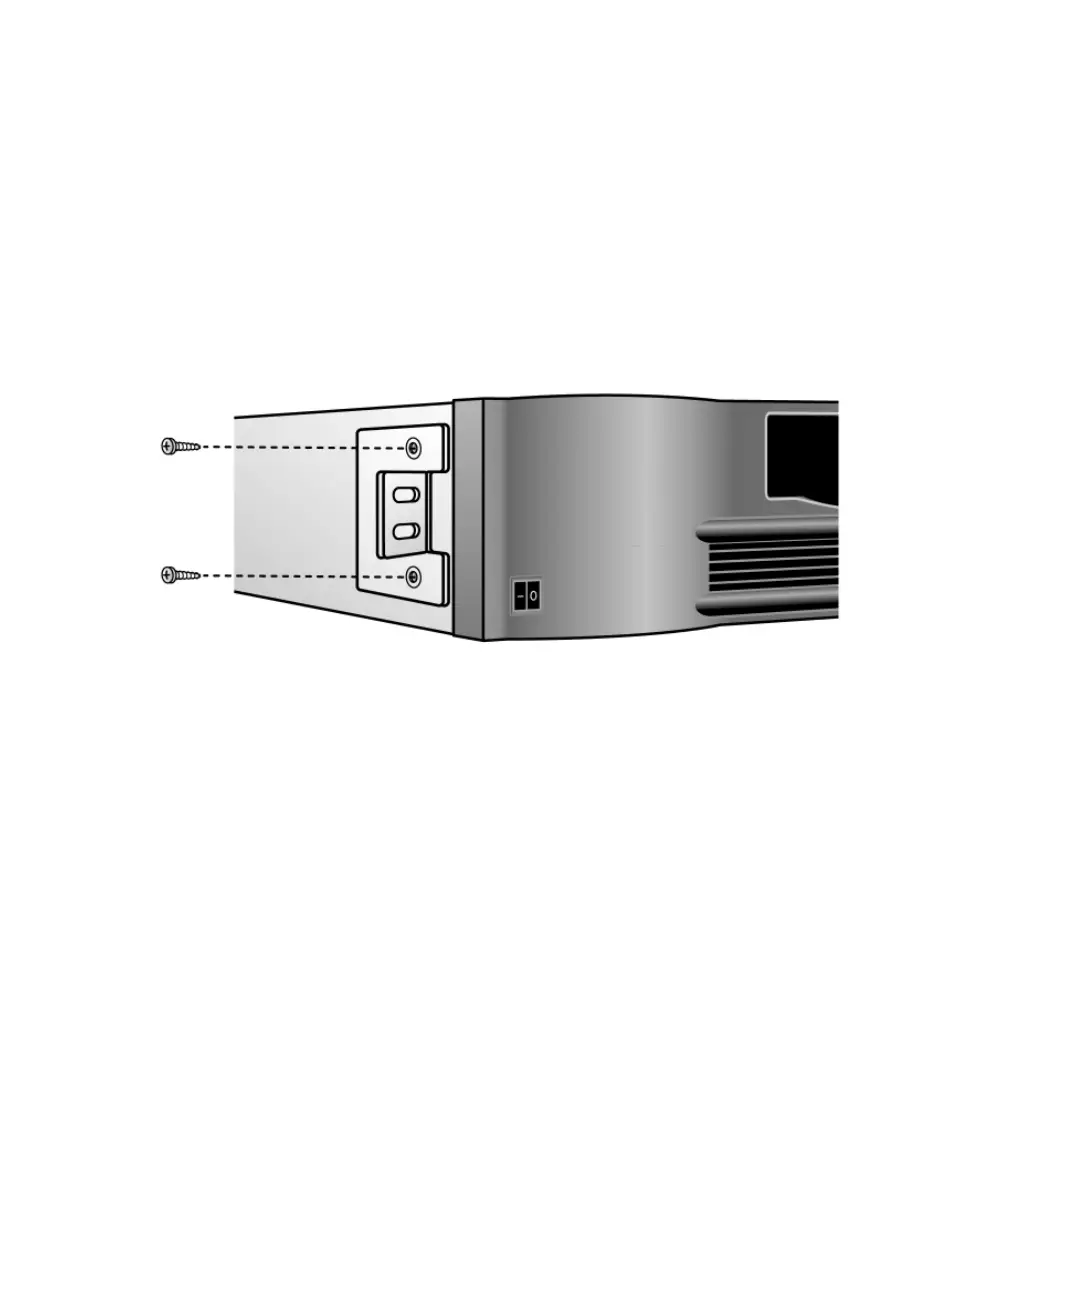
1. Use a medium-sized Phillips screwdriver to remove the two screws near the front on each side of
the autoloader cover (see Figure 5).
2. Using the screws you removed in step 1, secure one mounting bracket (from the rack mount kit)
to each side of the autoloader as shown in Figure 5.
Figure 5 Installing mounting brackets (left side shown)
3. Using the screws and clip nuts from the rack mount kit, secure one rail to each side of the rack in
the location in which you plan to install the autoloader.
• Be sure to secure both the front and rear of each rail to the rack. The rails extend to fit a
variety of rack depths.