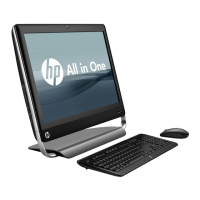
17. Remove the brackets from the top and bottom of the display panel by removing the 2 Torx
screws from each bracket, and then lifting each bracket off the panel.
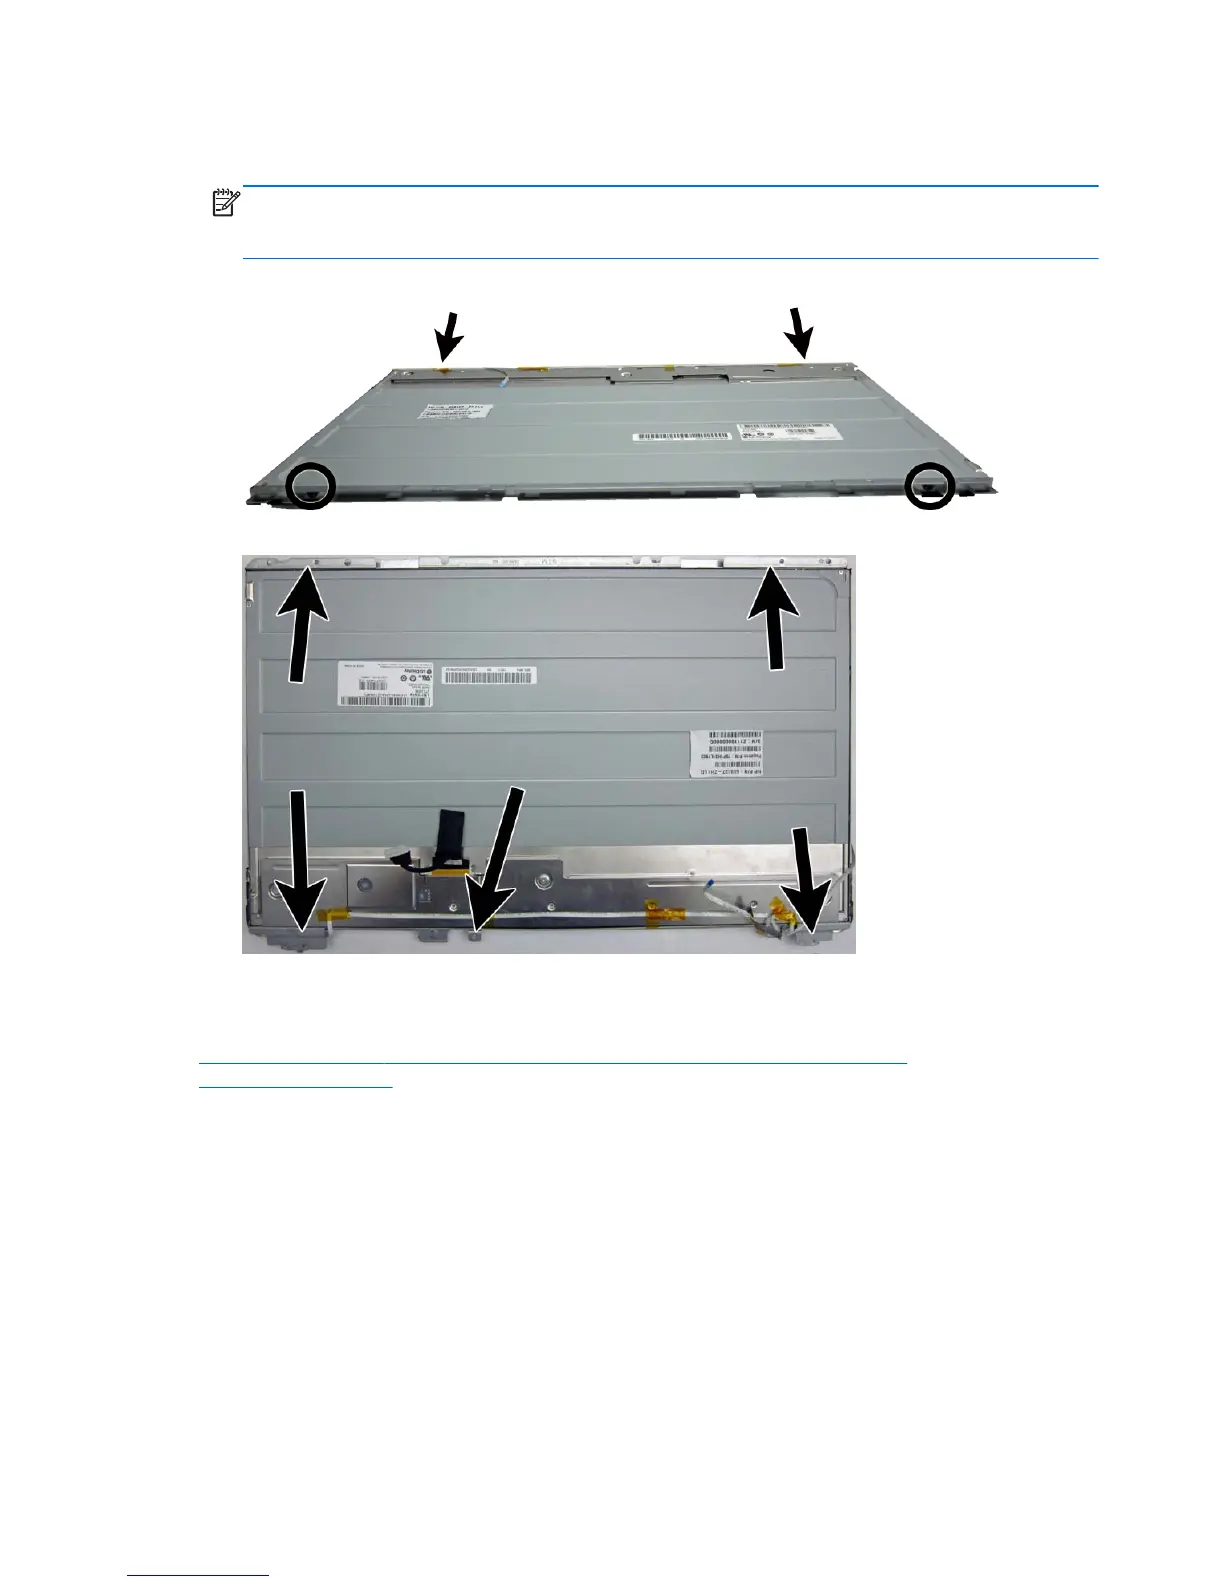
NOTE: Display panel bracket location varies by vendor. Brackets are located on the top and
bottom, or on the left and right, depending on vendor. These images show brackets on the top
and bottom of the display panel.
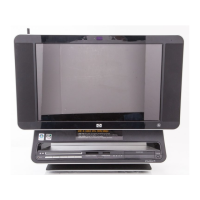
Figure 7-61 Removing the brackets from the display panel
Figure 7-62 Display panel bracket location
To install the front bezel and display panel, reverse the removal procedures.
You must calibrate the display after replacement. For calibration procedures, see
http://thesml.hp.com/results.htm?SID=5146296&MEID=DA800C0B-C65E-454F-
A8B4-17895E54764A.
90 Chapter 7 Removal and Replacement Procedures All-in One (AIO) Chassis
 Loading...