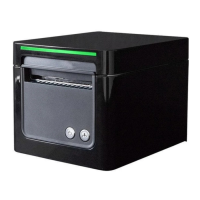
TP809 User Manual
4.4 Interface Cable Connection
1) Make sure the printer's power switch is turned off;
2) Put the interface cable into the matched interface and fixed with screws (or spring) on the plug;
3) Connect the other end of the interface cable to the host.
4.5 Cash Drawer Connection
1) Make sure the printer's power switch is turned off;
2) Connect the cash drawer cable into the cash drawer interface on the rear side of the printer.
Warning:
Cash drawer interface can only be connected to a voltage of 24V cash drawer device (can’t connect
to the phone line, etc.)
4.6 Print Test
4.6.1 Print Self-Test
The self-test checks the printer’s current settings, status and whether the printer has any problem.
1) Make sure the power is connected and paper is loaded properly.
2) Make sure the printer is power off and top cover is closed properly.
3) Press the paper feed button and power button simultaneously to turn the printer on. The printer
is ready to receive data as soon as it completes the self-test.
4.6.2 Printing of Windows Driver Program
1) Install the Windows Driver program. (Please refer to the Windows Driver Manual)
2) Please set the “Interface” as the type you use.
3) Use the Windows Driver Program to print out the “Print Test Page”.

 Loading...