RRU3269
Installation Guide
Issue Draft B (2018-05-15)
Huawei Proprietary and Confidential
Copyright © Huawei Technologies Co., Ltd.
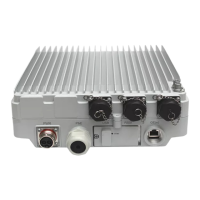
3. Insert the removed screw into the hole on the top of the third RRU and use an M6 torque
screwdriver to tighten the screw to 5 N·m (44.25 lbf·in.).
Step 5 Install the second set of RRU mounting kits at least 80 mm (3.15 in.) above or below the first
set of RRU mounting kits, as shown in Figure 8-20.
Figure 8-20 Installing the second set of RRU mounting kits
Step 6 Install the fourth RRU onto the fourth main bracket, use an inner hexagon torque screwdriver
to tighten the captive screw into the holes on the top of the attachment plate and main bracket
to 5 N·m (44.25 lbf·in.) so that the attachment plate and main bracket are firmly secured, as
shown in Figure 8-21.
 Loading...