INSTALLATION
7
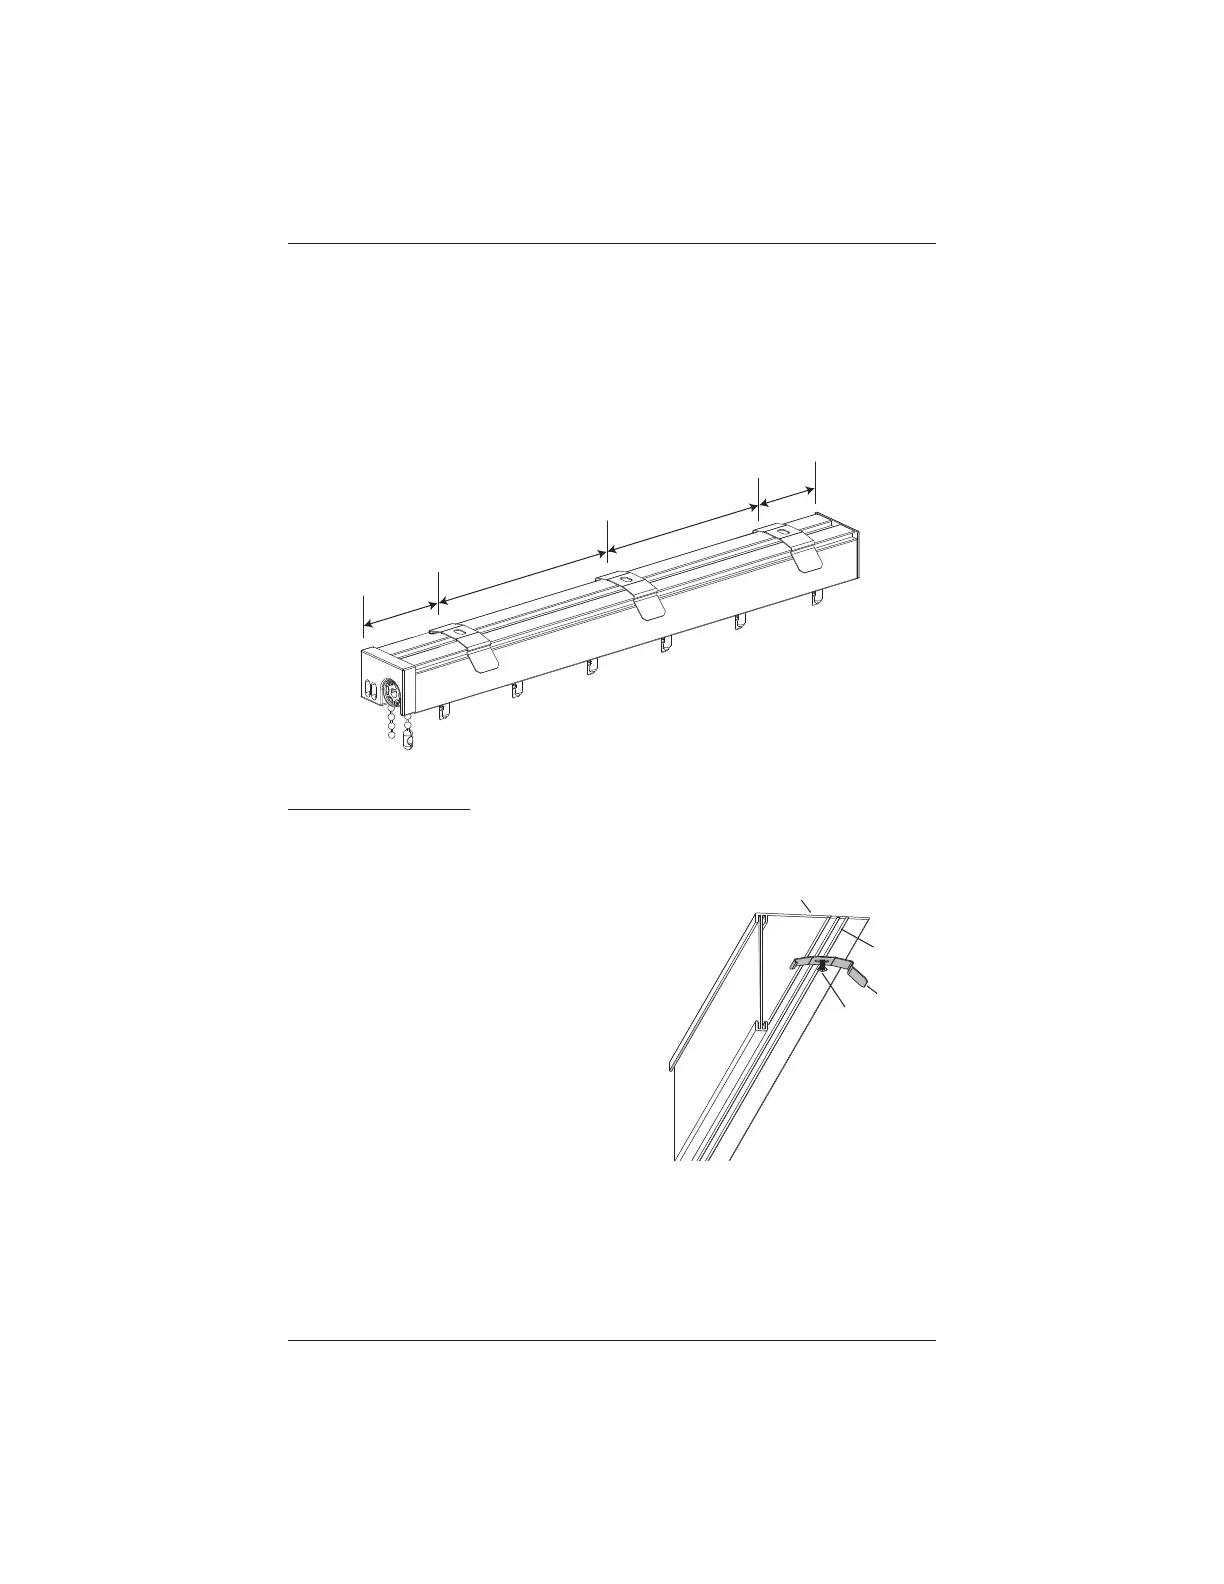
Mount the Installation Brackets — Inside Mount
■ Mark 2" – 4" in from each jamb. Measure and mark the underside of the dust cover, if
ordered.
➤ If more than two installation brackets came with your order, space additional bracket(s)
evenly in 24"– 30" intervals between the end brackets and mark their location. Mount
into wood whenever possible.
IMPORTANT: Allow ½" clearance between vane and window.
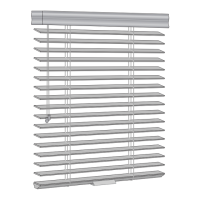
Install Mounting Clips
■ Drill the screw holes using a
3
∕
32
" drill bit.
IMPORTANT: Use drywall anchors when
mounting into drywall. Drywall anchors are not
provided.
➤ If you did not order a valance, drill directly into
the ceiling/head jamb.
➤ If you ordered a dust cover valance, drill
through the rear groove of the dust cover
valance then into the ceiling/head jamb.
■ Attach the mounting clip using the screws
provided.
➤ Hold the valance in position, the screw will
go (through the valance, if ordered) into the
ceiling/head jamb.
2 – 4"
2 – 4"
30" Maximum
30" Maximum
Rear
Groove
Dust Cover
Valance
Mounting
Screw
Mounting
Clip