38 – English
Repair instructions
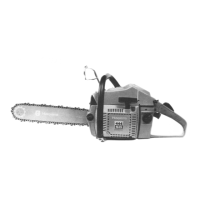
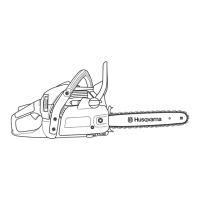
Assembly
Maintain a high level of cleanliness when assem-
bling the carburettor. The slightest contamination
can result in running problems.
1. If the throttle and choke valves, together with
levers and springs were removed, they should
be retted. The spring is tensioned 1-2 turns.
Lubricate the shaft bearings with light oil.
2. Fit the high and low speed needles and
springs.Note! Do not fully tighten the screws.
This will damage the seats and needle tips.
3. Fit the fuel lter () by using the handle of a
small screwdriver. (see gure 33)
4. Fit the pump diaphragm (M), gasket (L) and
cover () on the pump unit. (see gure 33)
J
M
L
K
5. Fit the needle valve (E) with lever (D), pin and
spring and tighten the screw (F). Fit welch plug
() (see gure 34).
6. Check using a ruler or the like that the lever
is level with the assembly plane on the cover.
The lever arm can be bent if necessary. (see
gure 35)
7. Fit the control diaphragm (B) with gasket (C)
and cover (A) on the metering unit. (see gure
36)
8. Fit the throttle valve (U) on the shaft (R). Fit
lever (S) on the shaft (R) parallel with the
ordinary throttle valve. The valve housing (T)
is secured in the air ange using two screws.
(see gure 32)
9. Carry out a pressure test.
Fig 34
Fig 33
Fig 35
Fig 36

 Loading...