42 – English
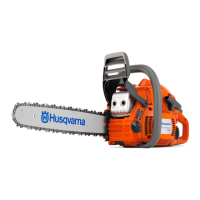
7.16 Tank unit
Dismantling
1. Drain the fuel from the tank.
2. Dismantle the cylinder cover, bar and chain.
See the Operator's Manual.
3. Unhook the throttle cable (G) from the carbu-
rettor. (see gure 44)
4. Dismantle the fuel hose (B) and the fuel pump
return hose (D). (see gure 44)
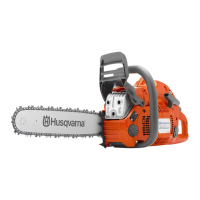
5. Remove the screws. (A and E). Loosen the
handle. (see gure 45)
6. Dismantle the fuel tank.
7. If necessary, pull-out the fuel hose and pull off
the fuel lter. (see gure 46)
NOTE!
Exercise care so that the fuel hose and
throttle cable are not damaged.
Repair instructions
WARNING!
he fuel ue in the chain a ha
the flling haaru prpertie
he ui an it apur are
poisonous.
2. Can cause skin irritation.
highl inaale
7.17 Venting the fuel tank
The two-way valve (C) has the following properties:
(see gure 46)
• Controlled opening pressure in both directions,
which prevents a positive pressure or a vacuum
developing in the fuel tank and impairing engine
performance. This also prevents fuel leakage.
• Opening pressure outward 100–450 mbar.
• Opening pressure inward (vacuum) max.
70 mbar. (2 positions)
Test
pening preure utar
1. pen the ller cap and let the cap remain open
during the entire test. Drain the fuel from the
tank.
2. Connect the pump, ref. no. 531 03 06-23, to
the tank valve. (C)
3. Switch the pump to vacuum mode.
4. Pump 3 times.
5. After pumping the indicator should be between
10–45 kPa.
pening preure inar
1.
pen the ller cap and let the cap remain open
during the entire test. Drain the fuel from the
tank.
2. Connect the pump, ref. no. 531 03 06-23, to
the tank valve. (C)
3. Switch the pump to pressure mode.
A
2xE
A
Fig 45
Fig 44
Fig 46

 Loading...