22 – English
A
B
C
Fig 4
Fig 7
Fig 5
Fig 6
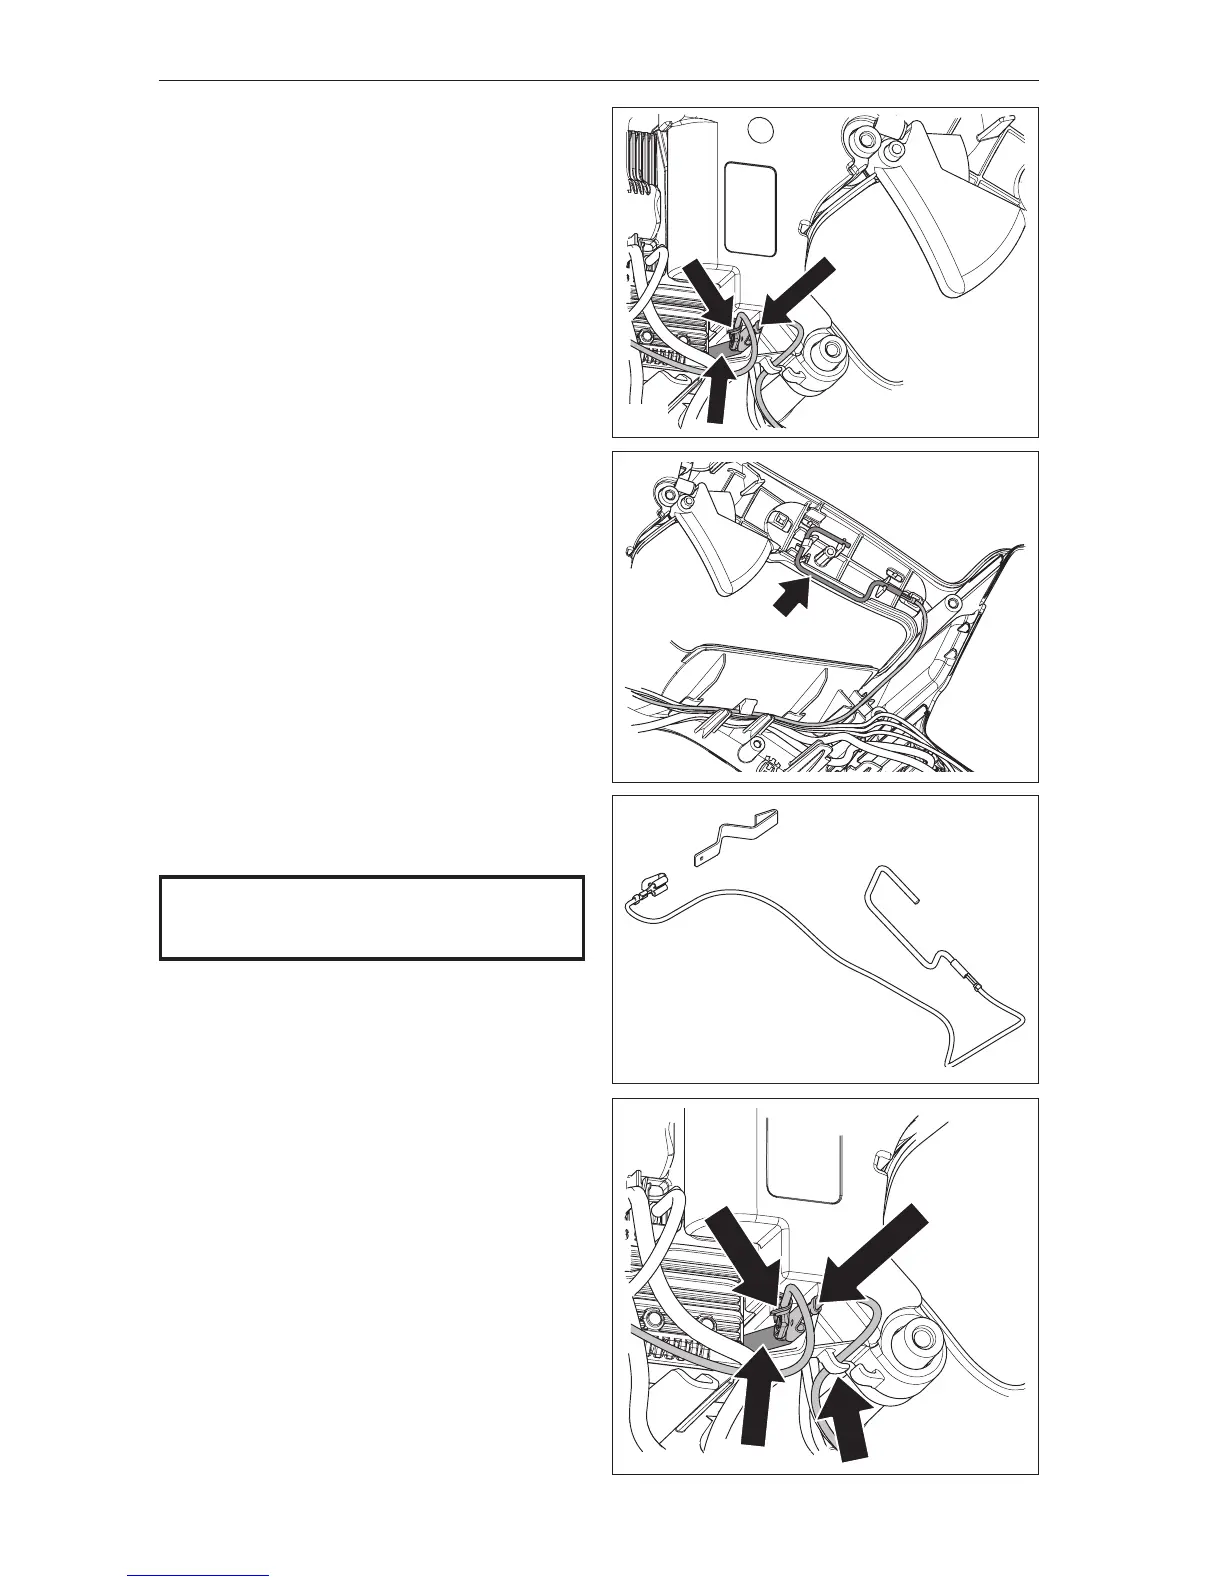
7.4 Dismantling ESD cables
1
Loosen contact (B) from the motor and contact (C)
from the ESD cable from the contact spring.
See gure 4
2
Unhook the ESD clasp from the handle and care-
fully loosen the cable from its attachments in the
chassis.
See gure 5.
Cleaning and inspection
Clean and check all parts thoroughly. Parts must
be replaced if cracked or showing signs of other
defects. Always use original spare parts.
See gure 6
7.5 Assembling ESD cables
1
Hook the ESD clasp onto the handle. Make sure
the cable is placed in the attachments in the chassis.
See gure 5.
2
Couple the connector (C) from the ESD cable and
connector (B) from the motor to the contact spring (A).
NB! Make sure the ESD cable is hooked onto
the attachment on the cover.
See gure 7
NOTE!
Ensure cables, etc., are positioned correctly
to avoid pinching.
Repair instructions
A
!
B
C