English – 31
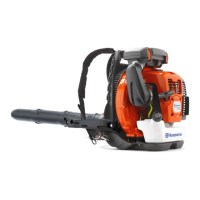
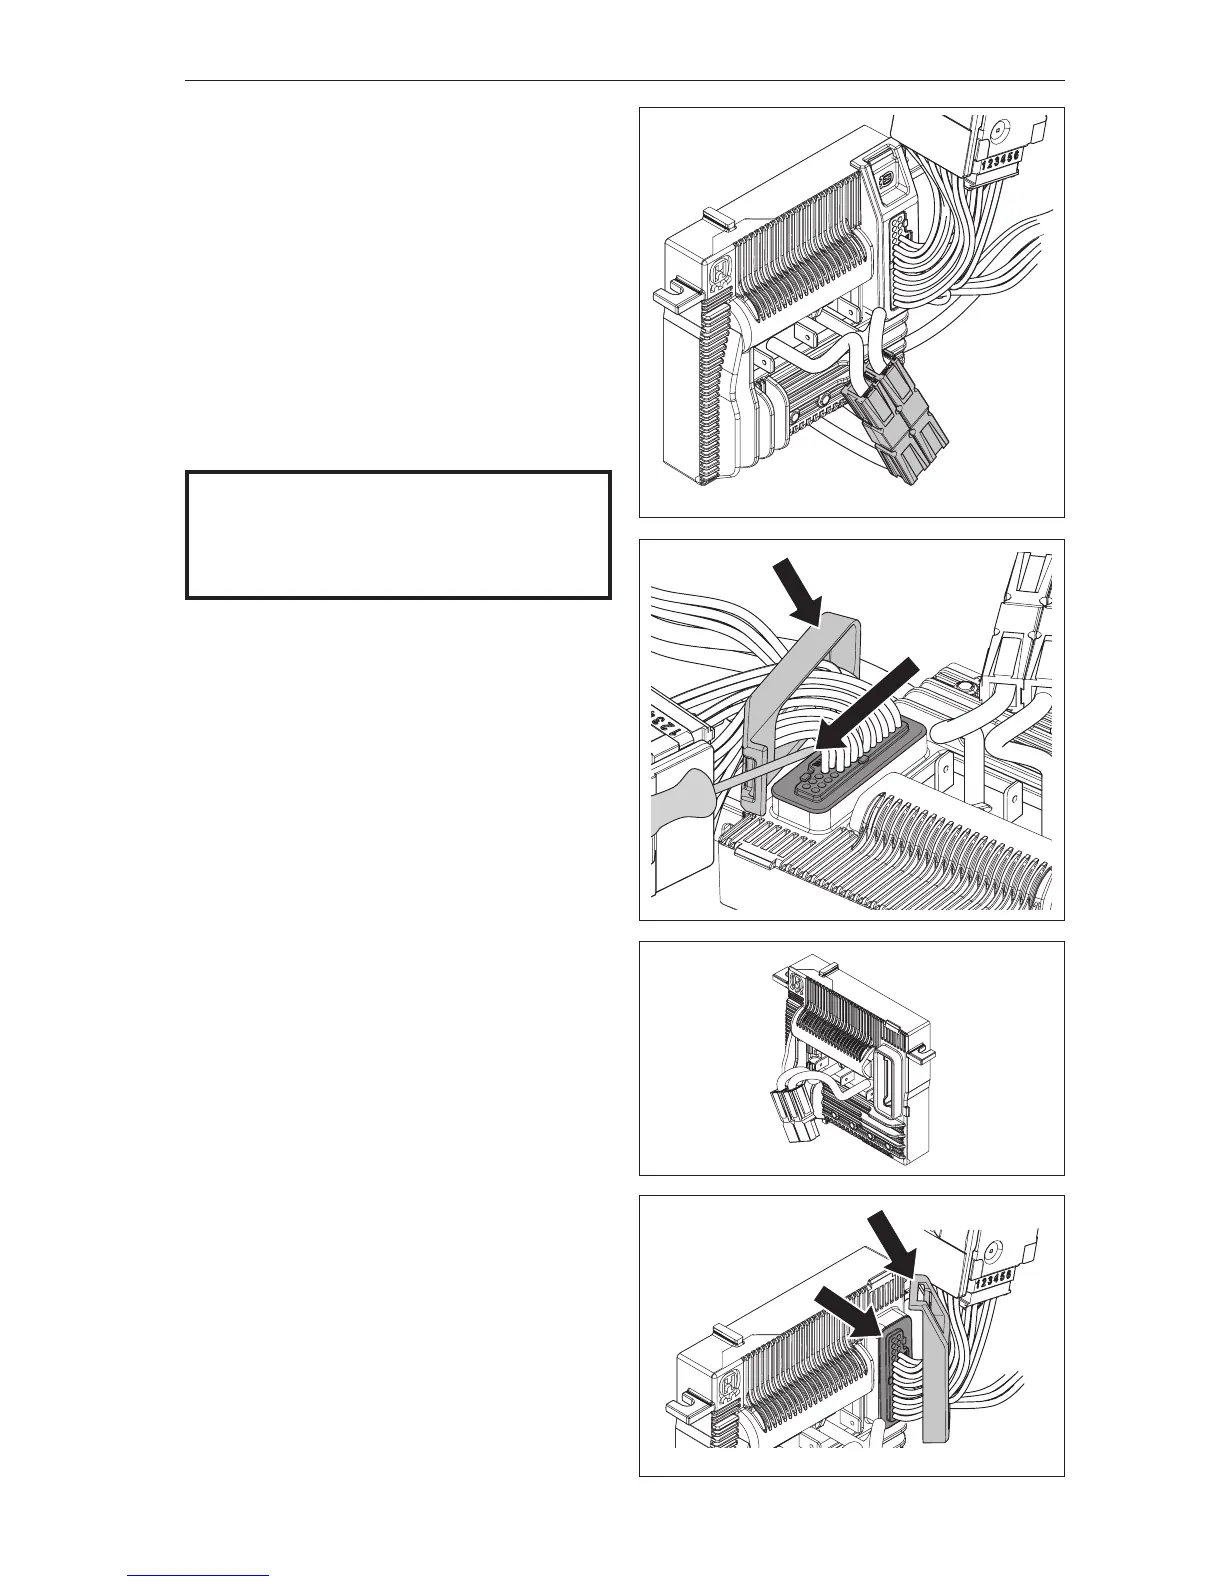
Fig 32
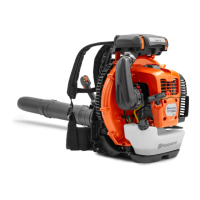
Fig 33
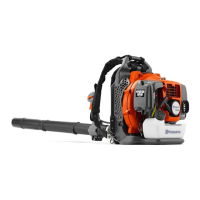
Fig 34
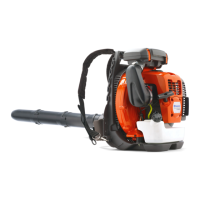
Fig 31
7.10 Dismantling the control unit
1
Dismantle the main cables.
See Chapter 7.8.
2
Unplug the connector between the main cables
and the control unit.
See gure 31
3
Lift the cover (A) and loosen the connector (B) from
the control unit. Carefully use a screwdriver to help
to prise loose the connector if it sticks.
NB! Do not pull the wires.
See gure 32
Cleaning and inspection
Clean and inspect all parts. They must always be
replaced with new ones if cracked or showing signs
of other defects. Always use original spare parts.
See gure 33
7.11 Assembling the control unit
1
Connect connector (B), make sure the seal closes
tightly to the control unit and then hook on the
cover (A).
See gure 34
2
Connect the connector to the control unit.
See gure 31
3
Assemble the main cables in the chassis.
See Chapter 7.9.
A
B
Repair instructions
A
B
NOTE!
Use the screwdriver only on the outer side
of the connector. Take care not to press in
the screwdriver too far so it damages the
connector or the control unit.